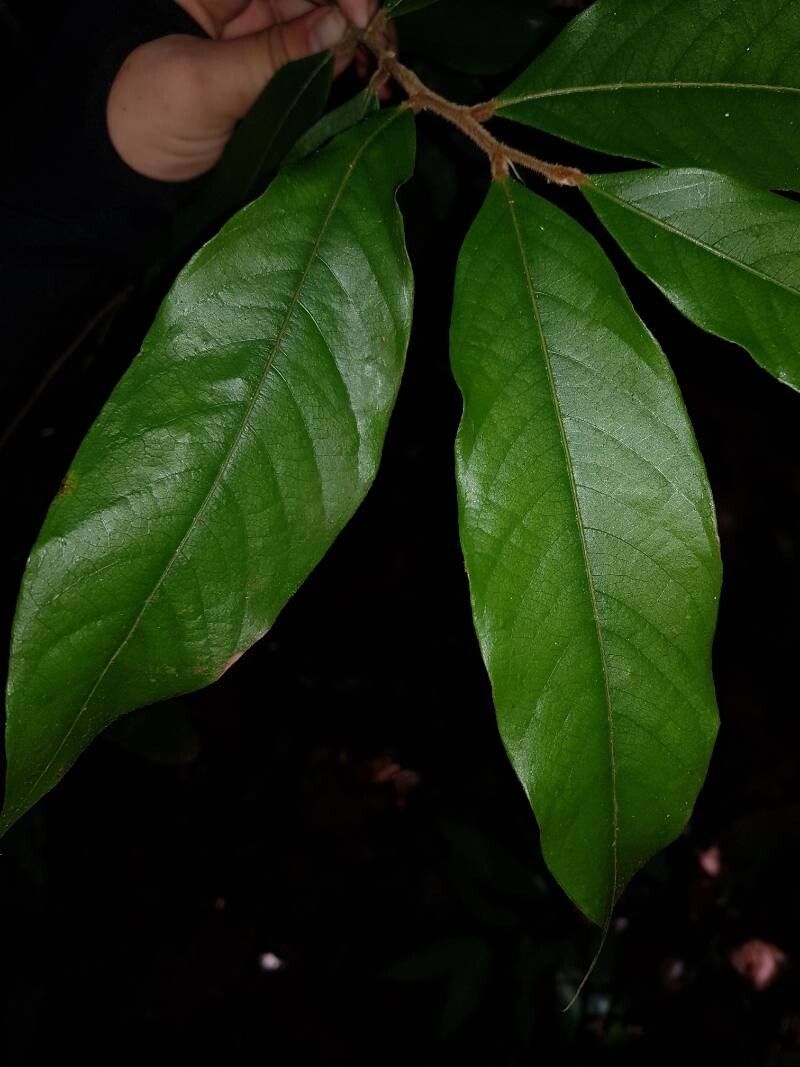
Oh, hello there! I’m so glad you’re curious about Licania kunthiana. This gorgeous plant, with its lush foliage and sometimes surprising blooms, is a real treasure. And the joy of coaxing a new life from an existing one? Pure magic! It’s a bit of a special plant, and I’d say for beginners, it leans towards the more involved side. But don’t let that deter you! With a little patience and the right approach, you absolutely can succeed.
The Best Time to Start
When it comes to Licania kunthiana, spring is your golden ticket. Think of it as the plant’s natural awakening after its winter rest. New growth is vigorous and brimming with life, making it the most receptive time for propagation. I usually aim for when the plant is actively putting out those tender, new shoots.
Supplies You’ll Need
Gathering your tools beforehand makes the whole process smoother. Here’s what I always have on hand:
- Sharp pruning shears or a clean, sharp knife: Essential for clean cuts.
- Well-draining potting mix: I usually use a blend of perlite, coco coir, and a bit of compost.
- Rooting hormone: A game-changer for encouraging root development.
- Small pots or trays: Clean ones are a must to prevent disease.
- Clear plastic bags or a propagation dome: To create a humid environment.
- Spray bottle: For misting.
- Labels and a marker: To keep track of your cuttings.
Propagation Methods
Let’s get our hands dirty! I find stem cuttings to be the most reliable method for Licania kunthiana.
- Select your cutting: Look for a healthy, non-flowering stem that’s about 4-6 inches long. It should have at least two or three sets of leaves. Make your cut just below a leaf node (where a leaf attaches to the stem).
- Prepare the cutting: Gently remove the lower leaves, leaving only the top two or three. This prevents them from rotting in the soil.
- Apply rooting hormone: Dip the cut end of the stem into your rooting hormone, ensuring it’s well-coated. Tap off any excess.
- Pot it up: Fill your small pot with your well-draining potting mix. Make a hole with your finger or a pencil, and gently insert the cutting. Firm the soil around it.
- Create humidity: Water the soil lightly. Then, cover the pot with a clear plastic bag or place it under a propagation dome. This traps moisture and keeps the humidity high, which is vital for cuttings.
The “Secret Sauce” (Pro Tips)
Now, for a couple of tricks of the trade that have served me well:
- Bottom heat is your friend: If you have a seedling heat mat, placing your pots on top of it can dramatically speed up root formation. It mimics the warmth of the soil in warmer climates and gives those nascent roots a real boost.
- Don’t overcrowd: When you’re creating multiple cuttings, give them some breathing room in their pots or trays. Overcrowding can lead to fungal issues and increased competition for resources.
Aftercare & Troubleshooting
Once your cuttings are potted, keep them in a bright, indirect light location. Avoid direct sun, as it can scorch those delicate leaves. I like to mist the leaves lightly every day or two, especially if you’re not using a dome.
You’ll know your cutting is rooting when you see new leaf growth. This can take anywhere from 4-8 weeks, sometimes longer. When you see that little bit of green emerging, gently tug on the cutting. If there’s resistance, roots have formed! Gradually remove the plastic bag or dome over a week or so to acclimate your new plant to lower humidity.
The most common problem you’ll encounter is rot. If your cutting turns mushy or black, it’s likely succumbed to rot. This usually happens due to too much moisture and poor air circulation. Unfortunately, there’s no bringing a rotted cutting back, so discard it and start again, focusing on that well-draining mix and humidity control.
A Little Encouragement
Growing plants from cuttings is an exercise in faith and persistence. Some will take, and some won’t, and that’s okay! Don’t get discouraged if your first few attempts aren’t successful. Each one is a learning experience. Enjoy the process, celebrate every tiny bit of progress, and soon you’ll have a whole collection of your very own Licania kunthiana. Happy propagating!
Resource:
https://identify.plantnet.org/k-world-flora/species/Licania%20kunthiana%20Hook.f./data