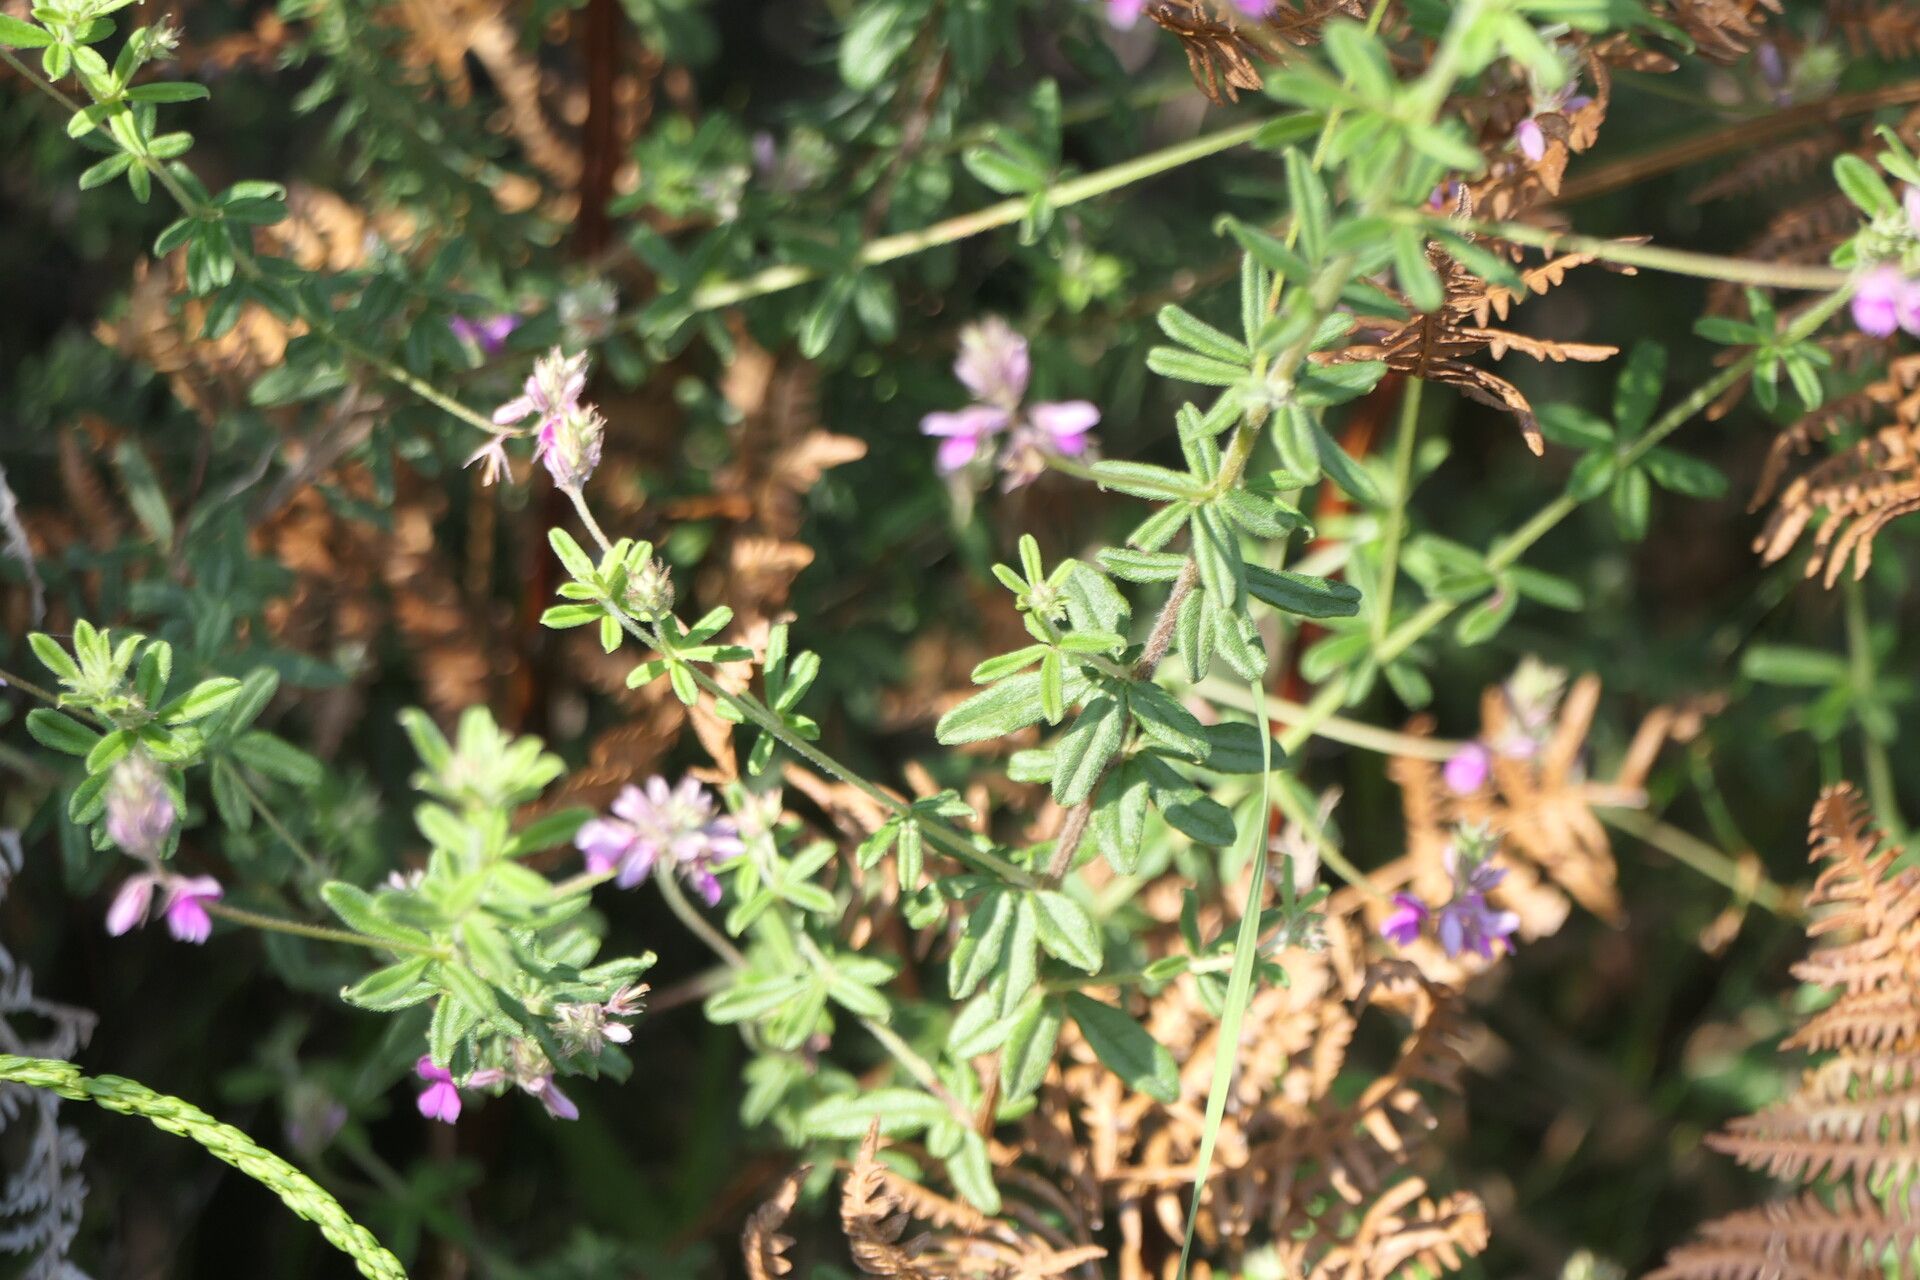
Hello fellow garden enthusiasts! I’m so excited to chat with you today about a plant that’s really captured my heart over the years: Indigofera filiformis. If you’re looking for delicate, airy beauty in your garden, this is it. Its fine, almost fern-like foliage and charming little pea-like flowers create such a lovely, soft texture. And the best part? It’s surprisingly achievable to multiply these beauties yourself! For those just starting out with propagation, I wouldn’t call Indigofera filiformis the absolute easiest plant to start with, but with a little care and the right approach, it’s certainly within reach. The reward of seeing a tiny cutting transform into a new, healthy plant is just immense.
The Best Time to Start
When it comes to getting new Indigofera filiformis plants going, spring and early summer are your golden ticket. This is when the plant is actively growing, and its stems are pliable and full of energy. You’re looking for stems that are actively developing new leaves, but haven’t yet become old and woody. Think of it as catching the plant at its peak vitality!
Supplies You’ll Need
Before we get our hands dirty, let’s gather our tools:
- Sharp pruning shears or a clean, sharp knife: For making clean cuts.
- Rooting hormone (optional but recommended): A powder or gel to encourage root development.
- Well-draining potting mix: I prefer a mix of equal parts peat moss or coco coir and perlite or coarse sand. This ensures good aeration and prevents soggy roots.
- Small pots or seedling trays: Clean ones are key to preventing disease.
- Plastic bags or a propagation dome: To create a humid environment.
- Spray bottle: For misting.
Propagation Methods
Let’s dive into how we’ll create new Indigofera filiformis babies!
Stem Cuttings: My Go-To Method
This is my favorite way to propagate Indigofera filiformis.
- Take Your Cuttings: In spring or early summer, select healthy, non-flowering stems. Using your clean shears, cut a section that’s about 4-6 inches long. Make the cut just below a leaf node (where a leaf attaches to the stem).
- Prepare the Cuttings: Gently remove the lower leaves, leaving just a couple of leaves at the very top. This reduces water loss and focuses the plant’s energy on rooting. If your cuttings seem a bit soft or you’re worried about them wilting, you can carefully trim larger leaves in half.
- Apply Rooting Hormone (Optional): Dip the cut end of each stem into your rooting hormone powder or gel. Tap off any excess.
- Plant the Cuttings: Fill your pots with your well-draining potting mix. Make a small hole with a pencil or your finger and carefully insert the coated end of the cutting. Gently firm the soil around it.
- Create a Humid Environment: Water the soil lightly. Then, cover the pots loosely with a plastic bag or place them under a propagation dome. This humidity is crucial!
Water Propagation (Less Common, but Possible)
While I find stem cuttings in soil more reliable for Indigofera filiformis, you can try a water method.
- Prepare Cuttings: Follow steps 1 and 2 above for preparing stem cuttings.
- Place in Water: Submerge the cut end of the stem in a clean jar or glass of room temperature water. Make sure only the stem is in the water, and absolutely no leaves are submerged.
- Change Water Regularly: Refresh the water every few days to keep it clean and oxygenated.
- Patience: Roots may take longer to appear with this method, and they can sometimes be more delicate. Once roots are about an inch long, you can try planting them in your well-draining soil mix.
The “Secret Sauce” (Pro Tips)
Here are a few tricks I’ve learned over the years that can really boost your success:
- Bottom Heat is Your Friend: If you have a heated seed mat or can place your pots in a warm spot (like on top of a refrigerator), this can significantly speed up root formation. Plants just love that gentle warmth from below!
- Don’t Overwater, But Don’t Let Them Dry Out: This is a delicate balance. While you want to keep the soil consistently moist (like a wrung-out sponge), avoid soggy conditions, which are a fast track to rot. Check the soil moisture by gently poking your finger in.
- The “Tent” Trick: If you’re using a plastic bag, ensure it’s not directly touching the leaves for extended periods. You can use stakes or chopsticks to create a little tent, giving the leaves space to breathe.
Aftercare & Troubleshooting
Once you spot new roots (you can gently tug on a cutting; if there’s resistance, roots are forming!) or see tiny new leaves emerging, it’s time to transition.
- Acclimatize Slowly: Gradually remove the plastic bag or dome over a few days. You want to slowly acclimate your new plants to the drier air of your home or garden.
- Watering: Continue to water when the top inch of soil feels dry.
- Light: Place your new plants in bright, indirect light. Direct sun can scorch tender new growth.
- Troubleshooting: The most common culprit for cuttings failing is rot. This usually happens from overwatering or poor drainage. If you see stems turning black and mushy, unfortunately, they’re likely lost. Prevention is key: use that well-draining soil and be mindful of moisture levels. If your cuttings just seem to be wilting and not rooting, it could be a lack of humidity or insufficient warmth.
Gardening is a journey of learning, and propagation is one of the most rewarding parts of that journey. Don’t be discouraged if your first attempt isn’t a runaway success. Each little plant you manage to coax into existence is a triumph. Be patient, enjoy the process, and soon you’ll have a whole new collection of these lovely Indigofera filiformis to share – or keep all to yourself, I won’t tell! Happy propagating!
Resource:
https://identify.plantnet.org/k-world-flora/species/Indigofera%20filiformis%20Thunb./data