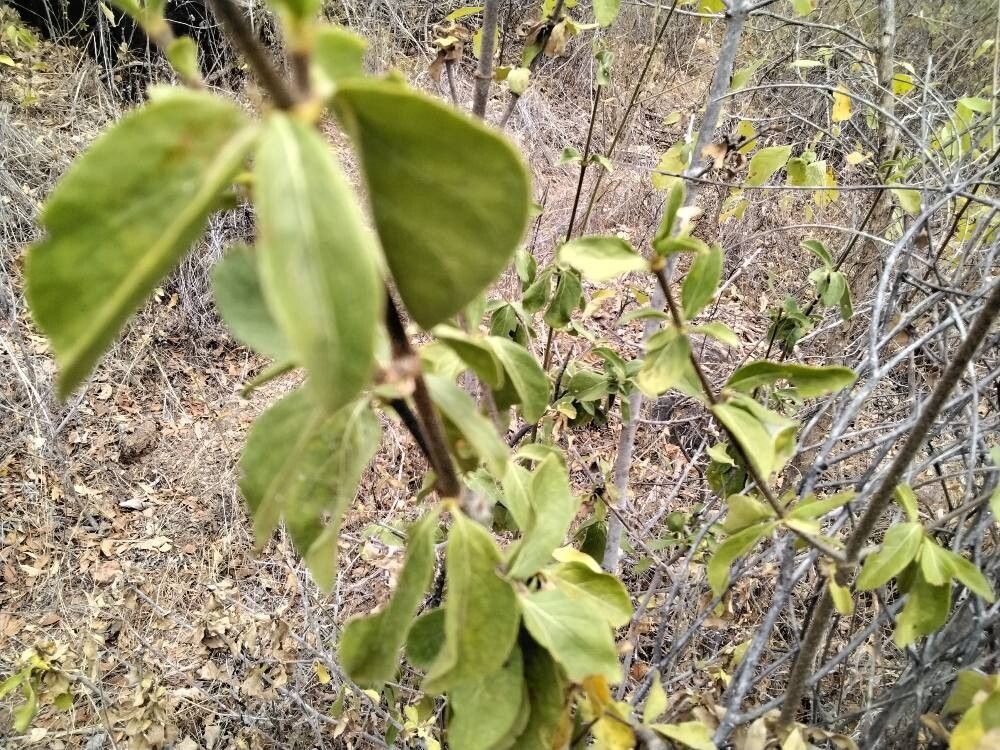
Hello, fellow plant lovers! Today, I want to chat about a truly special plant that’s been gracing my garden for years: Afrocanthium gilfillanii. You might know it by its common names, like the Bushman’s Pipe or often, just “Gilfillani.” It’s this gorgeous shrub with delicate, star-shaped flowers that have a subtly sweet fragrance, especially in the evening. Plus, its glossy, deep green leaves are simply a delight. Propagating this beauty is incredibly rewarding, as you get to share its charm and fill your own garden with more of its magic. Now, for the nitty-gritty: is it easy for beginners? I’d say it’s moderately easy, but with a few key tricks up our sleeve, anyone can have success.
The Best Time to Start
For Afrocanthium gilfillanii, the sweet spot for propagation is during its active growth period, which is typically late spring to mid-summer. This is when the plant has ample energy reserves to put into developing new roots. You’ll want to select stems that are well-established and firm, but not overly woody. Think of it as picking a pencil – it should be firm enough to hold its shape but not so tough that it feels like an old twig.
Supplies You’ll Need
Gathering your tools beforehand makes the whole process much smoother. Here’s what I always have on hand:
- Sharp, clean pruning shears or a sharp knife: This is crucial for making clean cuts that heal better.
- A good quality rooting hormone: I usually opt for a powder, but a gel works just as well. It really gives cuttings a boost.
- A well-draining potting mix: I often use a mix of equal parts perlite and peat moss or coco coir. Some growers like adding a bit of coarse sand too.
- Small pots or trays: Clean ones are a must to prevent disease.
- A plastic bag or propagation dome: This helps maintain humidity around your cuttings.
- Watering can with a fine rose or a spray bottle: For gentle watering.
- Optional: A heat mat: This can speed up root development considerably.
Propagation Methods
I find the most successful method for Afrocanthium gilfillanii is stem cuttings. Let’s walk through it:
- Select your cuttings: Look for healthy, semi-hardwood stems. You want them to be about 4-6 inches long and have at least two sets of leaves. Remove the lower leaves, leaving just the top two or three.
- Make the cut: At the bottom of the stem, just below a leaf node (where a leaf attaches), make a clean, angled cut with your sharp shears.
- Apply rooting hormone: Dip the cut end into your rooting hormone, tapping off any excess. Ensure the hormone coats the bottom inch or so of the stem.
- Plant your cuttings: Fill your clean pots with your prepared potting mix. Make a small hole with a pencil or your finger and gently insert the treated end of the cutting. Firm the soil gently around it.
- Water gently: Water thoroughly but gently, so you don’t dislodge the cuttings.
- Create a humid environment: Cover the pots loosely with a clear plastic bag or place them under a propagation dome. Make sure the leaves aren’t touching the plastic if possible.
- Provide warmth and light: Place the pots in a bright location that receives indirect sunlight. If you have a heat mat, place the pots on top of it; this really makes a difference.
The “Secret Sauce” (Pro Tips)
Here are a couple of things I’ve learned over the years that really seem to help my Gilfillani cuttings thrive:
- Don’t be afraid to wound the stem end: For tougher stems, I sometimes make a shallow slit (about half an inch) vertically up one side of the cut end before dipping it in rooting hormone. This gives the hormone more surface area to work with and can encourage faster rooting.
- Bottom heat is your friend: Seriously, if you can manage it, a gentle bottom heat (around 70-75°F or 21-24°C) will dramatically increase your success rate and speed up the process. It mimics the warmth of the soil in summer and encourages root formation.
Aftercare & Troubleshooting
Once your cuttings are planted, keep the soil consistently moist but not waterlogged. You’ll know your cuttings are starting to root when you see new leaf growth. This usually takes anywhere from 4 to 8 weeks, sometimes longer. Gently tugging on a cutting can also give you a hint; if there’s resistance, roots are forming!
If you notice your cuttings wilting dramatically, turning yellow and mushy, or developing fuzzy mold, that’s usually a sign of too much moisture and/or poor air circulation. In this case, remove any affected cuttings immediately to prevent the rot from spreading. You might need to adjust your watering schedule or ensure there’s a bit more airflow around your pots.
A Little Patience Goes a Long Way
Propagating any plant is an exercise in patience and observation. Don’t be discouraged if not every cutting takes. Keep trying, learn from each batch, and most importantly, enjoy the process. Watching those tiny roots emerge and then seeing your new Afrocanthium gilfillanii grow into a proud little shrub is a truly wonderful feeling. Happy gardening!
Resource: