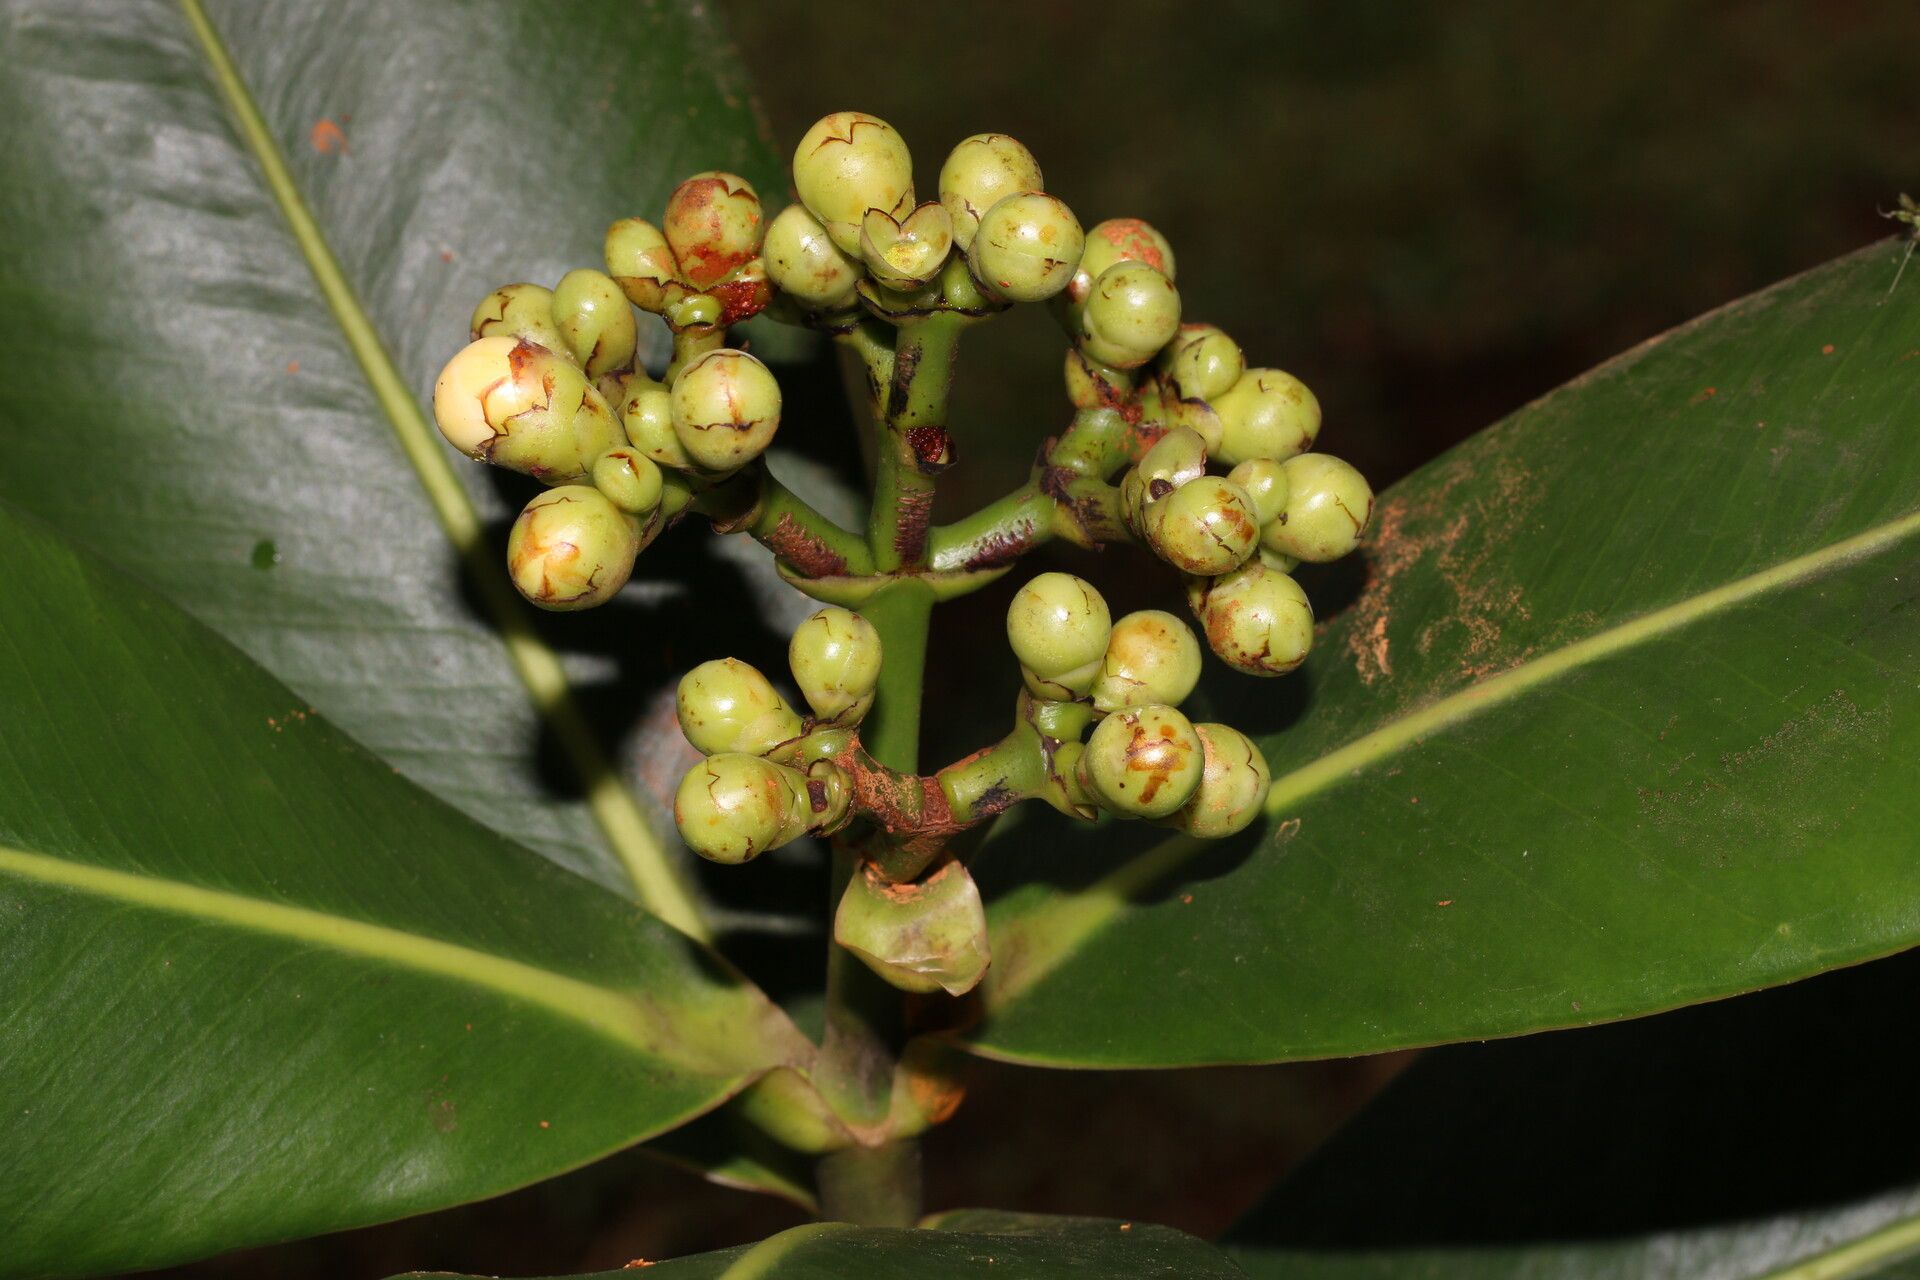
Oh, Clusia stenophylla! Isn’t it a charmer? Those glossy, leathery leaves are just so lush, and the way they can grow into these beautiful, almost sculptural bushes make them a real statement piece in any plant collection. If you’ve ever admired one and thought, “I wish I had more of those!”, you’re in luck. Propagating Clusia stenophylla is a truly rewarding experience. It’s not overly complicated, either, which is great news for us home growers. Even if you’re just starting out with rooting plants, you’ll likely find success with this one.
The Best Time to Start
For Clusia stenophylla, the sweet spot for propagation is during its active growing season. Think late spring through summer. This is when the plant is putting on new growth and has the most energy to dedicate to rooting. Starting a cutting when the plant is actively pushing out new leaves gives it the best chance to establish itself quickly.
Supplies You’ll Need
Gathering your supplies beforehand makes the whole process so much smoother. Here’s what I usually have on hand:
- Sharp Pruning Shears or a Clean Knife: For making clean cuts.
- Rooting Hormone Powder or Gel: While not strictly mandatory for Clusia, it can give your cuttings a little boost.
- Well-Draining Potting Mix: A 50/50 blend of peat moss or coco coir and perlite or coarse sand works beautifully. You want something that won’t hold onto too much moisture.
- Small Pots or Propagation Trays: Clean containers with drainage holes are essential.
- Plastic Bag or Humidity Dome: To create a humid environment for your cuttings.
- Water: For the water propagation method.
Propagation Methods
Clusia stenophylla is quite obliging, and stem cuttings are my go-to method.
Stem Cuttings
This is the most common and reliable way to propagate Clusia stenophylla.
- Select a Healthy Stem: Look for a piece of stem that’s at least 4-6 inches long and has several sets of leaves. It’s best to take cuttings from healthy, new growth.
- Make the Cut: Using your sharp pruning shears or a clean knife, make a clean cut just below a leaf node (where a leaf attaches to the stem). This is where new roots will emerge.
- Prepare the Cutting: Gently remove the lower leaves from the cutting, leaving just a couple of sets of leaves at the top. This reduces water loss and prevents leaves from rotting in the soil.
- Apply Rooting Hormone (Optional): If you’re using rooting hormone, dip the cut end of the stem into the powder or gel. Tap off any excess.
- Plant Your Cuttings: Fill your small pots or trays with your well-draining potting mix. Make a hole in the center with your finger or a pencil and insert the cut end of the Clusia stem. Gently firm the soil around it.
- Water Gently: Water the soil thoroughly but gently, ensuring it’s moist but not soggy.
- Create Humidity: Cover the pot with a plastic bag, making sure the bag doesn’t touch the leaves, or use a humidity dome. This traps moisture around the cutting, which is crucial for rooting. Place the pots in a warm spot with bright, indirect light.
Water Propagation
This method can be very satisfying to watch!
- Take the Cuttings: Follow steps 1-3 for stem cuttings.
- Place in Water: Place the prepared cuttings in a jar or glass filled with clean water. Make sure the leaf nodes are submerged, but the remaining leaves are above the water.
- Change Water Regularly: Change the water every few days to keep it fresh and prevent bacteria buildup.
- Location: Place the jar in a spot with bright, indirect light.
The “Secret Sauce” (Pro Tips)
Over the years, I’ve learned a few little tricks that really make a difference:
- Don’t Let Leaves Touch the Water (in Water Propagation): This is a big one! When propagating in water, if your leaves dip into the water, they’ll rot. This is a sure way to say goodbye to your potential new plant before it even gets a chance.
- Bottom Heat is Your Friend: If you have a seedling heat mat, placing your pots on it can speed up root development significantly. It mimics the warmth of summer soil and gives those root buds a lovely cozy environment to activate.
- Be Patient and Don’t Disturb: Once you’ve got your cuttings planted, resist the urge to constantly tug on them to see if they have roots. You’ll damage delicate new growth. Feel free to give the pot a gentle wiggle, but otherwise, let them be for several weeks.
Aftercare & Troubleshooting
You’ll know your Clusia has rooted when you see new leaf growth or feel a gentle resistance when you lightly tug on the cutting. This usually takes anywhere from 4 to 8 weeks, sometimes longer. Once roots have formed, gradually acclimate your new plant to normal conditions. Remove the humidity cover for increasing periods each day. Continue to water when the top inch of soil feels dry.
The most common issue you might run into is rot. This usually happens if the soil is too wet or the humidity is too high for too long without airflow. If you see your cutting looking mushy or darkening at the base, it’s likely succumbed to rot. Don’t be discouraged! Just discard the rotted cutting and try again with fresh material and a better-draining mix.
A Encouraging Closing
Propagating plants is like nurturing little miracles. It takes a bit of practice, a dash of patience, and a whole lot of love. But when you see those tiny roots emerge, or that first new leaf unfurl on a cutting you started yourself, there’s a special kind of satisfaction. So go ahead, grab your shears, and give Clusia stenophylla propagation a try. Enjoy the journey, my green-thumbed friend!
Resource:
https://identify.plantnet.org/k-world-flora/species/Clusia%20stenophylla%20Standl./data