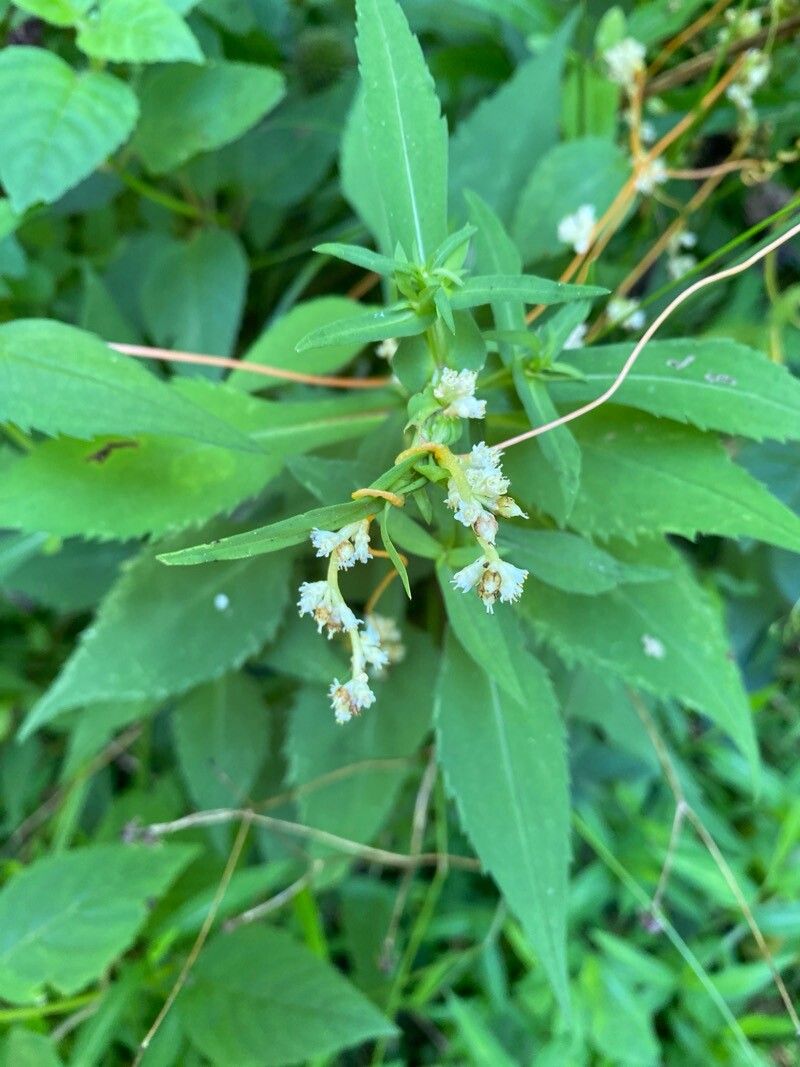
Hello fellow garden enthusiasts! I’m so excited to dive into a plant that truly captures the imagination: Cuscuta cephalanthi, more commonly known as the Swamp Dodder. Now, I know what some of you might be thinking – dodder? A parasitic plant? But trust me, there’s a subtle beauty and a fascinating ecological role to this unique vine. Propagating it yourself can be incredibly rewarding, a real testament to nature’s resilience and adaptability. For beginners, I’d say it’s moderately challenging. It doesn’t demand the fuss of some fussy ornamentals, but it has its own particular needs.
The Best Time to Start
For the highest success rate with Cuscuta cephalanthi, late spring to early summer is your sweet spot. This is when the plant is in active growth, meaning it has plenty of energy to put into developing new roots and establishing itself. You want to be working with vibrant, healthy stems that haven’t started to show any signs of stress or dormancy.
Supplies You’ll Need
Here’s what you’ll want to have on hand to get started:
- Clean, sharp pruning shears or scissors: Essential for making clean cuts.
- Rooting hormone (optional but recommended): A powder or gel can give your cuttings a helpful boost.
- Well-draining potting mix: A mix designed for succulents or a combination of potting soil, perlite, and sand works wonderfully. You want to avoid anything that stays waterlogged.
- Small pots or trays: Clean containers that allow for good air circulation.
- Watering can or spray bottle: For gentle watering.
- Clear plastic bags or a propagation dome: To maintain humidity around the cuttings.
Propagation Methods
Let’s get our hands dirty! Stem cuttings are your best bet for this fellow.
Stem Cuttings
- Select your source material: Look for healthy, non-flowering stems on your mature Cuscuta cephalanthi. You want stems that are a couple of inches thick and feel firm, not woody or brittle.
- Take your cuttings: Using your clean pruning shears, cut stems into sections about 4-6 inches long. Make sure each cutting has at least two or three nodes – those little bumpy spots where leaves or side shoots emerge. These nodes are where roots will form. Trim off any leaves that are clustered too tightly near the bottom, leaving just one or two at the very tip.
- Prepare the cuttings: If you’re using rooting hormone, dip the cut end of each stem into the powder or gel. Gently tap off any excess. This step helps encourage faster and stronger root development.
- Plant your cuttings: Fill your small pots or trays with your prepared, well-draining potting mix. Moisten the soil slightly. Using a pencil or your finger, create small holes in the soil. Insert the cut end of each Cuscuta cephalanthi cutting into the hole, ensuring at least one node is buried beneath the surface. Gently firm the soil around the stem.
- Provide humidity: Water the soil gently. Then, cover the pots with clear plastic bags or place them under a propagation dome. This creates a mini-greenhouse effect, keeping the humidity high, which is crucial for cuttings while they develop roots.
The “Secret Sauce”
Now for a couple of little tricks I’ve learned over the years:
- Don’t overwater the cuttings: This is probably the biggest killer of new propagations. The soil should be consistently moist, not soggy. Too much water, especially with those nodes buried, invites rot. Check the soil moisture by gently poking a finger in; if it feels dry an inch down, it’s time to water.
- A touch of bottom heat can work wonders: If you have a heat mat designed for plant propagation, placing your pots on it can significantly speed up root formation. Cuscuta cephalanthi loves a bit of warmth, and this provides that consistent temperature from below. Just be mindful not to dry the soil out too quickly with the added heat.
Aftercare & Troubleshooting
Once your Cuscuta cephalanthi cuttings have started to root – you’ll usually see new growth appearing at the tip or a gentle resistance when you tug on the stem – it’s time to slowly wean them off the high humidity. Gradually open the plastic bags or ventilation on your dome over a week or two. Continue to keep the soil consistently moist and provide bright, indirect light.
The most common sign of failure is rot. If your cuttings turn mushy, black, or smelly, it’s a clear indication of too much moisture and poor air circulation. Unfortunately, at that point, they’re usually beyond saving. Another sign might be wilting that doesn’t recover after watering – this suggests they haven’t developed roots yet and are drying out past their ability to recover. If you see this, try increasing humidity slightly again and ensure the soil isn’t completely dry.
So there you have it! Propagating Cuscuta cephalanthi is a journey, and like all gardening, requires a bit of patience. Don’t be discouraged if your first attempt isn’t perfect. Each plant we nurture teaches us something new. Enjoy the process, and happy growing!
Resource:
https://identify.plantnet.org/k-world-flora/species/Cuscuta%20cephalanthi%20Engelm./data