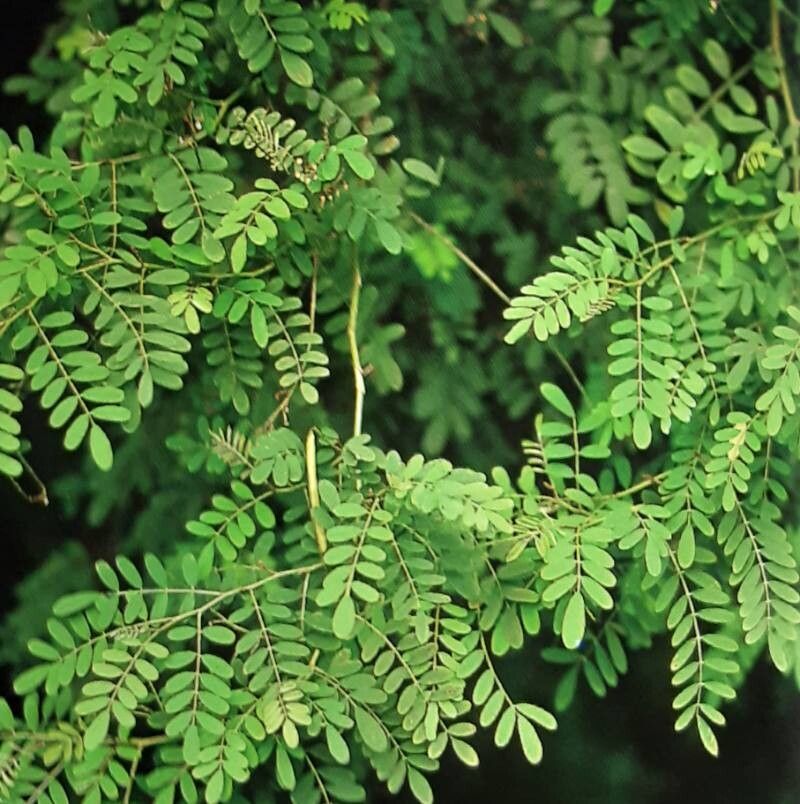
Oh, Indigofera australis! What a beauty! I’ve always had a soft spot for these Australian natives. Their delicate, pea-like flowers, often a lovely soft lavender or pink, bring such a gentle charm to any garden. And that lovely fine foliage? Just gorgeous. If you’ve ever admired one, you’ll know propagating it yourself is incredibly rewarding. It’s a wonderful way to spread that beauty around, and trust me, it’s not as tricky as you might think. In fact, I’d say it’s pretty welcoming for beginners with a little patience.
The Best Time to Start
For the absolute best chance of success, I always recommend focusing your propagation efforts in the spring and early summer. This is when the plant is actively growing, and cuttings taken during this period tend to root more readily. I usually aim for after the last frost has passed but before the heat of midsummer really kicks in. Young, actively growing shoots are your golden ticket here.
Supplies You’ll Need
Gathering your supplies ahead of time makes the whole process smoother. Here’s what I always have on hand:
- Sharp Pruning Shears or a Craft Knife: Clean cuts are vital for healthy propagation.
- Rooting Hormone (Optional but Recommended): A good quality rooting powder or gel can give your cuttings a significant boost.
- Sterile Potting Mix: I like a mix of equal parts peat-free compost, perlite, and coarse sand. This provides excellent drainage, which is crucial. You can also buy specific seed-starting or cutting mixes.
- Small Pots or Seedling Trays: Anything clean and with drainage holes will do.
- Clear Plastic Bag or Propagator Lid: To create a humid environment for your cuttings.
- Labels and a Marker: To keep track of what you’ve planted and when.
- Watering Can with a Fine Rose: Gentle watering is key.
Propagation Methods
While Indigofera australis can be grown from seed, I find stem cuttings to be the most consistently successful and straightforward method.
Stem Cuttings:
- Take Your Cuttings: Select healthy, semi-hardwood stems from your established plant. Look for stems that are flexible but not floppy, ideally with a few sets of leaves. Using your sharp shears or knife, take cuttings about 10-15 cm long. Make the cut just below a leaf node (the point where a leaf grows from the stem). This is where roots are most likely to form.
- Prepare the Cuttings: Gently remove the lower leaves, leaving just two or three at the very top. This reduces water loss and prevents leaves from rotting when you insert them into the soil. If your cuttings are longer, you can even cut them in half to create more pieces.
- Apply Rooting Hormone (Optional): Dip the bottom end of each cutting into your rooting hormone, tapping off any excess.
- Plant Your Cuttings: Fill your pots or trays with your moistened sterile potting mix. Make a small hole in the center of each pot (or spacing them out in a tray) using a pencil or your finger. Insert the prepared cutting into the hole, ensuring the bottom nodes are below the soil surface. Gently firm the soil around the base of the cutting.
- Water Gently: Water the pots lightly to settle the soil.
- Create Humidity: Place the pots into a clear plastic bag, sealing it loosely, or cover them with a propagator lid. This will trap moisture and create a humid environment, which encourages rooting.
- Provide Light and Warmth: Place the propagator in a bright spot, but out of direct, scorching sunlight. A greenhouse or even a bright windowsill is perfect.
The “Secret Sauce” (Pro Tips)
Here are a couple of little tricks I’ve picked up over the years that can really make a difference:
- Okay, this sounds trivial, but don’t let those remaining leaves touch the water at the bottom of the pot or in the propagator. If you’re using a bag, sometimes condensation drips. If any leaves end up submerged, they’re much more likely to rot, and that rot can spread to your cutting. Just snip them off or reposition the bag a bit if needed.
- For really stubborn cuttings, or if you’re doing this during a cooler spell, consider some gentle bottom heat. A heated propagator mat placed underneath your pots can provide a nice, consistent warmth that encourages root development without overheating the leaves or stems. It really speeds things up sometimes!
- When you take your cuttings, make sure you’re using wood that’s not too soft and not too woody. Think of it like a pencil – firm enough to stand up, but you can still easily bend it. That’s the perfect semi-hardwood stage.
Aftercare & Troubleshooting
Once your cuttings are planted, the waiting game begins! Keep the compost consistently moist, but never waterlogged. Check the humidity inside your propagator regularly. If you see lots of condensation, you can open the bag or lid for a few hours to allow some air circulation.
You’ll know your cuttings are rooting when you see new growth appearing at the tip. At this stage, you can gradually acclimatize them to normal garden conditions by opening the bag or lid for longer periods each day. Once they’re looking robust, you can carefully transplant them into individual pots with a good quality potting mix.
The most common issue you’ll encounter is rot. If a cutting turns black and mushy, it’s usually a sign of too much moisture or poor air circulation. Unfortunately, these cuttings are usually lost, so the best approach is preventative – good drainage, not overwatering, and adequate airflow. Sometimes, cuttings just won’t root. Don’t be disheartened! It happens to me too, even after all these years. Just try again with fresh cuttings and perhaps a slightly different approach.
A Encouraging Closing
So there you have it! Propagating Indigofera australis is a beautiful way to extend your garden’s magic. Be patient, keep those cuttings happy and humid, and celebrate every little sign of new life. You’ve got this! Happy gardening!
Resource:
https://identify.plantnet.org/k-world-flora/species/Indigofera%20australis%20Willd./data