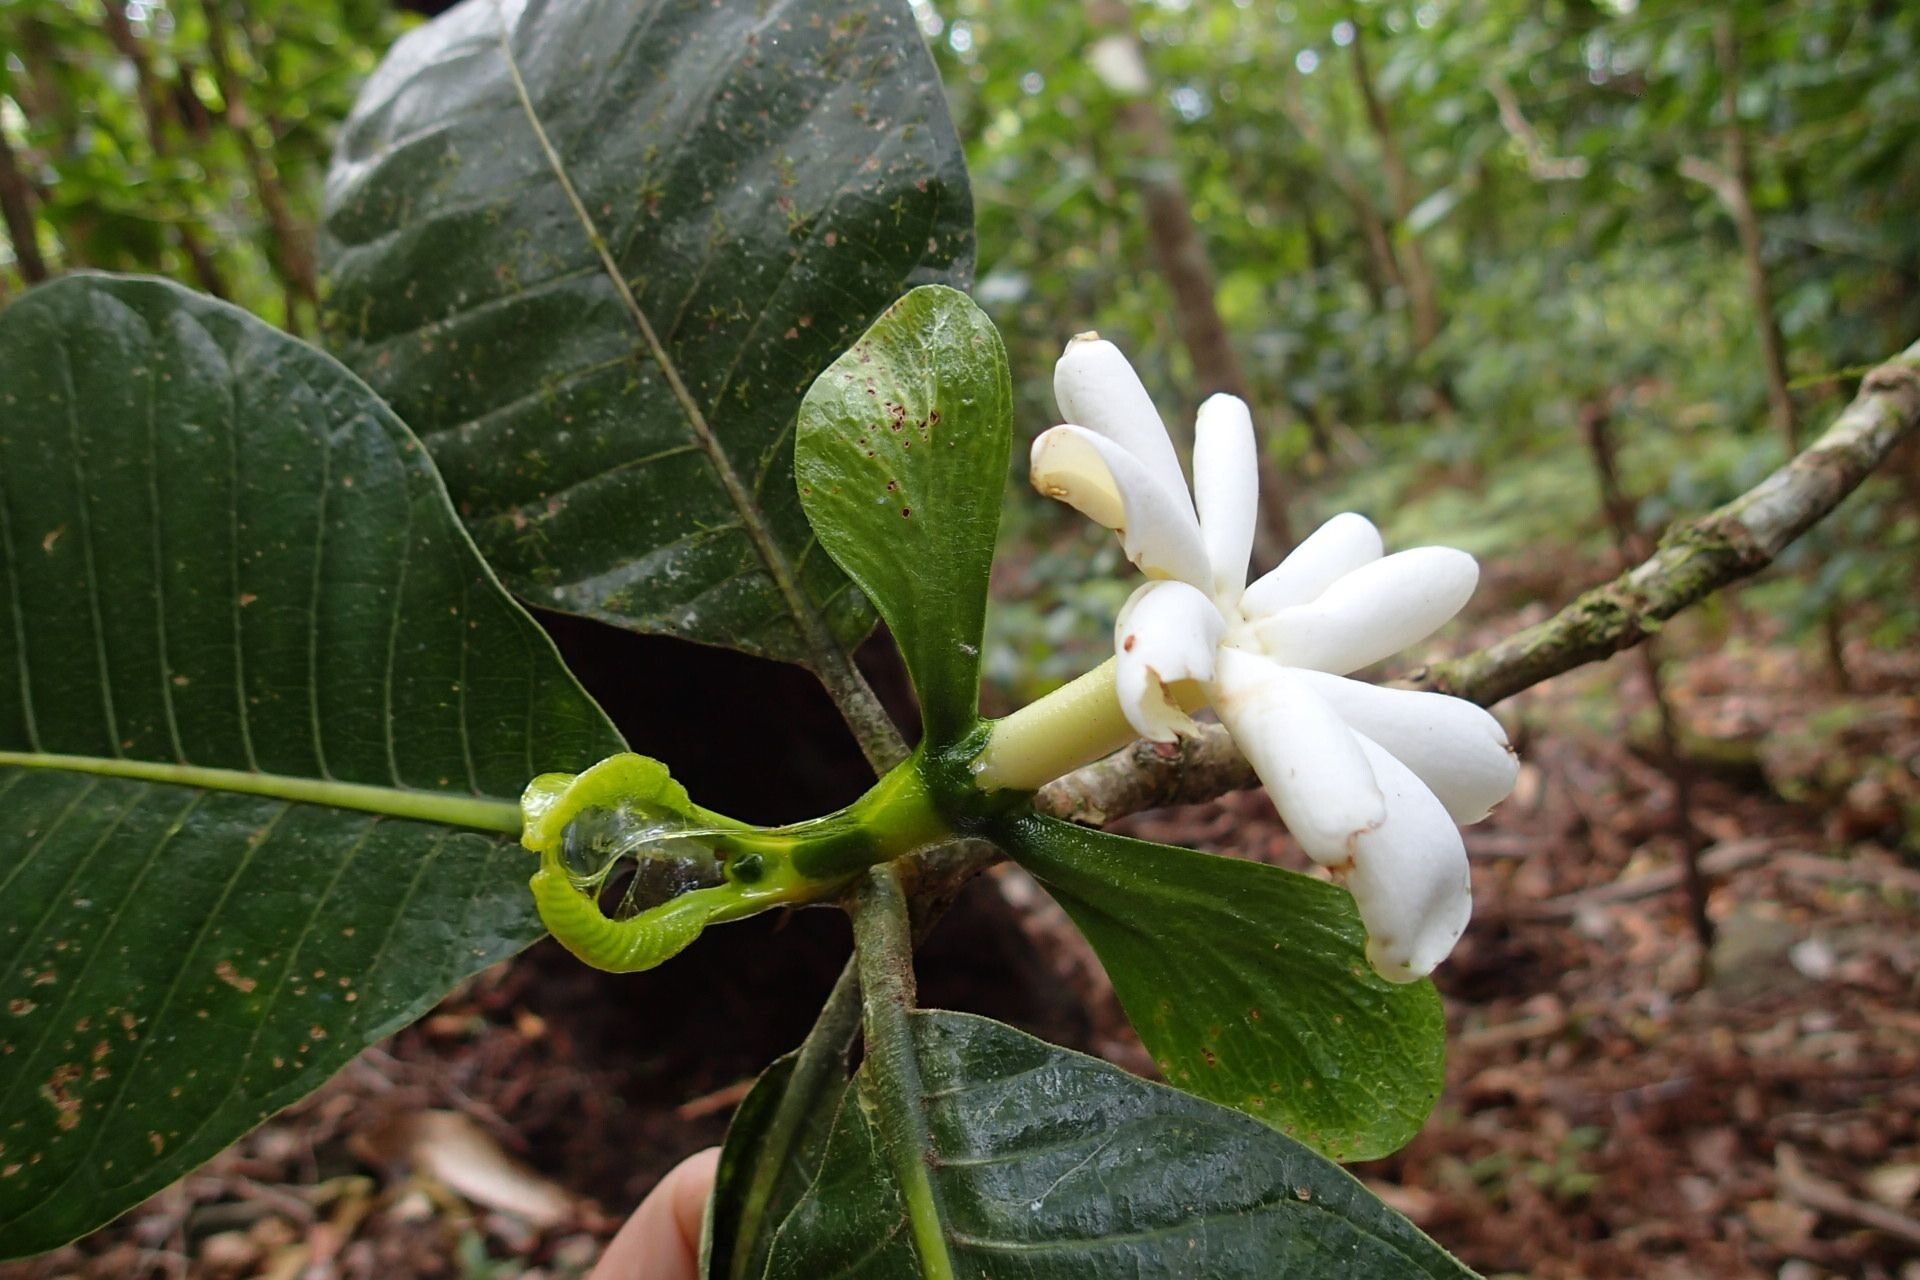
Oh, the gardenia! Just thinking about those creamy white blossoms and their intoxicating perfume makes my heart sing. Gardenia jasminoides, often called ‘Oudiepe’ or something similar by enthusiasts, is truly a treasure. If you’re anything like me, you probably dream of filling your home and garden with these fragrant beauties. And the best part? You can do it yourself!
Propagating gardenias can be a little bit of a learning curve, especially for absolute beginners. They can be a tad fussy, but don’t let that discourage you. That moment when you see the first hint of roots on a cutting you took yourself? Pure garden magic, I tell you. It’s incredibly rewarding to nurture a new plant from a tiny piece of your beloved original.
The Best Time to Start
When it comes to gardenias, timing is everything. For the highest success rate, I always recommend starting your propagation efforts in late spring or early summer. This is when the plant is actively growing and producing what we call “semi-hardwood” cuttings. Think of it as the plant having plenty of energy to put into growing roots. Avoid trying this when the plant is dormant or has new, very tender growth.
Supplies You’ll Need
No need for a fancy setup, really. Here’s what I usually have on hand:
- Sharp pruning shears or a clean knife: For making clean cuts. Dull tools can damage the stems.
- Small pots or propagation trays: With drainage holes, always!
- Well-draining potting mix: I like a mix of equal parts peat moss or coco coir, perlite, and a little bit of compost. This keeps things airy and prevents soggy roots.
- Rooting hormone: This is a lifesaver for gardenias. A powder or gel will do.
- Plastic bags or a mini-greenhouse: To keep humidity high around your cuttings.
- A spray bottle: For misting.
- Labels and a marker: To keep track of what you’ve planted and when.
Propagation Methods: Stem Cuttings
This is my go-to method for gardenias. It’s tried and true.
- Take your cuttings: Look for healthy, non-flowering stems. You want a length of about 4-6 inches. With your clean shears, make a cut just below a leaf node (where a leaf attaches to the stem). Remove the lower leaves, leaving just a couple at the very top.
- Prepare the cuttings for rooting: Dip the cut end of each stem into water to moisten it, then swirl it in the rooting hormone. Tap off any excess. This step is crucial for encouraging root development.
- Plant your cuttings: Fill your small pots with the damp potting mix. Make a small hole with your finger or a pencil tip and gently insert the prepared cutting. Firm the soil around it to ensure good contact.
- Create a humid environment: Water the soil gently. Then, cover the pot with a clear plastic bag, securing it around the rim with a rubber band, or place it within a mini-greenhouse. Make sure the leaves don’t touch the plastic if possible.
- Provide light and warmth: Place the pots in a bright spot that gets indirect sunlight. Avoid direct sun, which can scorch the leaves.
The “Secret Sauce” (Pro Tips)
Now, for those little tricks that make a big difference!
- Bottom Heat is Your Friend: Gardenias love warmth at their base, especially for rooting. I often pop my pots onto a seedling heat mat. This gently warms the soil from below, mimicking ideal summer conditions and significantly speeding up root formation. It’s a game-changer!
- Don’t Overwater, But Keep it Humid: It’s a delicate balance. You want the soil to stay consistently moist, but not waterlogged. The plastic bag or humidity dome helps a lot here, creating a microclimate. However, if you see water pooling in the bottom of the pot, you’ve gone too far. Briefly vent the bag to let some moisture escape.
- Patience, Patience, Patience: Gardenias can be slowpokes when it comes to rooting. Don’t be tempted to pull them up to check for roots too soon! I usually leave them undisturbed for at least 4-6 weeks, sometimes longer. You’ll know they’re rooting when you see new growth appearing.
Aftercare & Troubleshooting
Once you see signs of life – tiny new leaves or tentative roots poking out the drainage holes – it’s time for a little adjustment. Gradually acclimate your new plant to lower humidity by opening the plastic bag a little each day for a week or so. Continue to keep the soil consistently moist.
The most common culprit for failure with gardenia cuttings is rot. If your cutting turns black and mushy, it’s a sign of too much moisture and not enough air circulation. This is precisely why a well-draining mix and avoiding overwatering are so important. If you see signs of rot, it’s usually best to discard the cutting and try again with fresh material and a slightly adjusted approach.
A Encouraging Closing
Propagating gardenias is a journey, and like any good journey, it requires patience and a bit of understanding. Don’t get discouraged if your first few attempts aren’t perfect. Each time you try, you learn a little more. Embrace the process, enjoy the quiet moments with your plants, and celebrate every tiny success. Soon enough, you’ll have a whole collection of fragrant gardenias to fill your world with beauty and perfume!
Resource:
https://identify.plantnet.org/k-world-flora/species/Gardenia%20oudiepe%20Vieill./data