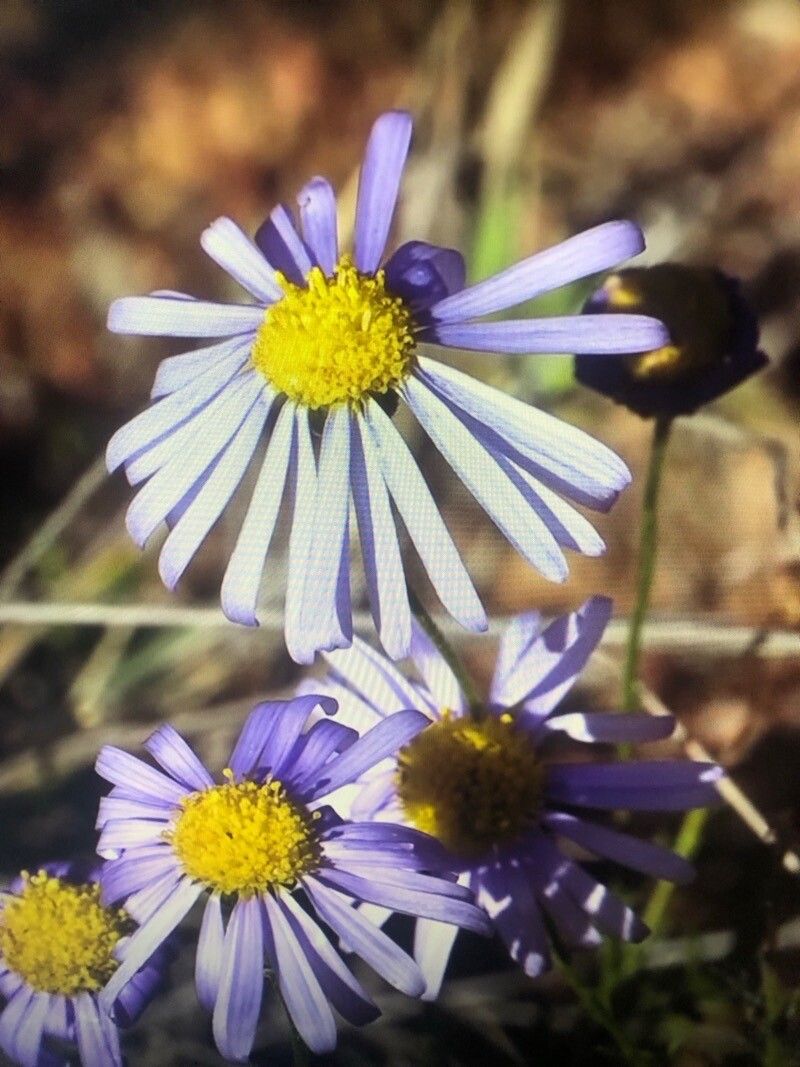
Hey there, fellow garden enthusiasts! Today, we’re diving into the wonderful world of propagating Erigeron foliosus, or what many of us affectionately call the California Aster. If you love those charming little daisy-like flowers that spill over the edges of your garden beds, bringing bees and butterflies fluttering in, then you’re in for a treat. Propagating these beauties yourself is incredibly rewarding. It’s a fantastic way to fill out your existing garden, share with friends, or even start a whole new patch. And the good news? For beginners, Erigeron foliosus is quite forgiving. You’ve got this!
The Best Time to Start
My favorite time to get started with Erigeron foliosus propagation is in late spring or early summer. This is when the plant is actively growing, and you’ll typically find plenty of healthy, non-flowering stems that are perfect for taking cuttings. Waiting until after the main flush of spring growth has passed, but before the summer heat really sets in, gives your new cuttings the best chance to establish themselves before facing tougher conditions.
Supplies You’ll Need
Here’s what I like to have on hand for a successful propagation session:
- Sharp pruning shears or a clean knife: For taking clean cuts.
- Rooting hormone (optional but helpful): A powdered or liquid form can give your cuttings an extra boost.
- Propagation tray or small pots: With good drainage holes.
- Well-draining potting mix: I usually use a mix of equal parts peat moss or coco coir and perlite or coarse sand. This ensures excellent aeration.
- Plastic bag or humidity dome: To create a mini greenhouse effect.
- Spray bottle: For misting.
- Labels: To remember what you’ve planted and when!
Propagation Methods
Erigeron foliosus is quite versatile, but my go-to method is stem cuttings. It’s straightforward and usually gives great results.
- Select Your Cuttings: On a healthy, established Erigeron foliosus plant, look for non-flowering stems that are at least 4-6 inches long. You want stems that are firm, but not woody – think of the new growth from the current season.
- Make the Cut: Using your clean, sharp shears or knife, cut the stem just below a leaf node. A leaf node is where a leaf attaches to the stem. This is where the magic of root development often happens!
- Prepare the Cutting: Gently remove the lower leaves from the stem, leaving only the top 2-3 sets of leaves. This reduces water loss and prevents leaves from rotting in the soil. If the remaining leaves are very large, you can cut them in half to further reduce transpiration.
- Apply Rooting Hormone (Optional): If you’re using rooting hormone, dip the cut end of the stem into the powder or liquid, tapping off any excess.
- Plant Your Cuttings: Fill your propagation tray or small pots with your chosen potting mix. Make a small hole in the center of each pot with your finger or a pencil. Insert the cut end of the stem into the hole, ensuring the leaf nodes you’ve cleared are below the soil surface. Gently firm the soil around the cutting.
- Water and Cover: Lightly water the soil until it’s evenly moist. Then, cover the tray or pots with a plastic bag or humidity dome. This is crucial for keeping the humidity high, which helps the cuttings from drying out before they can develop roots.
The “Secret Sauce” (Pro Tips)
Here are a couple of things I’ve learned over the years that really make a difference:
- Bottom Heat is Your Friend: If you have a seedling heat mat, placing your propagation tray on it can dramatically speed up root formation. The warmth encourages root cells to develop much faster. Don’t go too hot, though – just a gentle warmth is perfect.
- Location, Location, Location: While your new cuttings need bright, indirect light, avoid direct sunlight. It can quickly scorch those tender leaves and dry out your setup. A bright windowsill that doesn’t get harsh midday sun is ideal.
Aftercare & Troubleshooting
Once your cuttings are planted, keep the soil consistently moist but not waterlogged. Mist the leaves occasionally if they look a bit droopy, especially if you don’t have a humidity dome. You’ll know your cuttings have rooted when you see new leaf growth or feel a gentle resistance when you tug lightly on the stem. This usually takes anywhere from 3-6 weeks, depending on the conditions.
The most common problem you might encounter is rot. This usually happens if the soil is too wet or the humidity is too high without enough air circulation. If you see any cuttings turning black or mushy, remove them immediately to prevent the rot from spreading. Sometimes, it’s just the weather or a bad cutting – don’t get discouraged!
A Encouraging Closing
Propagating plants is a wonderful journey, a hands-on way to connect with nature’s cycles. Be patient with your Erigeron foliosus cuttings. Some might take their sweet time, and others might not make it. That’s all part of the gardening dance! Enjoy the process, marvel at the tiny roots that emerge, and soon you’ll have a whole host of beautiful asters to grace your garden. Happy propagating!
Resource:
https://identify.plantnet.org/k-world-flora/species/Erigeron%20foliosus%20Nutt./data