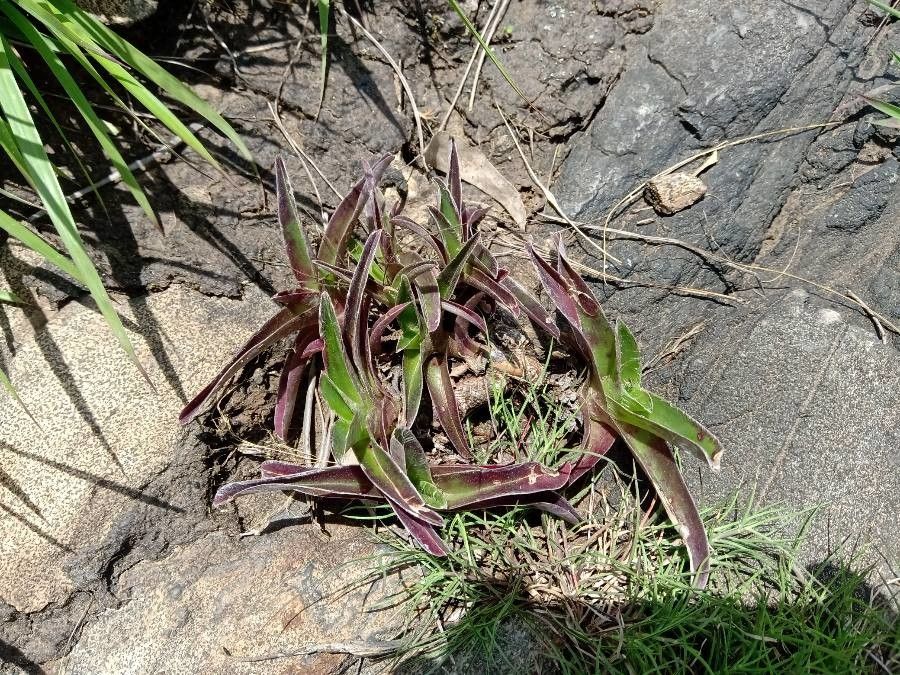
Oh, hello there! Pull up a chair and let’s chat about one of my favorite houseplants: Tradescantia reverchonii, or as I affectionately call it, the “Reverchon’s Wandering Dude.” If you’ve ever admired those cascading vines with their delicate, almost iridescent purple-green leaves, you’re in for a treat. Propagating this beauty is not only simple, it’s incredibly rewarding. It’s a fantastic plant for beginners, truly. You’ll be amazed at how quickly you can fill a new pot (or several!) with these gorgeous trailing plants.
The Best Time to Start
Honestly, you can really get going with Tradescantia reverchonii pretty much anytime the plant is actively growing, but spring and early summer are your prime time. That’s when the plant has plenty of energy to put into developing new roots. Think of it as giving your plant a birthday boost! You can certainly take cuttings on a mature plant in fall or winter, but you might just see slower progress.
Supplies You’ll Need
Gathering your supplies makes the whole process much smoother. Here’s what I usually have on hand:
- Sharp pruning shears or scissors: Cleanliness is key to preventing disease.
- A well-draining potting mix: I love a blend of perlite and potting soil. You can also use a mix specifically for houseplants.
- Small pots or propagation trays: Terracotta pots are great because they breathe.
- Rooting hormone (optional but helpful): This gives cuttings a little extra oomph to sprout roots.
- A watering can with a fine rose: Gentle watering is best.
- Clear plastic bags or a propagation dome (optional): To create a humid environment.
Propagation Methods
There are a couple of super-easy ways to multiply your Tradescantia reverchonii.
Stem Cuttings
This is my go-to method for these guys.
- Take your cutting: Look for a healthy stem that has at least two or three leaf nodes. A node is a little bump on the stem where a leaf grows from. Using your sharp shears, cut a piece of stem about 3-6 inches long, just below a leaf node.
- Prepare the cutting: Gently remove the lower leaves from your cutting, leaving only the top few leaves. This prevents them from rotting in the soil or water.
- (Optional) Dip in rooting hormone: If you’re using it, dip the cut end of the stem into the rooting hormone powder. Tap off any excess.
- Plant it up: Fill your small pot with your well-draining potting mix. Make a small hole with your finger and insert the cut end of the stem into the soil, ensuring at least one node is buried. Gently firm the soil around it.
- Water gently: Water thoroughly until you see water draining from the bottom of the pot.
Water Propagation
This is such a fun method to watch!
- Take your cutting: Just like with stem cuttings, find a healthy stem with at least two leaf nodes and cut a 3-6 inch piece below a node.
- Remove lower leaves: Strip off any leaves that would end up submerged in water.
- Place in water: Put your cutting into a clean jar or glass filled with room-temperature water. Make sure the lower leaf nodes are submerged.
- Position: Find a bright spot for your jar, but avoid direct, harsh sunlight.
The “Secret Sauce” (Pro Tips)
After years of fussing over plants, a few little tricks really make a difference.
- Don’t let the leaves touch the water (when propagating in water). This is a big one! Any submerged leaves will start to decompose and can rot the whole cutting before it even has a chance to root. Regularly check your jar and trim off any offending leaves.
- Seal the deal for humidity: If you’re struggling with cuttings drying out, loosely tent a clear plastic bag over the pot or cover your propagation tray with a dome. This creates a mini-greenhouse. Make sure to open it up for a bit each day to allow for air circulation and prevent fungal issues.
- Bottom heat is your friend: For stem cuttings, if you have a heating mat designed for plants, placing your pots on it can significantly speed up root development. It mimics the warmth of spring soil.
Aftercare & Troubleshooting
Once you see those little white roots peeking out from the drainage holes (for potted cuttings) or you have a decent root structure in water, it’s time to transition your new baby.
- For water cuttings: When the roots are about an inch long, it’s time to pot them up into soil. Treat them just like you would a newly potted stem cutting. Keep the soil consistently moist but not soggy for the first few weeks.
- For potted cuttings: Continue to keep the soil evenly moist. You can also give them a gentle feeding with a diluted liquid fertilizer after about a month.
- Signs of failure: The most common issue is rot. If your cutting turns mushy and black, or looks like it’s melting, it’s likely rotted. This usually happens from too much moisture and poor air circulation. If you see a bit of wilting, don’t panic immediately! Sometimes, especially with water cuttings, they just need a little time to adjust. Remove any damaged leaves, and check your moisture levels.
A Little Encouragement
Propagating plants is a magical journey, and Tradescantia reverchonii makes it an easy and joyful one. Don’t be discouraged if a cutting doesn’t take right away. Every gardener has a few that don’t quite make it – it’s all part of the learning process! Be patient, observe your cuttings, and enjoy the satisfaction of watching new life sprout. Happy propagating!
Resource:
https://identify.plantnet.org/k-world-flora/species/Tradescantia%20reverchonii%20Bush/data