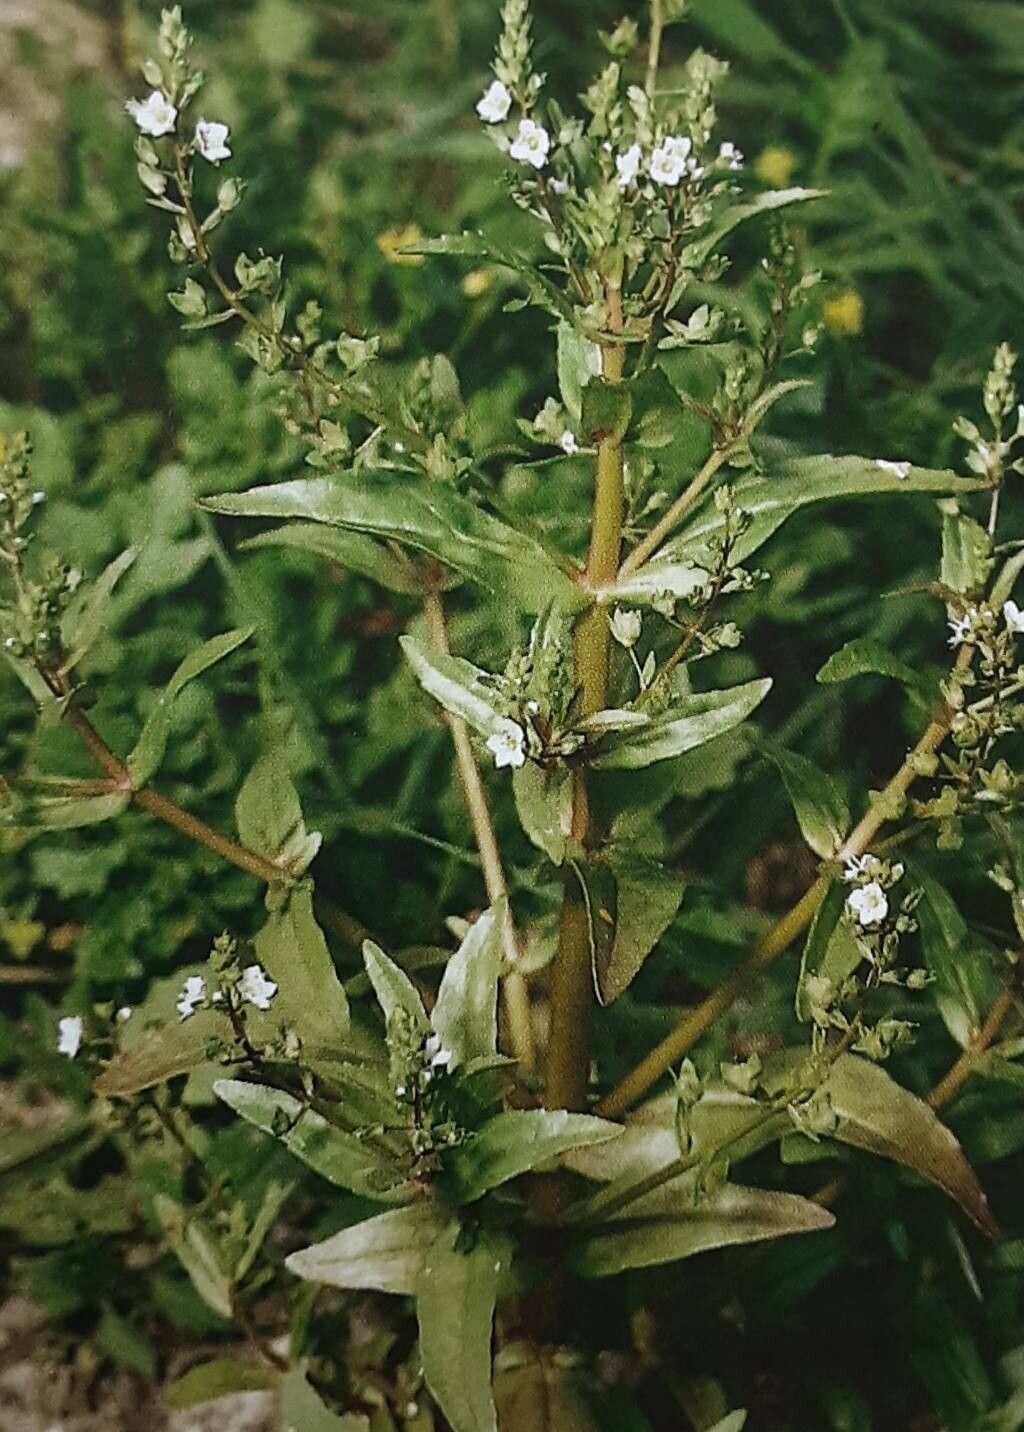
Hello there, fellow garden enthusiasts! Today, I want to chat about a plant that has truly captured my heart over the years: Veronica catenata. I just adore its delicate, chain-like blooms, often in stunning shades of blue or lavender, that cascade so beautifully. They bring this wonderful sense of grace to any garden, especially when paired with their airy foliage.
If you’ve ever admired this charmer, you’ll be thrilled to know that propagating Veronica catenata is a truly rewarding endeavor. It’s a fantastic way to expand your collection or share these beauties with friends. And for beginners? I’d say it’s quite approachable, but a little bit of know-how goes a long way. We’ll get you set up for success!
The Best Time to Start
Honestly, my favorite time to get going with Veronica catenata is in late spring or early summer, right after the plant has finished its initial flush of flowering. This is when the new growth is tender and full of life, making it incredibly receptive to rooting. You want to catch your plants when they’re actively growing. Avoid trying to propagate from old, woody stems; it’s just not as effective.
Supplies You’ll Need
Gathering your supplies beforehand makes the whole process so much smoother. Here’s what I usually have on hand:
- Sharp Pruning Shears or a Knife: Clean, sharp tools are non-negotiable for making clean cuts.
- Rooting Hormone (Optional but Recommended): A gentle dip can really give your cuttings a boost. I like to use a powder or gel.
- Well-Draining Potting Mix: A blend of peat moss, perlite, and a bit of sand works wonders. I often use a commercial seedling starter mix.
- Small Pots or Seedling Trays: Just enough space for your cuttings to get established. Make sure they have drainage holes!
- Spray Bottle: For keeping your cuttings moist without waterlogging them.
- Clear Plastic Bags or Domes: To create a humid environment for your cuttings.
- Labels and a Marker: Trust me, you’ll thank yourself later for labeling your plants!
Propagation Methods
Veronica catenata is quite versatile, and I’ve had great success with a couple of methods. Let’s dive in!
Stem Cuttings
This is my go-to method for Veronica catenata. It’s straightforward and you can get quite a few new plants from a healthy mother plant.
- Take Your Cuttings: Select healthy, non-flowering stems from your parent plant. Cut a section about 4-6 inches long, just below a leaf node (where a leaf attaches to the stem). Remove any lower leaves that might rot once planted. You can even take cuttings from flowering stems, but I prefer to remove the flower buds themselves to encourage rooting rather than flowering.
- Prepare the Cuttings: If you’re using rooting hormone, dip the cut end into it. Just a light coating is needed.
- Plant Your Cuttings: Make small holes in your prepared potting mix with a pencil or chopstick. Insert the cut end of the stem into the hole, making sure at least one leaf node is below the soil surface. Gently firm the soil around the stem.
- Water and Cover: Water the pot thoroughly but gently. Then, cover the pot with a clear plastic bag or a seedling dome. This creates the humid environment the cuttings need to prevent drying out before they form roots.
Water Propagation
This is a fun one to watch! It’s a bit more visual, and you can see the roots develop.
- Prepare Your Cuttings: Similar to stem cuttings, select healthy, non-flowering stems about 4-6 inches long. Remove all but the top few leaves.
- Place in Water: Fill a clean jar or glass with fresh water. Place the prepared cuttings in the water, making sure no leaves are submerged. Only the stem should be in the water.
- Find a Good Spot: Place the container in a bright spot, but out of direct sunlight. Change the water every few days to keep it fresh and prevent bacterial growth.
- Wait for Roots: You should start to see tiny white roots forming within a couple of weeks. Once the roots are about an inch long, they’re ready to be transplanted into soil.
The “Secret Sauce” (Pro Tips)
Over the years, I’ve picked up a few little tricks that seem to make all the difference.
- Bottom Heat is Your Friend: If you’re struggling with cuttings taking their sweet time or often see rot, try placing your pots on a gentle heating mat designed for propagation. This warmth from below really encourages root development and speeds things up considerably.
- Don’t Overcrowd: When planting multiple stem cuttings in one pot, give them a bit of space. Overcrowding can lead to poor air circulation and increase the risk of fungal issues. A little breathing room goes a long way.
- Mist, Don’t Drown: While humidity is crucial, constantly drenching the leaves of your cuttings can invite problems. A light misting a couple of times a day, or ensuring your plastic covering keeps the humidity high, is often sufficient. You want them to feel like they’re in a mini greenhouse, not a swamp!
Aftercare & Troubleshooting
Once you see those first signs of life – new leaves emerging or roots poking out of the drainage holes – it’s time for a little TLC.
- Transitioning: If you used the plastic bag method, gradually acclimate your cuttings to the outside air by opening the bag for longer periods each day. This prevents shock.
- Watering: Continue to keep the soil consistently moist but not soggy. As the plants grow, you can ease up on the watering frequency, but never let them dry out completely.
- Potting Up: Once your cuttings have developed a good root system and are showing steady growth, you can transplant them into larger pots with your regular potting mix.
- Troubleshooting – Rot: The most common issue is rot, often indicated by mushy, dark stems. This is usually a sign of too much moisture and poor air circulation. Discard any rotten cuttings and ensure better drainage and airflow for the remaining ones. If using water propagation, ensure the water is changed regularly and no leaves are submerged.
- Troubleshooting – No Growth: Be patient! Some plants are just slower than others. If you don’t see any signs of rooting after several weeks, it doesn’t necessarily mean failure. Recutting the stem or trying again in a different season might be necessary.
A Little Patience Goes a Long Way
Propagating Veronica catenata is such a joy. It’s a wonderful way to connect with nature, and there’s a genuine sense of accomplishment when you see those tiny roots take hold and a new plant begin to flourish. Don’t get discouraged if your first few attempts aren’t perfect. Gardening is all about learning and experimenting. Just enjoy the process, celebrate every little success, and soon you’ll have a whole army of these charming plants! Happy gardening!
Resource:
https://identify.plantnet.org/k-world-flora/species/Veronica%20catenata%20Pennell/data