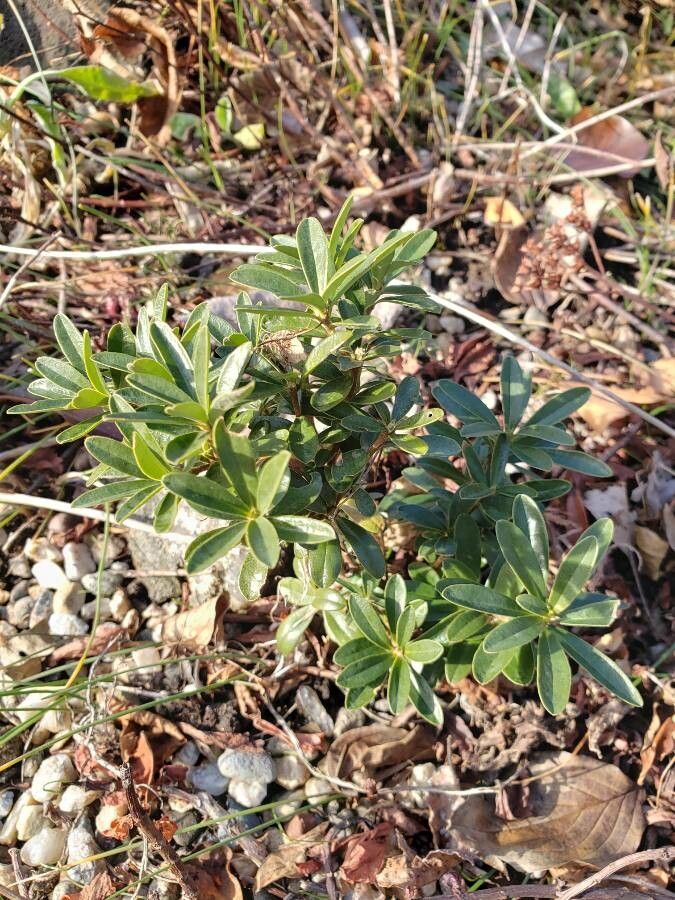
Oh, Daphne petraea! What a treasure to have in the garden. Its clusters of delightful, intensely fragrant pink flowers, especially in spring, are just pure joy. And its compact, evergreen habit makes it a perfect fit for smaller spaces or the front of a border. Growing more of these beauties from cuttings is incredibly rewarding, like creating little pieces of garden magic yourself. Now, I’ll be honest, Daphne petraea can be a bit finicky sometimes, so it might not be the absolute easiest plant for a brand-new propagator, but with a little care and attention, you’ll likely have success.
The Best Time to Start
For Daphne petraea, timing is everything. I’ve found the greatest success starting cuttings in late spring or early summer. This is when the plant is actively growing, and the stems are semi-hardwood – they’re not brand new and floppy, but they haven’t completely hardened off yet. It’s that perfect sweet spot for rooting.
Supplies You’ll Need
Before we dive in, let’s gather our toolkit:
- Sharp Pruning Shears or a Craft Knife: Cleanliness is key here for making clean cuts.
- Rooting Hormone: A good quality rooting hormone powder or gel will significantly boost your success rate.
- Potting Mix: A well-draining mix is crucial. I like a blend of equal parts peat moss (or coco coir), perlite, and a bit of coarse sand. Some growers swear by a mix that’s almost entirely perlite.
- Small Pots or Seed Trays: Clean ones, of course! 3-4 inch pots are a good size.
- Plastic Bags or a Propagation Dome: To create a humid environment.
- Labeling Stakes: To remember what you planted and when!
Propagation Methods
We’ll focus on the most reliable method for Daphne petraea: stem cuttings.
- Take Your Cuttings: On a bright, mild day, select healthy, non-flowering shoots from your mature Daphne. You want pieces that are about 4-6 inches long. Make a clean cut just below a leaf node (where a leaf attaches to the stem).
- Prepare the Cuttings: Gently remove the lower leaves from the cutting, leaving just a couple of leaves at the top. This reduces water loss. If the leaves are very large, you can even cut them in half to further minimize transpiration.
- Apply Rooting Hormone: Dip the cut end of the stem into your rooting hormone, tapping off any excess. Ensure the hormone coats the bottom inch or so of the cutting.
- Plant Your Cuttings: Fill your small pots with your prepared, consistently moist (but not soggy) potting mix. Make a small hole with a pencil or your finger, and gently insert the cutting, ensuring the hormone-coated end is well-covered by the soil. Firm the soil gently around the stem to ensure good contact.
- Create a Humid Environment: Water your cuttings lightly. Then, cover the pots with a clear plastic bag (secured with a rubber band or string) or place them under a propagation dome. This will create the high humidity they crave.
The “Secret Sauce” (Pro Tips)
Here are a few things I’ve learned that really make a difference for Daphne cuttings:
- Bottom Heat is Your Friend: Daphne cuttings absolutely love a bit of gentle warmth from below. Using a seedling heat mat can massively speed up root development and increase your success rate. Just make sure the mat isn’t too hot – comfortably warm to the touch is perfect.
- Don’t Let Leaves Touch Water: If you happen to be trying water propagation (which is trickier for Daphne), make sure none of the leaves are submerged. They’ll rot very quickly. But for cuttings, we’re sticking to soil, so this is less of an issue, but still good to keep in mind for general propagation.
- Patience, My Friend, Patience: Daphne can be slow to root. Don’t be tempted to pull them up too soon to check for roots. Give them several weeks. Gentle tugging is sometimes how you know, but if it feels completely loose, it hasn’t rooted.
Aftercare & Troubleshooting
Once your cuttings are happily settled, keep them in a bright, indirect light location. Water them sparingly, allowing the top inch of soil to dry out between waterings. They don’t like sitting in soggy conditions.
The first sign of success will be new growth appearing at the top of the cutting. If you’re unsure about roots, a very gentle tug will tell you if resistance is met. If it pulls out easily, it sadly hasn’t rooted.
The most common problem you’ll encounter is rot. This is usually due to overwatering or poor drainage. If you see stem bases turning black and mushy, or the leaves wilting and browning from the bottom up, it’s a sign of trouble. Unfortunately, once rot sets in, it’s difficult to save the cutting. Discard any affected cuttings to prevent it from spreading.
A Encouraging Closing
Propagating Daphne petraea is a journey, and like all good gardening endeavors, it requires a bit of patience and a lot of observation. Don’t be discouraged if your first attempts aren’t perfect. Every gardener has had their share of cuttings that just didn’t make it. Keep trying, enjoy the process of nurturing these little plantlets, and soon you’ll be rewarded with your very own fragrant Daphnes to share or plant in new spots in your garden. Happy propagating!
Resource:
https://identify.plantnet.org/k-world-flora/species/Daphne%20petraea%20Leyb./data