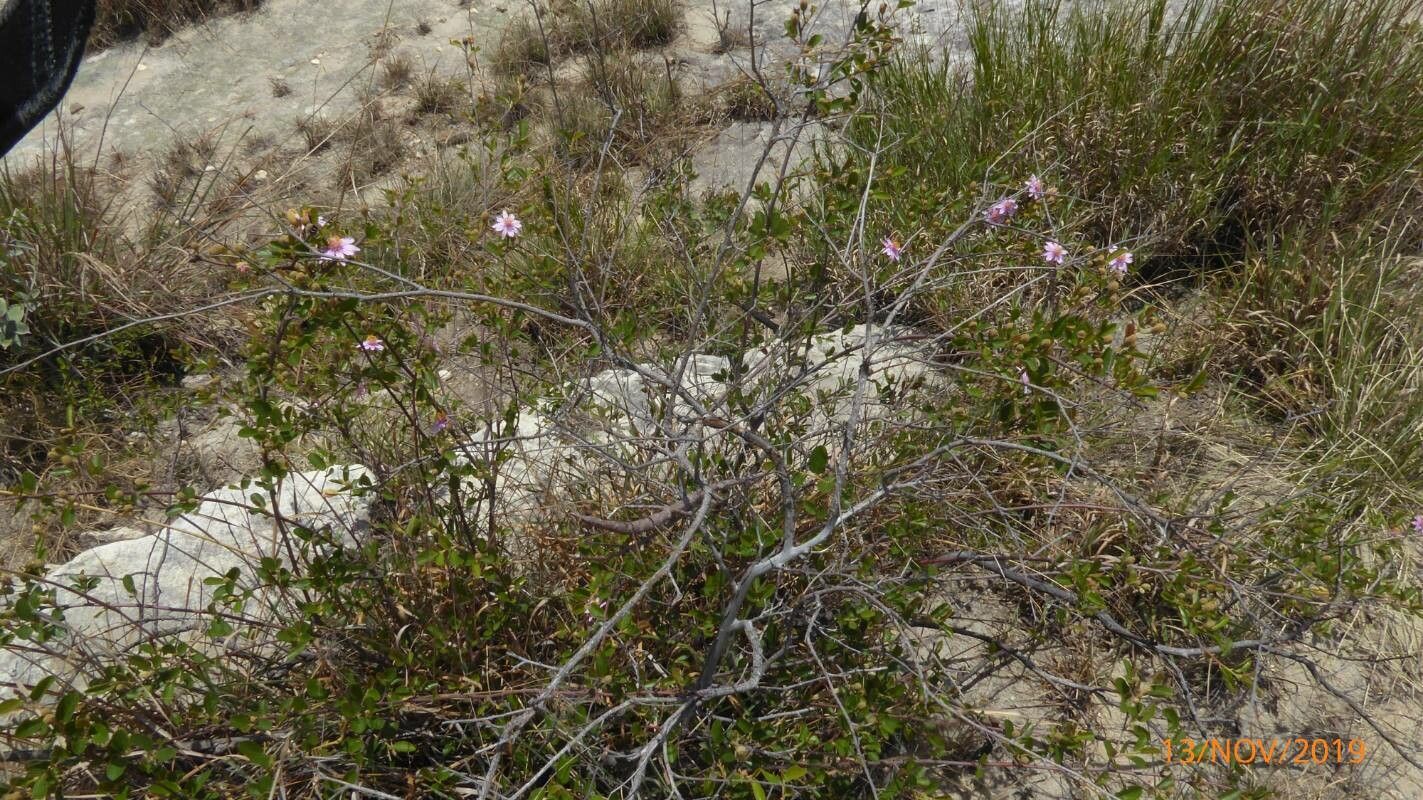
Oh, hello there! Come on in, pull up a chair. I’ve got a fresh pot of coffee brewing, and I’m just itching to talk about a plant that’s really captured my heart: Corethrogyne filaginifolia. You might know it by its common names like California Aster or Dusty Miller (though be careful, as there are other plants called Dusty Miller!). This little beauty is a native wildflower, and I just adore its cheerful, daisy-like flowers that pop up in the spring and can keep blooming well into the summer. They bring such a lovely splash of purple-pink to the garden, attracting all sorts of beneficial pollinators.
Now, if you’re wondering if this is a plant for beginners to try propagating, I’d say yes, absolutely! Corethrogyne filaginifolia is surprisingly forgiving, and the reward of seeing those little roots form and a new plant emerge is just wonderful. It’s a fantastic way to fill your garden with more of these delightful blooms without breaking the bank.
The Best Time to Start
For me, the sweet spot for propagating Corethrogyne filaginifolia is late spring to early summer. This is when the plant is actively growing and has plenty of energy. You’re looking for semi-hardwood cuttings, which means stems that are no longer brand new and floppy but haven’t become tough and woody yet. They’ll have a bit of flexibility when you try to bend them.
Supplies You’ll Need
Here’s a little checklist to get you started:
- Sharp pruning shears or a clean, sharp knife: For making clean cuts.
- Rooting hormone (optional, but helpful!): A powder or gel to encourage root development.
- A well-draining potting mix: I often use a mix of equal parts perlite and peat moss, or a commercial seedling starting mix.
- Small pots or propagation trays: Clean containers with drainage holes are a must.
- A plastic bag or propagation dome: To create a humid environment.
- Water spray bottle: For gentle misting.
- Labels and a permanent marker: So you don’t forget what you planted!
Propagation Methods
We’ll focus on the most straightforward method for Corethrogyne filaginifolia: stem cuttings.
- Take Your Cuttings: In the late spring or early summer, use your clean shears to snip off 4-6 inch sections of healthy stems. Look for stems that have both leafy growth at the tip and some slightly more mature stem below. Remove the lower leaves, leaving just a couple of pairs at the very top. This will help prevent rot in the soil.
- Prepare the Cuttings: Dip the cut end of each stem into your rooting hormone, tapping off any excess. This step is optional, but it really does give the cuttings a boost.
- Plant Your Cuttings: Fill your small pots or trays with your well-draining potting mix. Make a small hole in the center of the mix with your finger or a pencil. Gently insert the prepared cutting into the hole, making sure the nodes (where the leaves were removed) are below the soil surface. Firm the soil gently around the base of the cutting.
- Create Humidity: Water the soil thoroughly with your spray bottle until it’s evenly moist. Then, cover the pots with a plastic bag or propagation dome. This traps the humidity around the cuttings, which is crucial for them to root without drying out.
- Provide Light and Warmth: Place your pots in a bright location that receives indirect sunlight. Avoid direct sun, which can scorch the delicate cuttings. If you have a heat mat, popping them on gentle bottom heat can really speed things up, though it’s not strictly necessary.
The “Secret Sauce”
Here are a couple of little tricks I’ve learned over the years that make a real difference:
- Don’t Drown Your Dreams (or Your Cuttings!): While humidity is key, you don’t want water sitting on leaves or collecting at the bottom of the pot. Check the moisture levels regularly. The soil should feel consistently moist, but never waterlogged. If you see condensation building up heavily inside the bag, open it up for a few hours to let it air out.
- The Gentle Tug Test: After about 4-6 weeks, you can start to check for roots. Very gently tug on a cutting. If you feel any resistance, it means roots have formed! If it pulls out easily, it hasn’t rooted yet, so leave it be and check again in a few more weeks.
Aftercare & Troubleshooting
Once your cuttings have rooted (hooray!), it’s time for a little bit of continued care.
- Acclimatize Them: Slowly start to remove the plastic bag for longer periods each day, over a week or so. This helps them adjust to normal room humidity.
- Potting Up: Once they have a good root system and are growing actively, you can transplant them into slightly larger pots with regular potting soil.
- Watch for Rot: The biggest culprit for failure with cuttings is rot, often caused by overwatering or poor drainage. If you see your cutting turning black and mushy, it’s likely succumbed to rot. It’s disheartening, but it happens! Just discard the affected cutting and start again – maybe with a slightly drier soil mix or better air circulation. Lack of rooting can also be due to insufficient humidity or not enough time.
A Little Encouragement to Finish
So there you have it! Propagating Corethrogyne filaginifolia is a truly rewarding process. It takes a bit of patience, sure, but watching those tiny roots emerge and then nurturing a whole new plant from a simple stem is one of gardening’s greatest joys. Don’t be afraid to experiment, and most importantly, enjoy the journey! Each cutting is an opportunity to learn and grow alongside your garden. Happy propagating!
Resource: