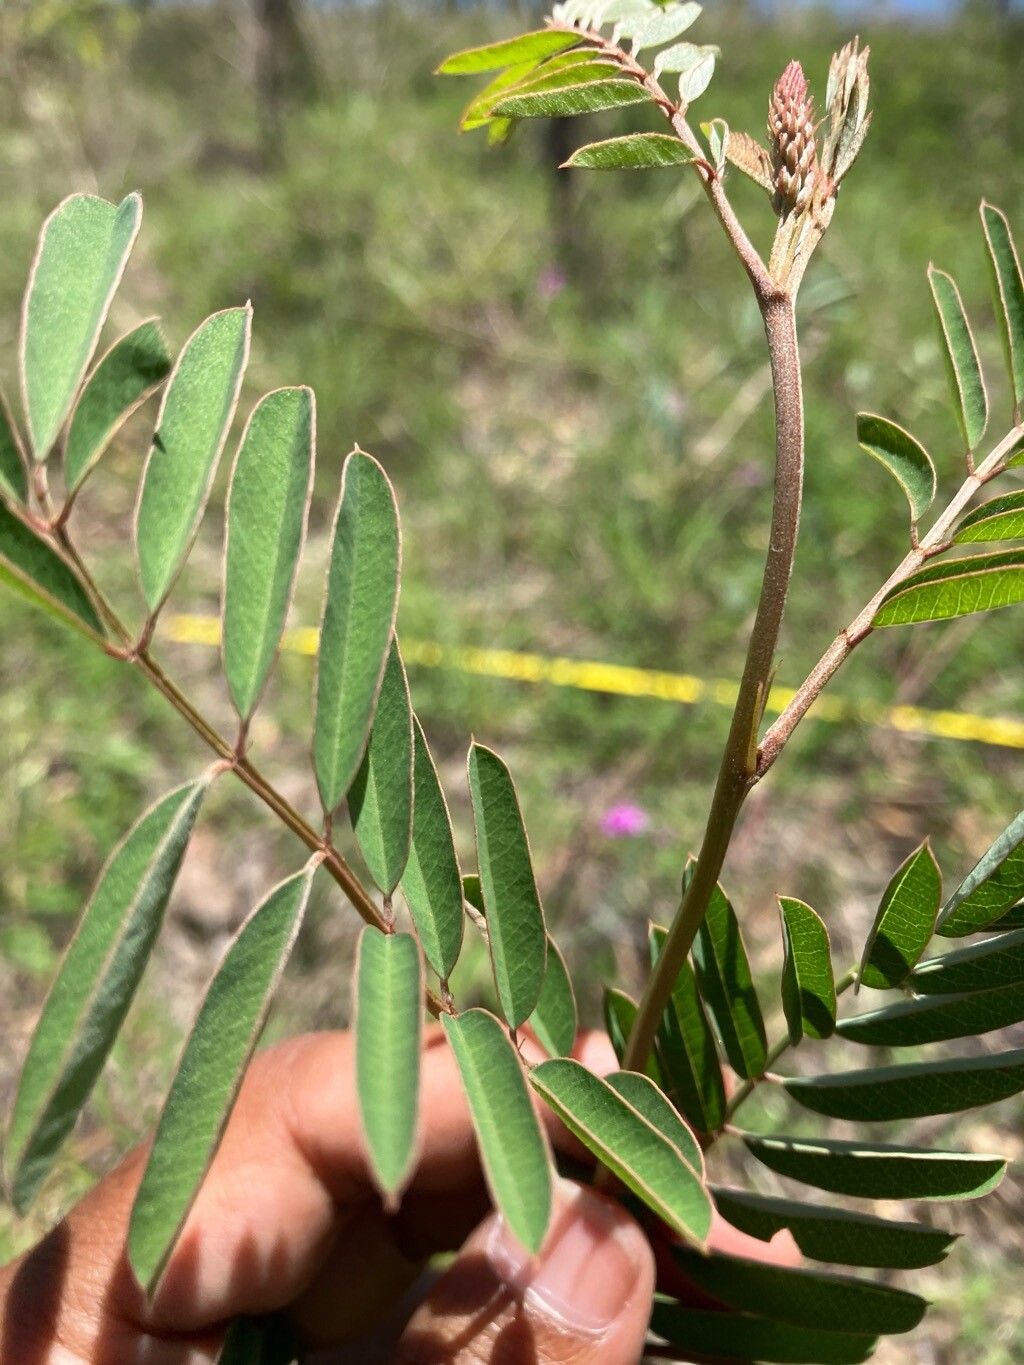
Hello fellow plant enthusiasts! It’s so lovely to have you here. Today, we’re diving into the wonderful world of propagating Indigofera pratensis. This charming plant, with its delicate blue-purple pea-like flowers and graceful, often shrubby growth, is a real gem in any garden. Watching little plants emerge from a bit of stem or a tiny seed is one of gardening’s greatest joys, and Indigofera is no exception. Good news for beginners: While it needs a little care, propagating Indigofera pratensis is generally quite straightforward!
The Best Time to Start
For the most success, late spring to early summer is your sweet spot. This is when the plant is actively growing and has plenty of energy to put into developing new roots. You’ll want to take cuttings from healthy, non-flowering stems. Think of it like this: the plant is focused on making new leaves and stems at this time, not seeds or flowers, so it’s more receptive to putting that energy into new roots.
Supplies You’ll Need
Here’s what you’ll want to gather before you begin:
- Sharp Pruning Shears or a Knife: Cleanliness is key to prevent disease.
- Rooting Hormone (Optional but Recommended): This little helper can really speed things up. Look for one specifically for softwood or semi-hardwood cuttings.
- Potting Mix: A well-draining mix is crucial. I like to use a blend of equal parts peat moss or coco coir and perlite or coarse sand. This ensures aeration and prevents waterlogging.
- Pots or Trays: Small pots or seed starting trays with drainage holes work perfectly.
- Plastic Bag or Dome: This creates a mini-greenhouse effect to keep humidity high.
- Watering Can or Spray Bottle: For gentle watering.
Propagation Methods
Let’s get our hands dirty! I typically rely on stem cuttings for Indigofera pratensis, as it’s reliable and produces a plant true to the parent.
Stem Cuttings:
- Select Your Cuttings: Find a healthy stem that is about 4-6 inches long. Look for stems that are green and flexible but not floppy. You’re aiming for what we call “semi-hardwood” – not brand new, tender growth, but not old, woody growth either.
- Make the Cut: Using your sterilized shears or knife, make a clean cut just below a leaf node. A leaf node is where a leaf grows from the stem. This is where the magic happens, with lots of cells ready to develop roots.
- Prepare the Cutting: Gently remove the lower leaves from the cutting, leaving just a few at the top. This prevents them from rotting in the soil and encourages the plant to focus its energy on rooting.
- Apply Rooting Hormone: If you’re using rooting hormone, dip the cut end of the stem into the powder or gel. Tap off any excess.
- Plant Your Cuttings: Fill your pots or trays with your moistened, well-draining potting mix. Make a small hole in the center of each pot with your finger or a pencil.
- Insert and Water: Gently insert the cut end of the Indigofera cutting into the hole, ensuring the nodes where the leaves were removed are covered by soil. Firm the soil gently around the stem. Water thoroughly but gently.
The “Secret Sauce” (Pro Tips)
Okay, here are a few little tricks I’ve learned over the years that can really make a difference:
- Don’t let those top leaves touch the water if you’re using a spray bottle to mist. If you mist a lot, water can sit on leaves and lead to fungal issues. It’s better to water the soil directly or use a gentle mist that evaporates quickly.
- Bottom Heat is your friend! If you have a propagation mat or can place your planted cuttings on top of a gently warmed surface (not hot, just warm), it encourages root development from below. This mimics the warmth of the soil in its natural growing season.
- Patience, patience, patience! Indigofera can sometimes be a bit slow to show signs of rooting. Don’t give up too soon. I often wait at least 4-6 weeks before I attempt to gently tug on a cutting to check for resistance.
Aftercare & Troubleshooting
Once you see signs of new growth – tiny leaves unfurling at the top – it’s a good indication that roots are forming! You’ll want to gradually acclimate your new plant to less humid conditions. Gradually lift the plastic bag or dome for increasing periods over a week or two. Continue to keep the soil consistently moist but not soggy.
The most common issue you might encounter is rot. If your cuttings turn mushy or black, it’s usually a sign of too much moisture and poor drainage. Make sure your soil mix is airy and that the pots have good drainage. If you see mold on the soil surface, you can try gently scraping it off.
A Encouraging Closing
Propagating Indigofera pratensis is a beautiful way to expand your collection and share the joy of these lovely plants with others. Remember to be patient, observe your cuttings, and learn from each step. Happy propagating, and I can’t wait to hear about your successes!
Resource:
https://identify.plantnet.org/k-world-flora/species/Indigofera%20pratensis%20F.Muell./data