Hey there, fellow plant lovers! Today, we’re diving into the wonderful world of Goniothalamus cardiopetalus.
Unlocking the Magic of Goniothalamus cardiopetalus
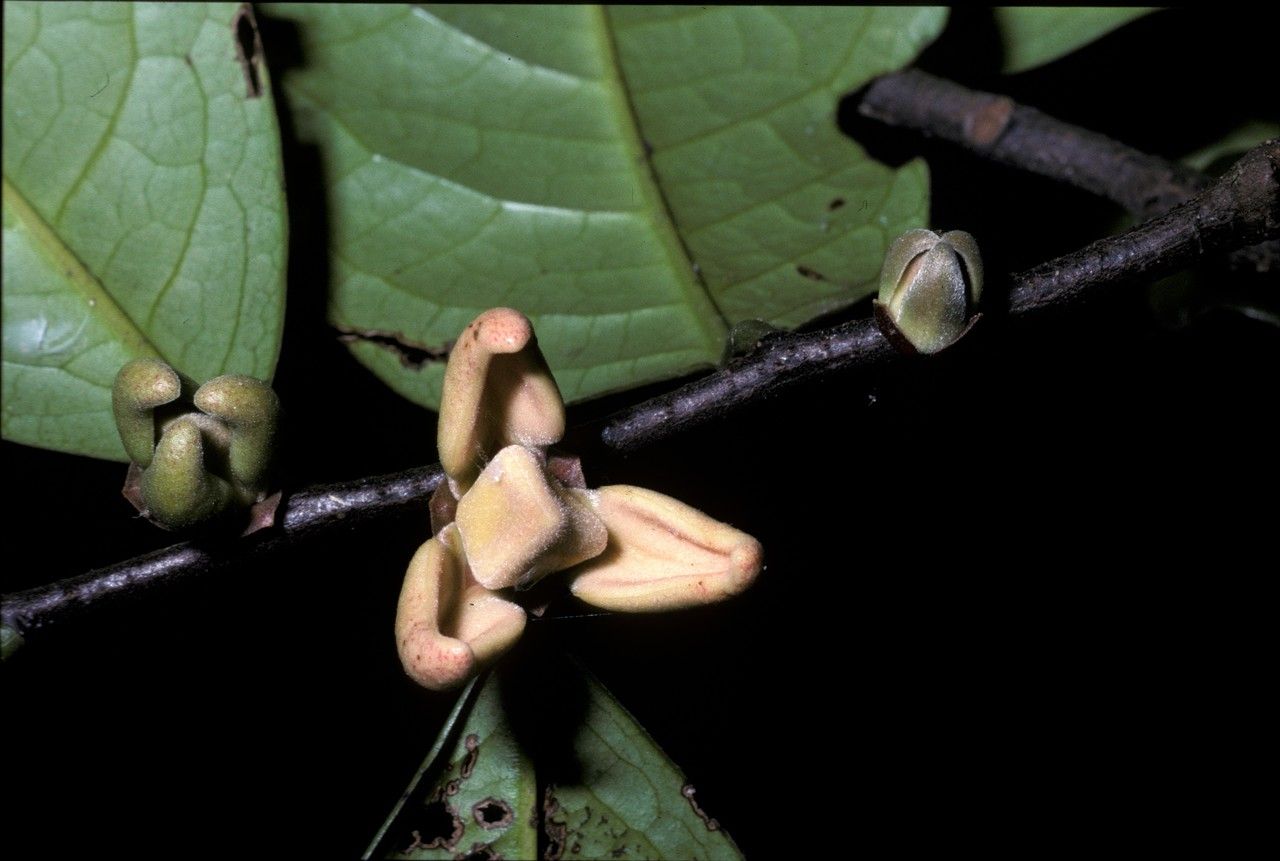
This tropical beauty, with its dreamy, fragrant flowers, is an absolute showstopper in any garden or conservatory. Just looking at it brings a smile to my face. And the best part? You can easily multiply this joy! Propagating Goniothalamus cardiopetalus is a deeply rewarding experience, letting you share its charm or simply fill your space with more of its magic. For those new to the plant world, I’d say it’s moderately challenging – not impossible, but it does require a little TLC and understanding. Don’t let that deter you though; it’s a journey of learning and growth!
When to Get Your Hands Dirty: The Best Time to Start
The sweet spot for propagating Goniothalamus cardiopetalus is late spring through early summer. This is when the plant is in its active growth phase. You’re looking for semi-hardwood cuttings, meaning they’re not brand new, soft growth, but not tough and woody either. Think of a pencil – that’s about the firmness you want.
Your Propagation Toolkit
Here’s what you’ll want to have ready before you begin:
- Sharp Pruning Shears or a Clean Knife: For making precise cuts. Sterilize them with rubbing alcohol to prevent disease.
- Rooting Hormone: A powdered or gel type specifically for stem cuttings. This is a real game-changer!
- Well-Draining Potting Mix: A blend of equal parts peat moss or coco coir, perlite, and coarse sand works wonderfully. You want air to circulate around those precious roots.
- Small Pots or Seedling Trays: Clean ones, of course!
- Plastic Bags or a Clear Propagation Dome: To create a humid microclimate.
- Water Source: For misting.
- Optional: Bottom Heat Mat: This can significantly speed up rooting.
Let’s Get Growing: Propagation Methods
We’ll focus on the most reliable method for Goniothalamus cardiopetalus: stem cuttings.
- Select Your Cuttings: Find a healthy, non-flowering stem on your mature plant. Look for one that’s about 4-6 inches long and has several sets of leaves.
- Make a Clean Cut: Using your sterilized shears or knife, make a clean cut just below a leaf node (where a leaf attaches to the stem).
- Prepare the Cutting: Gently remove the lower leaves, leaving just a few at the very top. This prevents them from rotting in the soil. If the remaining leaves are very large, I like to cut them in half horizontally. This reduces water loss through transpiration.
- Apply Rooting Hormone: Dip the cut end of the stem into your rooting hormone, tapping off any excess.
- Plant Your Cutting: Make a small hole in your prepared potting mix with a pencil or your finger. Insert the cutting into the hole, ensuring the rooting hormone remains on the cut end. Gently firm the soil around the base.
- Water Gently: Water the potting mix thoroughly but gently, so you don’t dislodge the cutting.
- Create a Humid Environment: Place the pot inside a clear plastic bag, like a mini-greenhouse, or cover it with a propagation dome. Make sure the leaves don’t touch the sides of the bag if possible. Lightly mist the inside of the bag to add humidity.
The “Secret Sauce”: My Insider Tips
I’ve learned a thing or two over the years, and here are a few tricks that really make a difference:
- Bottom Heat is Your Friend: If you have a heat mat, place your pots on it. This consistent warmth from below encourages root development like nothing else. It’s not strictly essential, but it’s a huge help.
- Patience is Paramount (and Keep it Cozy): Goniothalamus cardiopetalus can be a bit on the slower side when it comes to rooting. Don’t be discouraged if you don’t see new growth for several weeks. Keep that propagator nice and humid and the temperature stable – ideally around 70-75°F (21-24°C).
- The “Sniff Test” for Success: After a few weeks, you can gently tug on a cutting. If you feel resistance, that’s a good sign roots are forming! You can also look for tiny new leaves emerging.
Aftercare and Watching for Trouble
Once you’ve spotted those glorious new roots, or new growth appears, it’s time for a little more attention.
- Gradual Acclimation: Slowly introduce your new plant to less humid conditions. You can do this by gradually opening the plastic bag or lifting the dome for increasing periods each day.
- Consistent Moisture: Keep the soil consistently moist but not waterlogged. Water when the top inch of soil feels dry to the touch.
- Bright, Indirect Light: Place your young plant in a spot with bright, indirect light. Direct sun can scorch those delicate new leaves.
Now, what if things don’t go as planned? The most common sign of failure is rot. If your cutting turns mushy, black, or develops a foul smell, it’s likely rotted. This is usually due to too much moisture and not enough drainage, or poor air circulation. If you see this, it’s best to discard the cutting and start again. Don’t beat yourself up; we’ve all been there! The key is to learn from it and adjust your approach next time.
Keep Growing!
Propagating plants is a wonderfully tangible way to connect with nature. It teaches us patience, observation, and the sheer tenacity of life. So, be patient with your Goniothalamus cardiopetalus cuttings, enjoy the process, and celebrate every tiny leaf and developing root. Happy gardening!
Resource: