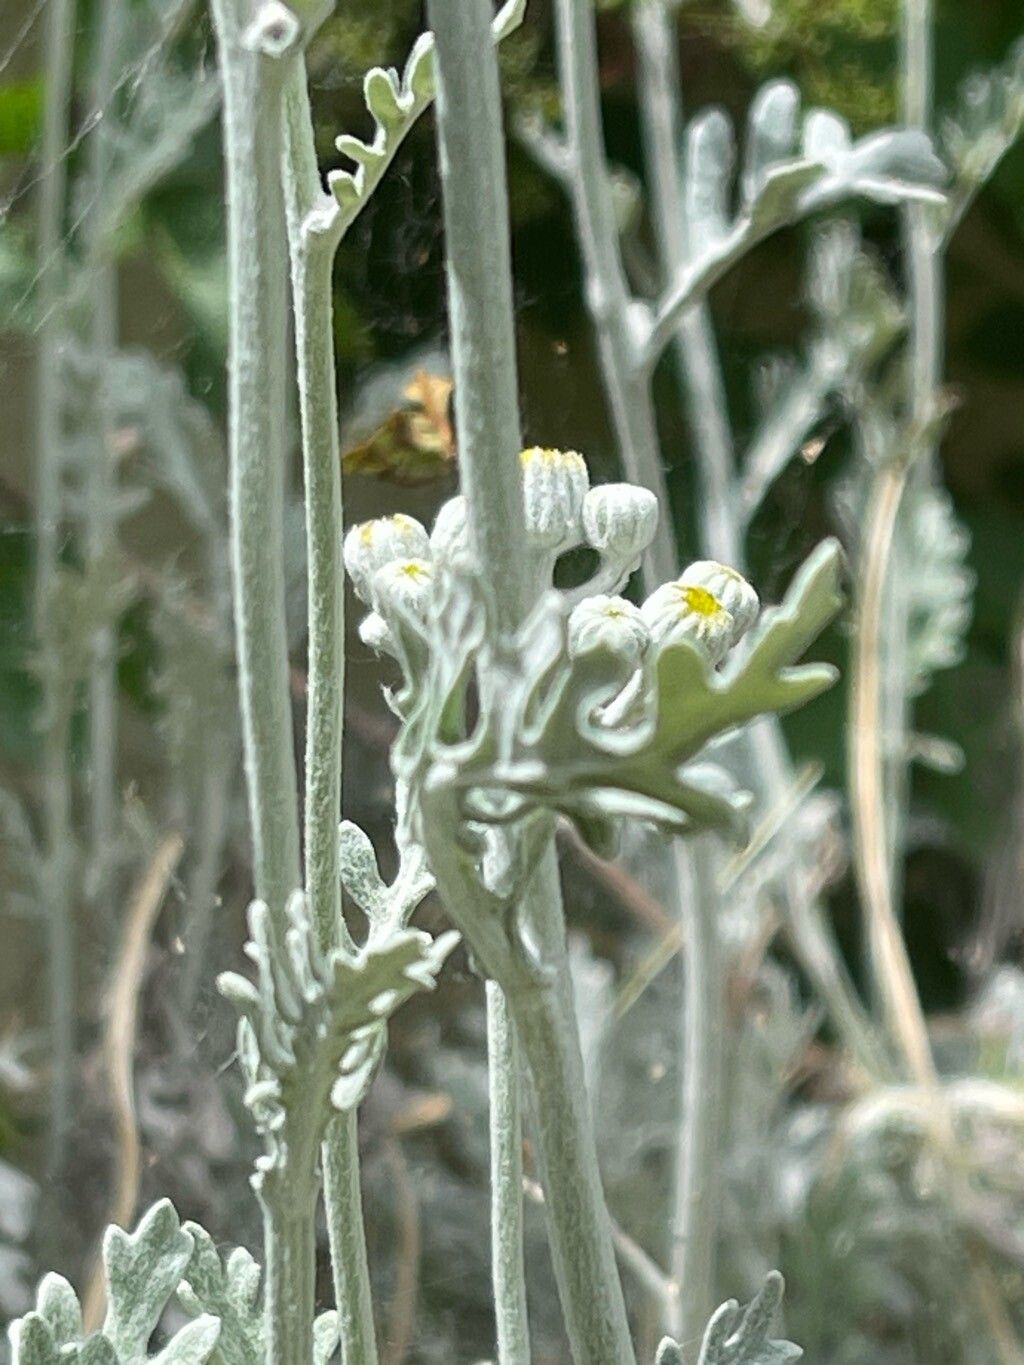
Hello, fellow garden enthusiasts! Today, we’re diving into the world of a plant that often catches my eye with its striking silvery foliage and cheerful yellow blooms: Jacobaea maritima, or as many of us know it, Dusty Miller. I’ve been growing and propagating this beauty for two decades now, and let me tell you, it’s a truly rewarding experience seeing these little plants flourish from tiny cuttings.
If you’re new to the propagation game, don’t you worry! Dusty Miller is generally quite forgiving, making it a fantastic plant to get your hands dirty with. The satisfaction of taking a bit of your existing plant and turning it into a whole new one is simply unbeatable.
The Best Time to Start
For the highest success rate, I’ve found that late spring or early summer is your golden ticket. After the last frost has passed and the plant is actively growing, its stems are usually full of life and ready to root. You can also get away with taking cuttings in early autumn before things get too chilly, but spring usually gives you a head start on robust new growth.
Supplies You’ll Need
Gathering your tools beforehand makes the whole process smoother. Here’s what I always have on hand:
- Sharp pruning shears or a clean craft knife: For making clean cuts.
- Small pots or seed trays: For your cuttings to root in.
- Well-draining potting mix: A cactus and succulent mix works wonderfully.
- Rooting hormone (optional): I sometimes use it, especially if I’m feeling impatient!
- Spray bottle: For misting.
- Clear plastic bag or propagation dome: To create a humid environment.
Propagation Methods
Dusty Miller is wonderfully versatile, but my go-to method is stem cuttings. It’s straightforward and yields excellent results.
- Select Your Cuttings: Look for healthy, non-flowering stems. Choose shoots that are about 4-6 inches long.
- Make the Cut: Using your clean shears or knife, make a clean cut just below a leaf node (where a leaf meets the stem). Remove any lower leaves that would be below the soil line.
- Rooting Hormone (Optional): If you’re using rooting hormone, dip the cut end of the stem into the powder. A little goes a long way.
- Planting: Fill your chosen pots with the well-draining potting mix. Make a small hole with your finger or a pencil and insert the cut end of the stem. Gently firm the soil around it.
- Watering: Give the soil a good but gentle watering. You want it moist, not soggy.
- Create Humidity: Place the potted cuttings into a clear plastic bag or cover them with a propagation dome. This traps moisture and encourages rooting. Aim to keep them out of direct, scorching sun at this stage.
The “Secret Sauce” (Pro Tips)
After years of coaxing these plants to grow, I’ve picked up a few tricks that seem to make a difference:
- Don’t Drown Your Hopes: Once your cuttings are potted, resist the urge to overwater. I find they prefer to be slightly on the drier side once they’re established in their pots. Let the top inch of soil dry out between waterings.
- The Power of Bottom Heat: If you’re propagating in a cooler room, placing your pots on a gentle heat mat can significantly speed up root development. It’s like a warm hug for your cuttings!
- Patience is a Virtue (and a Good Gardener!): Sometimes cuttings take their sweet time. Don’t get discouraged if you don’t see roots immediately. Stick with it!
Aftercare & Troubleshooting
Check your cuttings every few days. You’re looking for signs of life – new leaf growth is a great indicator that roots are forming! You can also give a gentle tug; if there’s resistance, you’ve got roots.
Once you see good root development, it’s time to gradually acclimate them to a less humid environment. Open the plastic bag or dome a little more each day, or remove it for longer periods. Once they’re looking strong and have a good root system, you can transplant them into their own individual pots.
If your cuttings start to look limp and mushy, or if you see a greyish fuzzy mold, rot is likely the culprit. This usually happens from too much moisture. Unfortunately, with rot, it’s often best to discard the affected cutting and start fresh, ensuring better drainage and less water next time.
A Encouraging Closing
So there you have it! Propagating Jacobaea maritima is a journey well worth taking. Be patient with your little green friends, offer them the right conditions, and you’ll soon be rewarded with beautiful new plants to fill your garden or share with friends. Happy propagating!
Resource: