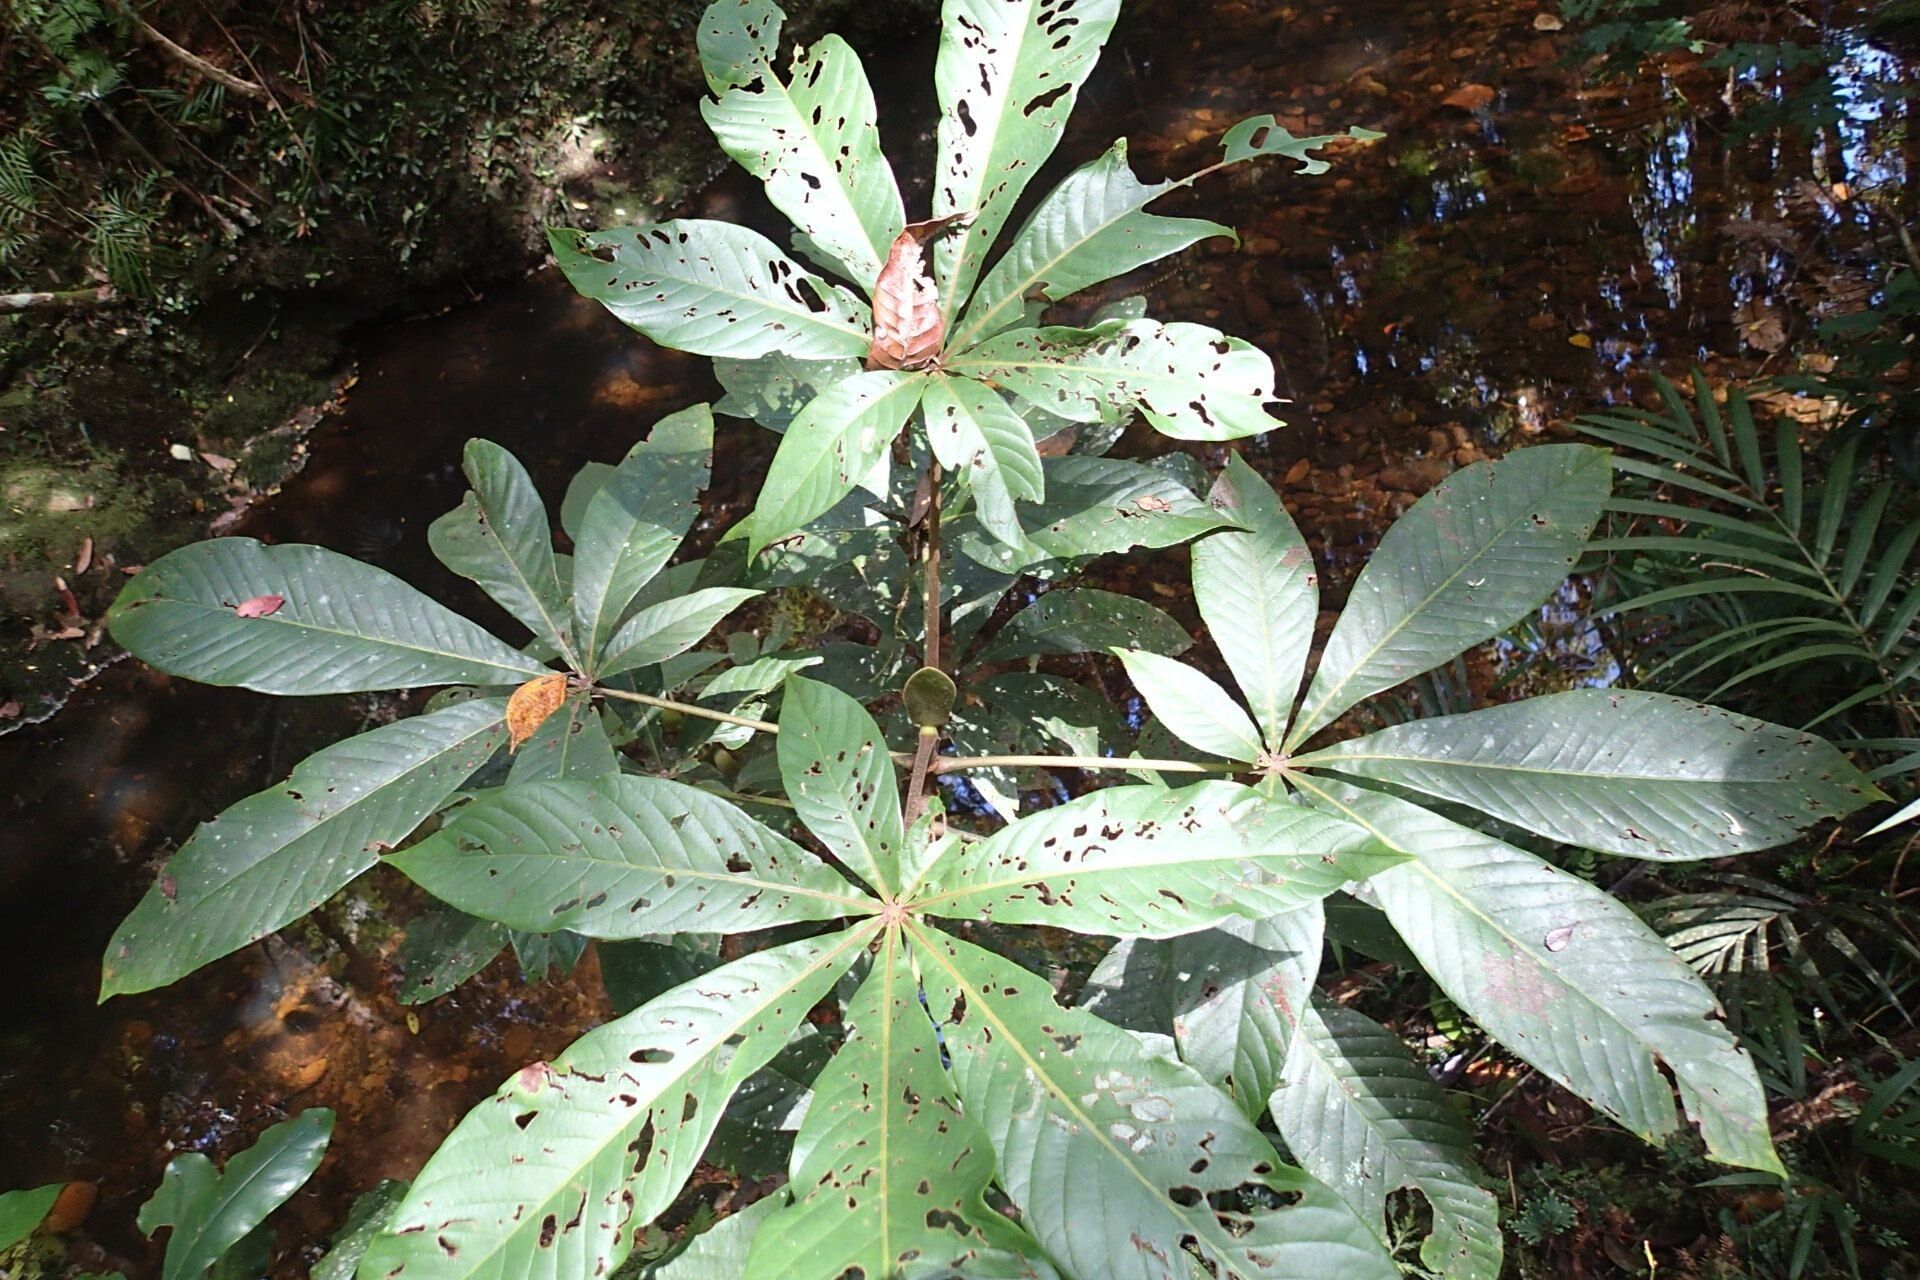
Hello garden friends! It’s so lovely to have you join me today. I want to talk about a plant that has truly captured my heart over the years: Geissois hippocastanifolia. You might know it as the “New Zealand Lacebark” or sometimes simply “Firecracker Plant” – not because it explodes, but for its showy, cluster of starry white flowers that really do pop against its glossy, deep green foliage. It’s a stunning native, bringing a touch of the exotic to any garden or even porch pots. And you know what’s even better than admiring one? Growing your own! Propagating this beauty is a wonderfully rewarding experience, and I’m thrilled to share my secrets with you. Don’t worry if you’re new to this; while it has a bit of a reputation, with a little care, you can absolutely succeed.
The Best Time to Start
For Geissois hippocastanifolia, spring is really your golden time. As the weather warms up and the plant is starting its vigorous growth phase, it’s much more inclined to happily root. Wait until after the last frost has completely passed and you’re seeing fresh, new growth on your parent plant. That’s when you’ll have the best chance of success. Trying to take cuttings in the dead of winter is just asking for disappointment, trust me!
Supplies You’ll Need
Here’s a little toolkit to get you started. Having these ready will make the process so much smoother:
- Sharp, sterile pruning shears or a sharp knife: Cleanliness is key to preventing disease.
- Rooting hormone (powder or gel): This is a real game-changer for encouraging strong root development.
- Well-draining potting mix: I love a mix of equal parts peat moss or coco coir, perlite, and a bit of compost. It needs to be airy!
- Small pots or trays with drainage holes: For your cuttings to grow in.
- Plastic bags or a propagation dome: To create a humid environment.
- Water mister or spray bottle: For keeping things moist.
- Labels: To remember what you’ve planted and when!
Propagation Methods: Stem Cuttings
This is my go-to method for Geissois hippocastanifolia. It’s straightforward and yields great results.
- Take Your Cuttings: Select healthy, semi-hardwood stems from your established plant. These are stems that are firm but not woody and old; you’ll see green in them. Aim for cuttings about 4-6 inches long, with at least two sets of leaves. Using your clean shears, make a cut just below a leaf node (where a leaf attaches to the stem).
- Prepare the Cuttings: Gently remove the lower leaves from the cutting. You want to expose the nodes, as this is where roots will emerge. If your cutting has large leaves, you can sometimes cut them in half to reduce water loss without sacrificing too much surface area.
- Apply Rooting Hormone: Dip the cut end of the stem into your rooting hormone, ensuring the bottom inch or so is well coated. Tap off any excess.
- Plant Your Cuttings: Fill your small pots with your prepared potting mix. Make a little hole with your finger or a pencil, and gently insert the cutting, making sure the nodes with the removed leaves are buried. Firm the soil gently around the stem.
- Create a Humid Environment: Water the soil lightly and then cover the pot with a clear plastic bag, creating a mini-greenhouse. You can use stakes to keep the bag from touching the leaves. Alternatively, a propagation dome works beautifully.
- Provide Light and Warmth: Place the pots in a bright spot, but out of direct sunlight. Too much sun will scorch your delicate cuttings. If you have a heat mat, placing the pots on it can significantly speed up root formation.
The “Secret Sauce”: Pro Tips
After years of tinkering, a few things really make a difference.
- Don’t Crowd Them: Give each cutting a bit of breathing room in its pot. They need air circulation to prevent fungal issues. Overcrowding is a fast track to rot.
- Mist, Don’t Drench: When you mist the foliage, aim for a light spray. You want to keep humidity high but avoid water sitting on the leaves for too long, which can lead to fungal diseases. Think “dewy,” not “soggy.”
- Patience is a Virtue (Especially with Geissois): These can sometimes take a little longer to show signs of rooting than other plants. Resist the urge to tug on your cuttings to check for roots. You’ll know they’re establishing when you see new leaf growth. This can take anywhere from 4-8 weeks, sometimes longer.
Aftercare & Troubleshooting
Once you see that wonderful new growth – a sure sign of roots! – it’s time to transition.
- Acclimatize: Gradually remove the plastic bag or open the vents on your dome over a week or so. This helps the new plant adjust to normal humidity levels.
- Watering: Let the top inch of soil dry out before watering again. Good drainage is crucial to prevent root rot.
- Repotting: When the plant is large enough to handle, and you can see roots peeking from the drainage holes, you can pot it up into a slightly larger container with fresh potting mix.
Now, what if things go wrong? The most common culprit is rot. If your cutting turns black and mushy at the base or the leaves start to yellow and drop without any new growth, it’s likely rot. This usually happens due to overwatering or poor drainage. Sometimes, it’s just bad luck, and a cutting just doesn’t take. Don’t get discouraged – it happens to the best of us! Just clean up the failed cutting and try again with fresh material.
So there you have it! Propagating your own Geissois hippocastanifolia is an achievable and incredibly satisfying endeavor. Be patient, observe your cuttings, and enjoy the unfolding magic. Happy gardening, everyone!
Resource:
https://identify.plantnet.org/k-world-flora/species/Geissois%20hippocastanifolia%20Guillaumin/data