Oh, hello there, fellow plant enthusiast! I’m so glad you’ve stumbled upon my little corner of the internet. Today, we’re diving into the wonderful world of Crassula fragarioides, a truly delightful succulent that’s earned a special place in my heart (and my garden windowsills!).
Why Propagate This Little Gem?
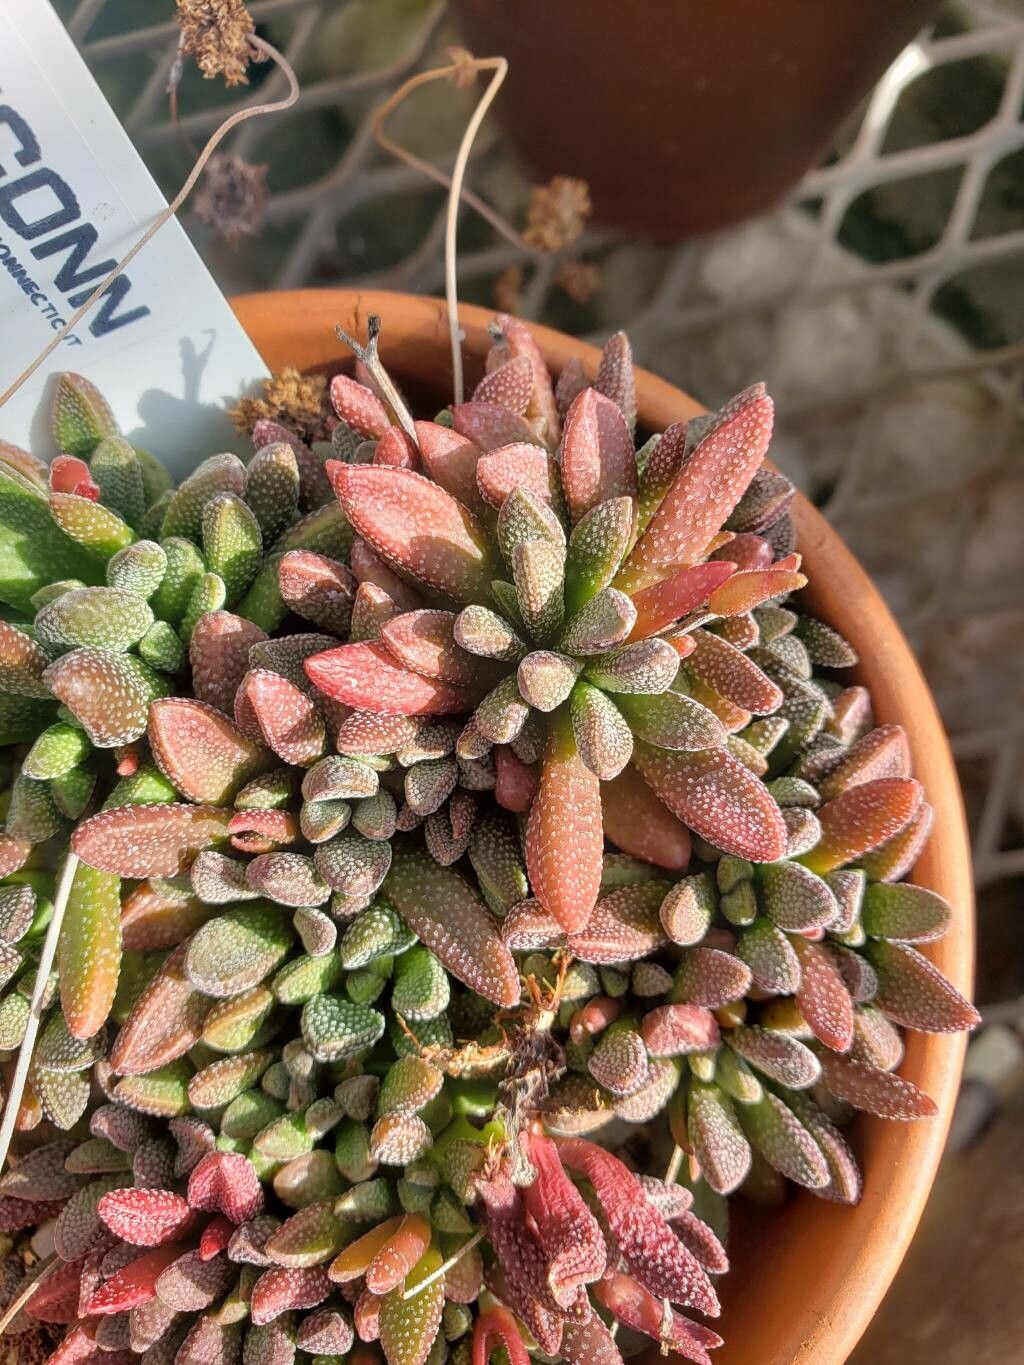
Honestly, who doesn’t love more of a good thing? Crassula fragarioides, with its charming, strawberry-like foliage and surprisingly delicate scent, is just a joy to behold. And the best part? Bringing new ones to life from your existing beauties is incredibly rewarding. It’s like sharing a secret with nature, and watching a tiny cutting unfurl its first roots is pure magic. For beginners? I’d say it’s definitely on the easier side, which is fantastic news for anyone looking to dip their toes into the world of succulent propagation!
When to Get Your Hands Dirty
The sweet spot for propagating Crassula fragarioides is definitely during its active growing season. Think late spring through summer. This is when the plant has plenty of energy to put into root development. You’ll see new growth appearing, and that’s your cue! Trying to propagate during the cooler, dormant months is just setting yourself up for a bit of disappointment. Let them rest, and then get to it when they’re buzzing with life.
Your Propagation Toolkit
Gathering your supplies beforehand makes the whole process so much smoother. Here’s what I usually have on hand:
- Well-draining succulent or cactus potting mix: You can buy this pre-made or mix your own with roughly equal parts potting soil, perlite, and coarse sand.
- Clean, sharp pruning shears or a knife: Sterilize them with rubbing alcohol between cuts to prevent any yucky bacteria from spreading.
- Rooting hormone (optional, but helpful): This can give your cuttings a little extra boost.
- Small pots or trays: Terracotta pots are great because they breathe well.
- A spray bottle: For gentle misting.
- Labels: So you don’t forget what you’ve planted!
- Optional: A heat mat: This is more of a ‘pro’ tip and can speed things up significantly.
Let’s Get Propagating!
There are a couple of lovely ways to create new Crassula fragarioides. I find both work wonderfully.
Stem Cuttings: The Classic Approach
This is my go-to method. It’s straightforward and usually yields fantastic results.
- Take Your Cuttings: Using your clean shears or knife, snip off healthy stems. I like to take pieces that are at least 3-4 inches long. You’ll notice the cut end will be a bit wet.
- Callus Over: This is crucial! Lay your cuttings on a clean surface in a well-lit spot, but out of direct sunlight, for 2-5 days. You want the cut end to dry out and form a callus. This prevents rot when you plant them.
- Planting Time: Once callused, gently insert the callused end of the stem about an inch deep into your prepared potting mix. Make sure the leaves aren’t buried.
- Water Sparingly: Give the soil a light misting, just enough to settle the soil around the stem. Don’t soak it! We’re aiming for slightly moist, not wet. You’ll want to water again only when the soil feels dry to the touch.
Leaf Cuttings (They Can Work, But It’s a Gamble!)
While Crassula leaves can propagate, Crassula fragarioides can be a bit more finicky with leaf cuttings compared to some other succulents. Stem cuttings are generally more reliable for this particular species. If you do want to try, gently twist a healthy leaf from the stem, ensuring you get the very base of the leaf. Let it callus exactly like a stem cutting, then lay it on top of the soil. Mist occasionally. Patience is key here – it can take a long time, and not every leaf will be successful.
The “Secret Sauce”: My Gardener’s Insights
Here are a few little tricks I’ve picked up over the years that make a big difference:
- Don’t Let Leaves Touch the Water (When Indirectly Watering): If you’re misting your cuttings and some water happens to collect on the leaves, try to gently shake it off. Sitting water can encourage rot, especially on those delicate new leaves.
- Bottom Heat is Your Friend: If you can, placing your pots on a gentle heat mat can dramatically speed up root formation. It mimics the warm soil of spring and summer, giving those roots a real incentive to grow. Just make sure it’s on a low setting – we’re not trying to cook them!
- Observe, Don’t Overdo: The biggest mistake beginners make is overwatering. “When in doubt, don’t water” is my mantra for succulents. Check the soil, look at the leaves for signs of thirst (slight wrinkling), then water.
Aftercare and What to Watch For
Once you see signs of new growth, or gently tug on a cutting and feel resistance (meaning roots have formed!), you can begin treating it more like a mature succulent.
- Gradual Watering: Start watering more regularly, but still aim for that well-draining soil and allowing it to dry out between waterings.
- Sunlight: Gradually introduce your new plant to brighter light. If it was in a shaded propagation area, move it into a spot with bright, indirect sunlight first, then slowly acclimate it to direct sun if it’s suited to that.
Now, what if things go awry? The most common culprit is rot. If you see a cutting turning mushy and black at the base, or a leaf becoming translucent and squishy, it’s likely rot. This usually stems from overwatering or not letting the cutting callus properly. Sadly, a rotted cutting is usually a lost cause. Don’t be discouraged! Just toss it, clean your pot, and try again with fresh material.
Go Forth and Grow!
Propagating Crassula fragarioides is such a fulfilling part of the gardening journey. It’s a lesson in patience and observation, but the rewards are truly wonderful. Don’t be afraid to experiment, learn from what you see, and most importantly, enjoy the process! Happy propagating!
Resource: