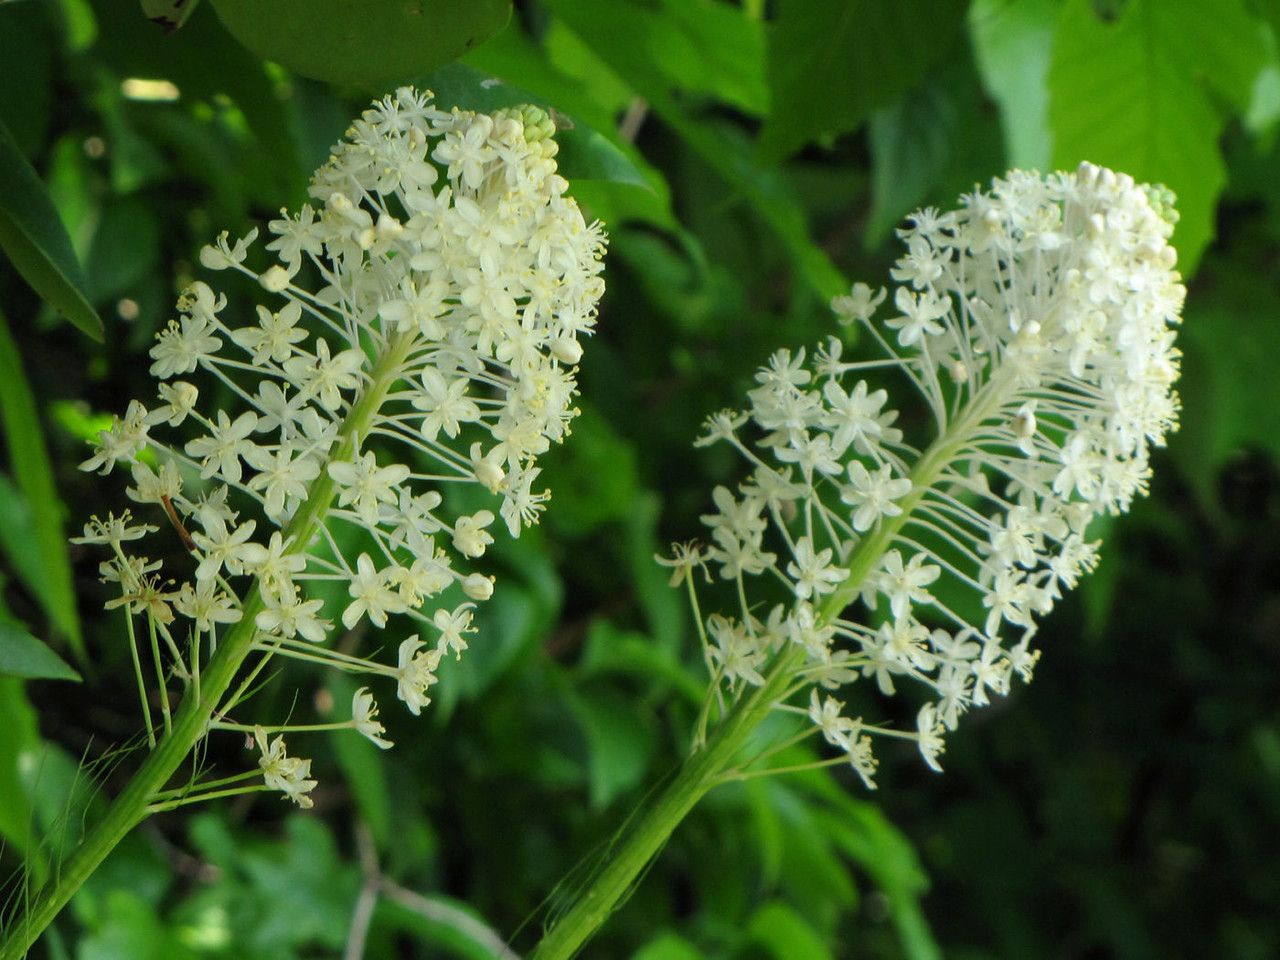
Oh, hello there! It’s so lovely to hear you’re interested in propagating Xerophyllum asphodeloides. If you’ve ever seen this magnificent native beauty gracing a woodland garden, you’ll know it brings a wild, almost architectural elegance. Its rosettes of fine, grass-like leaves and those stunning, fluffy white flower stalks are a real showstopper. And the best part? Being able to multiply that magic yourself is incredibly rewarding. Now, I won’t sugarcoat it – Xerophyllum asphodeloides isn’t the absolute easiest plant for a brand-new propagator. It requires a little patience and understanding, but I promise, with these tips, you’ll be well on your way.
The Best Time to Start
For the highest success rate, I always recommend dividing established plants in early spring, just as new growth is starting to emerge. This is when the plant has stored up plenty of energy from the previous growing season and is ready to burst back to life. You can also attempt propagation from seed, but that’s a much slower and more finicky process, so division is your best bet for quicker results.
Supplies You’ll Need
- Sharp, sterilized pruning shears or a garden knife: Cleanliness is paramount to prevent disease.
- Rooting hormone (optional, but recommended): This can give your cuttings a helpful boost. Look for one suitable for woody plants.
- Well-draining potting mix: A blend of about 50% peat moss or coco coir and 50% perlite or coarse sand works wonderfully. You want good aeration.
- Small pots or trays: Ones with drainage holes are essential!
- A watering can with a fine rose or a mister: Gentle watering is key.
- Labels and a permanent marker: Trust me, you’ll thank yourself later!
Propagation Methods: Division is King!
While other methods might be explored in research labs, for us home gardeners, division is the most reliable and practical way to propagate Xerophyllum asphodeloides.
- Prepare for Extraction: First, water your mature plant thoroughly a day or two before you plan to divide it. This helps the soil cling to the roots, making the process less stressful for the plant.
- Gently Unearth: Carefully dig around the base of the plant, aiming to lift the entire root ball from the ground. It might be a bit stubborn, so be patient. You want to disturb the roots as little as possible.
- Assess and Plan Your Divisions: Once you have the plant out, gently loosen the soil from the roots. Look for natural points where the plant seems to be separating into smaller clumps. You’re looking for sections that have their own root system and at least a few healthy shoots or leaves.
- Make the Cut: Using your sterilized pruning shears or knife, carefully cut through the root ball to separate the clumps. Ensure each division has a good portion of roots attached. It’s better to have a few larger divisions than many tiny, rootless ones.
- Prepare the Divisions: If you’re using rooting hormone, dip the cut end of each division into it. Gently shake off any excess.
- Pot Them Up: Fill your pots with your prepared well-draining mix. Make a hole in the center large enough to accommodate the roots of your division.
- Plant with Care: Place the division in the hole and backfill with soil, firming it gently around the base. The crown of the plant (where the leaves emerge from the roots) should be level with the soil surface, not buried too deeply.
- Water In: Water each newly potted division thoroughly. You want the soil to be moist but not waterlogged.
The “Secret Sauce” (Pro Tips)
- The “No Wettie” Rule: For any plant, but especially for something like Xerophyllum, avoid letting water pool around the crown. After watering, if you see little pockets of water sitting there, gently tip the pot to let it drain away. Rot can start subtly from excess moisture in that junction.
- Embrace the Shade: Once your divisions are potted, don’t rush to put them in full sun. Find a bright,indirect light location. Think under the dappled shade of a tree or a porch. This gives them time to establish roots without getting stressed by harsh sunlight.
- Patience is a Virtue (Especially with Roots): Don’t be tempted to tug on your new divisions to “check for roots.” You’ll just damage fragile new growth. It can take several weeks, sometimes even a couple of months, for them to really show significant signs of new top growth.
Aftercare & Troubleshooting
Once your new Xerophyllum plants have settled in, continue to water them regularly, especially during dry spells, but always allow the soil to dry out slightly between waterings. Keep them in their bright, indirect light location until you see consistent new growth, which is a good sign they’ve rooted.
The most common issue you might encounter is root rot. If you notice your division wilting despite moist soil, or if it develops a mushy, unpleasant smell, it’s likely rot. This is usually a sign of overwatering or poor drainage. In this case, unfortunately, recovery is unlikely. Prevention is truly key, which is why that well-draining soil and avoiding soggy conditions are so important. Browning leaf tips can sometimes indicate underwatering or mineral deposits from tap water, so keep an eye on that too.
A Little Effort, a Lot of Beauty
Propagating Xerophyllum asphodeloides might take a smidgen more care than some of your easier houseplants, but oh, the rewards! Seeing those fresh shoots emerge, knowing you’ve helped create more of this stunning plant, is a feeling that never gets old. Be patient with yourself and your new green babies. Trust your instincts, keep an eye on them, and most importantly, enjoy the simple magic of helping a plant thrive. Happy gardening!
Resource:
https://identify.plantnet.org/k-world-flora/species/Xerophyllum%20asphodeloides%20(L.)%20Nutt./data