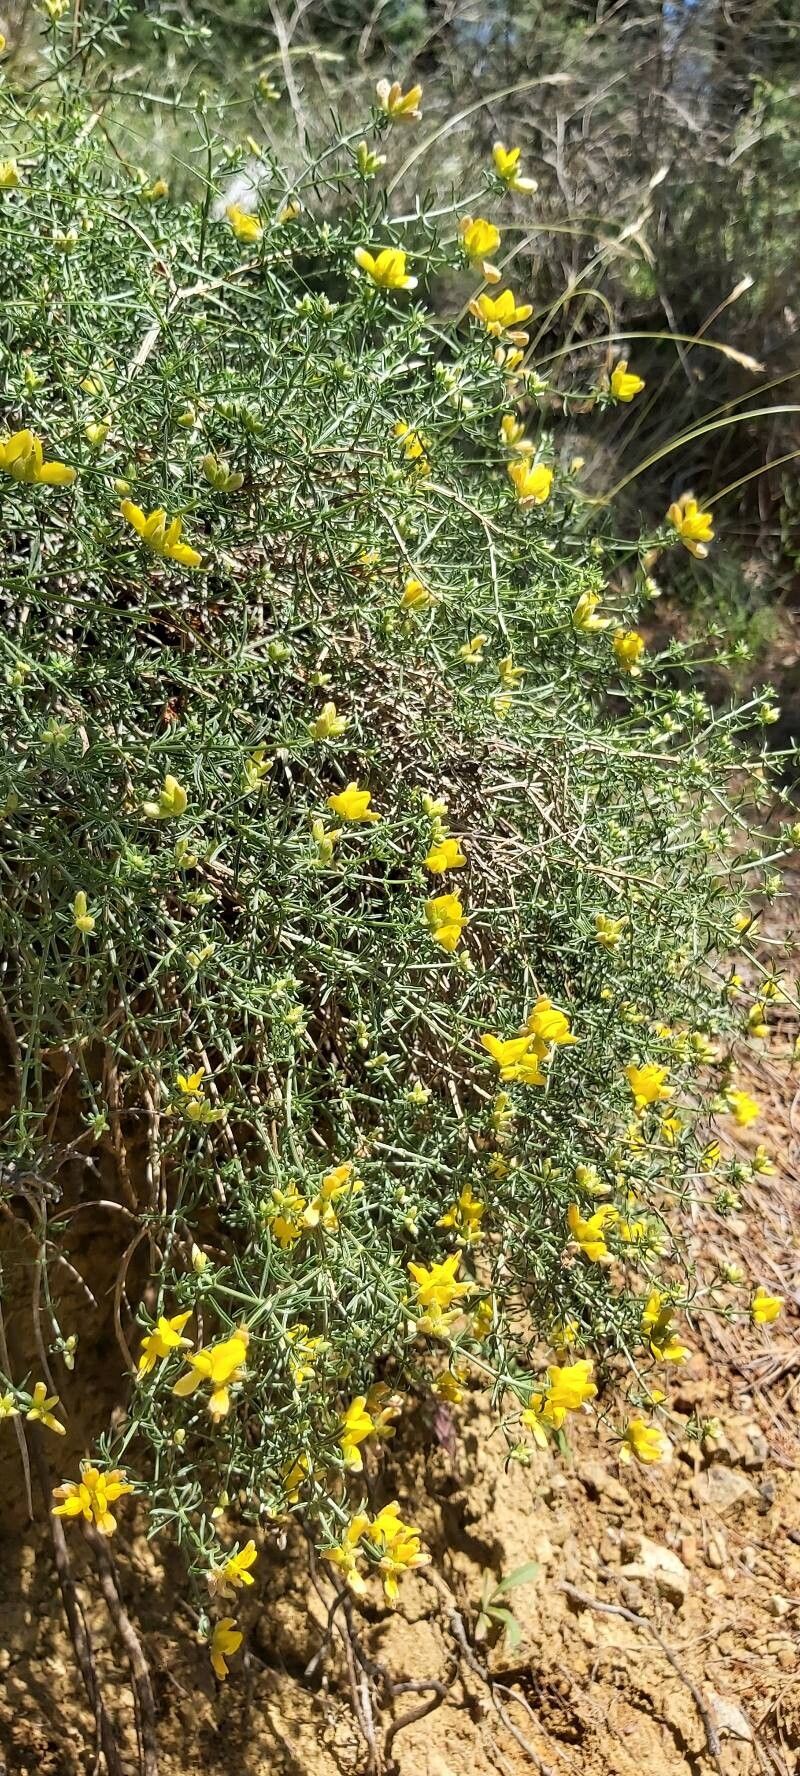
Hello there, fellow garden enthusiasts! Today, I want to talk about a plant that truly brings a burst of sunshine into any garden: Genista hassertiana, also known as the Canary Island Broom. Its cascading sprays of bright yellow flowers are simply breathtaking, a welcome sight in late spring and early summer. Propagating it yourself is incredibly rewarding, a chance to fill your garden or share these cheerful blooms with friends. While it might seem a bit daunting at first, I promise, with a little guidance, this is a project you can absolutely master. It’s generally quite accommodating, even for those newer to the plant propagation game.
The Best Time to Start
For the happiest cuttings and the best chance of success, I always aim to take them in late spring, just as the plant has finished its main bloom cycle. You’re looking for healthy, new growth that’s still a bit soft and flexible, not woody. Think of it as capturing the plant at its most vigorous. Alternatively, you can try in early summer if you missed the spring window, but be sure the new growth has had a chance to harden off just a little bit.
Supplies You’ll Need
Before we get our hands dirty, let’s gather our tools. Having everything ready makes the process smooth sailing!
- Sharp Pruning Shears or a Clean Knife: For making clean cuts. A dull tool can crush stems, making it harder to root.
- Rooting Hormone: This isn’t strictly mandatory for Genista, but it can certainly give your cuttings a helpful boost, especially for those first-timers.
- Small Pots or Seed Trays: Clean pots are crucial to prevent damping off.
- Propagating Medium: A good mix is key. I like a 50/50 blend of perlite and peat moss or coarse sand and peat moss. This ensures excellent drainage, which is vital for preventing rot.
- Plastic Bags or a Clear Propagator: To create a humid environment.
- Watering Can with a Fine Rose: For gentle watering.
- Labels: So you don’t forget what you’ve planted!
Propagation Methods: Stem Cuttings
This is the method I find most reliable for Genista hassertiana. It’s straightforward and gives you plenty of opportunities to multiply your plants.
- Select Your Cuttings: Look for healthy, non-flowering shoots. You want pieces that are about 4-6 inches long. Gently snap or cut a piece from the parent plant.
- Prepare the Cuttings: Remove the lower leaves. This is important to prevent them from rotting when they’re in the soil. If the leaves are very large, you can even cut larger leaves in half to reduce water loss without sacrificing too much surface area for photosynthesis.
- Apply Rooting Hormone (Optional but Recommended): Dip the cut end of the stem into your rooting hormone. Tap off any excess – you don’t want clumps.
- Plant the Cuttings: Make a small hole in your propagating medium with a pencil or your finger. Insert the cutting so that at least one leaf node is buried. This is where roots will emerge. Gently firm the soil around the stem.
- Water Gently: Water thoroughly from the base, ensuring the medium is moist but not waterlogged.
- Create Humidity: Cover the pots with a clear plastic bag, supported by stakes so the plastic doesn’t touch the leaves, or place them in a propagator. This traps moisture and keeps the cuttings from drying out.
The “Secret Sauce” (Pro Tips)
Here are a few little tricks I’ve picked up over the years that can really make a difference:
- Bottom Heat is Your Friend: If you have a heat mat designed for seedlings, place your pots on it. This gentle warmth encourages root development from below, greatly increasing your success rate. It mimics the warmth of spring soil.
- Don’t Over-Water: This is probably the most common mistake. Cuttings sitting in soggy soil are prime candidates for rot. Water only when the top inch of the soil feels dry to the touch, and always water from the bottom if possible to avoid disturbing the delicate developing roots.
- Location, Location, Location: Place your cuttings in a bright spot, but out of direct, hot sunlight. Dappled shade or a bright windowsill that doesn’t get harsh afternoon sun is perfect. Too much sun will scorch the leaves and dry out the cuttings too quickly.
Aftercare & Troubleshooting
Once you’ve planted your cuttings, the waiting game begins! Be patient. It can take anywhere from 4 to 8 weeks, sometimes longer, for roots to develop. You’ll know they’re ready when you gently tug on a cutting and feel resistance, or when you see new leaf growth.
If things go wrong: The most common issue is rot. This usually happens from overwatering or poor drainage. You might notice the stems turning black and mushy at the soil line. If you see this, sadly, that cutting is likely lost. The best approach is to remove it immediately to prevent it from spreading and check your watering habits for the remaining cuttings. Another sign of distress can be wilting and yellowing leaves, which often points to the cuttings drying out too much, so check your humidity levels.
A Little Encouragement
Propagating plants is a wonderful dance with nature. There will be successes and there might be a few failures along the way, and that’s perfectly okay. Don’t get discouraged. Each attempt teaches you something new. Enjoy the process, watch your little green babies grow, and soon you’ll have a garden brimming with your own happy Genista hassertiana! Happy growing!
Resource:
https://identify.plantnet.org/k-world-flora/species/Genista%20hassertiana%20(Bald.)%20Buchegger/data