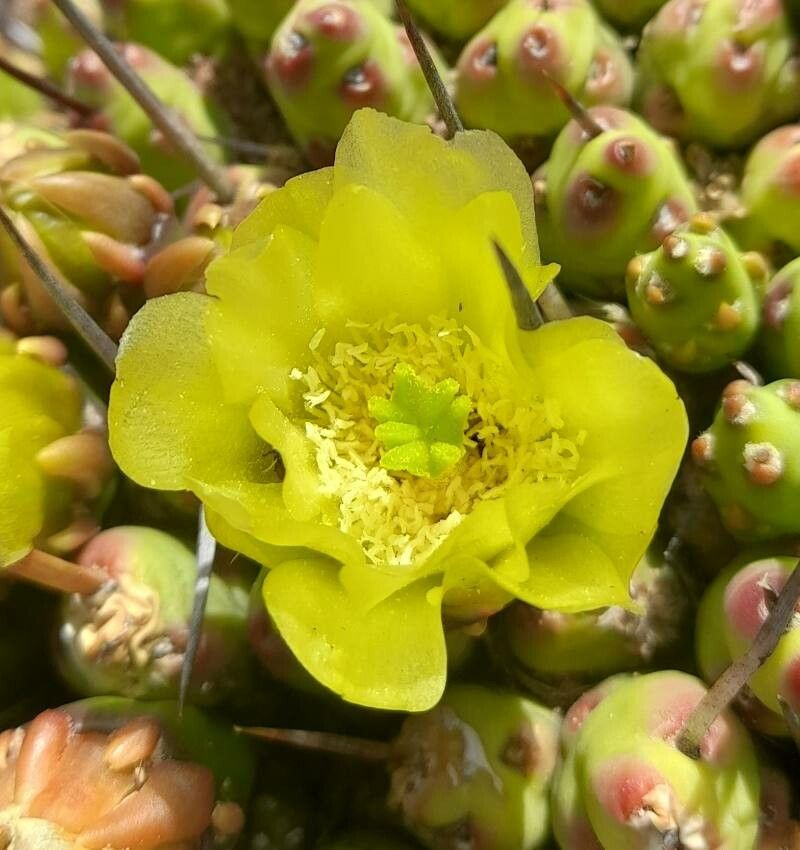
Oh, hello there! Come on in, and let’s chat about a truly special cactus: Maihueniopsis molfinoi. If you’ve ever seen this beauty, you know what I mean. Its fuzzy stems, often adorned with delicate flowers, have a wonderfully cuddly appeal, and the way it forms these sprawling colonies is just fascinating to watch.
Now, I’ll be honest with you – propagating Maihueniopsis molfinoi isn’t quite as straightforward as, say, a Sedum cutting. It’s a bit of a delicate operation, but that’s precisely what makes it so rewarding when you get it right. Thinking of yourself as a mentor for these little guys is a wonderful feeling, and I promise, with a little patience and a few key tips, you’ll be well on your way.
The Best Time to Start
For Maihueniopsis molfinoi, the magic window for propagation is definitely spring and early summer. This is when the plant is actively growing and has plenty of energy to put into developing new roots. You want to work with segments that are firm, not soft or dehydrated, and ideally, have a bit of new growth showing. Think of it as catching them at the peak of their vigor!
Supplies You’ll Need
Here’s what you’ll want to have on hand before we get started:
- Well-draining cactus or succulent potting mix: This is non-negotiable. A blend of potting soil, perlite, and coarse sand is perfect.
- Sterilized sharp knife or pruning shears: Cleanliness is key to preventing disease.
- Rooting hormone (optional, but recommended): This gives your cuttings a good head start. Look for one formulated for succulents or cacti.
- Small pots or trays: With drainage holes, of course!
- Gravel or small stones: For a top dressing.
- Spray bottle: For gentle misting.
- Gloves: These cacti can be a bit spiky!
Propagation Methods
While Maihueniopsis molfinoi can be a bit fussy, the most reliable method for us home gardeners is through stem cuttings.
- Take Your Cuttings: Using your sterilized knife or shears, carefully sever a healthy stem segment about 2-4 inches long. Try to get a piece that has at least one areole (where the spines emerge) – that’s where the magic happens.
- Let it Callous: This is perhaps the most important step. Place your cuttings in a warm, dry, well-lit location (but out of direct, scorching sun) for several days to a week. You want the cut end to dry out and form a callus. This prevents rot when you plant them. Don’t rush this!
- Apply Rooting Hormone (Optional): Once the cut end has calloused, dip it into your rooting hormone powder. Tap off any excess.
- Plant Your Cuttings: Fill your small pots with your well-draining mix. Make a small hole in the center and gently insert the calloused end of your cutting. You can plant a few cuttings per pot, just make sure they aren’t touching each other.
- Top Dress: Cover the base of the cutting with a light layer of gravel or small stones. This helps keep the stem upright and prevents moisture from sitting directly on the base.
- Initial Watering: Water very sparingly at first. You just want to slightly moisten the soil. I usually give mine a light misting, or water just around the base of the cutting.
The “Secret Sauce” (Pro Tips)
Here are a few things I’ve learned over the years that can really boost your success with these prickly friends:
- Bottom Heat is Your Friend: If you can, place your pots on a gentle heat mat. This warmth encourages root growth from below, which is precisely what these desert dwellers love. Think of it as replicating the warm desert soil. Just ensure it’s not too hot – a gentle warmth is all you need.
- Less is More with Water: Seriously. Overwatering is the fastest way to kill a cutting. I tend to err on the side of underwatering initially. Check the soil dryness by gently poking your finger in a few inches. Only water when it feels quite dry.
Aftercare & Troubleshooting
Once you’ve planted your cuttings and they’re sitting pretty, patience is key. You’ll likely see signs of rooting by gentle tugging – if there’s resistance, roots are forming!
- Once Roots Appear: You can start watering a little more regularly, but still allow the soil to dry out between waterings. Continue to keep them in bright, indirect light.
- Signs of Rot: The most common problem is rot. If you see your cutting turning mushy, black, or developing soft spots, it’s likely rotting. Unfortunately, at this point, it’s usually too late, and you’ll need to discard it to prevent the rot from spreading. This is why proper drainage and letting the cutting callous are so crucial.
- Slow Growth: Don’t be alarmed if your new cuttings don’t take off like a rocket. Maihueniopsis molfinoi are not the fastest growers, especially when young. Celebrate small victories!
A Little Encouragement
Propagating Maihueniopsis molfinoi can feel like a bit of a gamble at times, but the thrill of seeing new roots emerge and a tiny plant begin to flourish is absolutely worth it. Don’t get discouraged if your first attempt isn’t a complete success. Learn from it, try again, and most importantly, enjoy the process of nurturing these unique little plants. Happy gardening!
Resource:
https://identify.plantnet.org/k-world-flora/species/Maihueniopsis%20molfinoi%20Speg./data