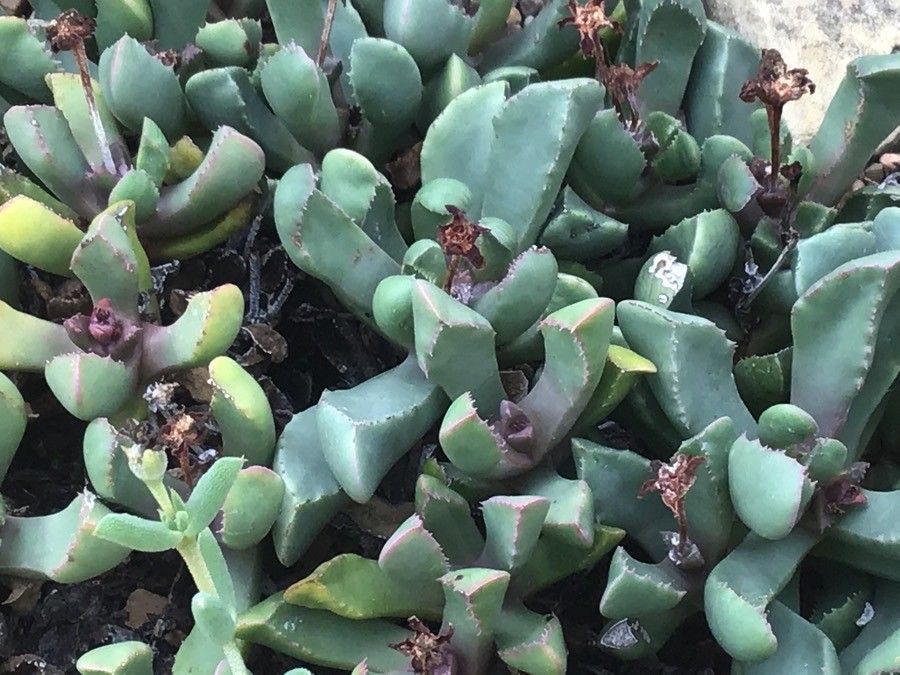
Hello, fellow garden enthusiasts! I’m so glad you’ve stopped by. Today, we’re diving into the delightful world of Cheiridopsis spiculata. If you’ve ever admired those plump, jewel-like leaves of this succulent, you’re in for a treat. Propagating Cheiridopsis is a genuinely rewarding experience, and while it might seem a touch intimidating at first glance, I find it to be quite forgiving, even for those just starting their succulent journey. Watching a tiny fragment blossom into a new, thriving plant is pure magic, and this little jewel is a fantastic way to get that feeling.
The Best Time to Start
For Cheiridopsis spiculata, the sweet spot for propagation is generally during its active growing season. This typically falls in the spring and early summer, when the plant is bursting with energy. You’ll find cuttings take root most readily, and division is less stressful for the parent plant during this time. Avoid propagating when the plant is dormant, usually in the heat of summer or the cold of winter.
Supplies You’ll Need
To get your propagation station ready, here’s what you’ll want on hand:
- Well-draining potting mix: A succulent or cactus mix is perfect. You can also create your own by mixing equal parts potting soil, perlite, and coarse sand.
- Clean, sharp pruning shears or a knife: For making clean cuts.
- Rooting hormone (optional but helpful): A powder or liquid designed for succulents.
- Small pots or seed trays: With drainage holes, of course!
- Spray bottle: For gentle misting.
- Labels and a marker: To keep track of your efforts.
- Optional: A heat mat: For bottom warmth, which can speed up rooting.
Propagation Methods
Cheiridopsis spiculata is wonderfully versatile. We can focus on two very successful methods:
Stem Cuttings
This is my go-to method for Cheiridopsis.
- Take your cuttings: Using your clean, sharp shears, carefully cut a healthy stem from the parent plant. Aim for a piece that’s about 2-4 inches long, with at least a few sets of leaves.
- Allow to callus: This is a crucial step! Place the cuttings on a dry surface, like a paper towel or a clean tray, in a well-lit spot but out of direct sun for 2-3 days. This allows the cut end to dry and form a protective callus, preventing rot when you plant it.
- Prepare the pot: Fill your small pot with your prepared succulent mix. Make a small hole in the center with your finger or a pencil.
- Apply rooting hormone (optional): Dip the callused end of the cutting into rooting hormone powder or liquid. Tap off any excess.
- Plant the cutting: Gently insert the callused end into the pre-made hole. Firm the soil lightly around the base to support the cutting.
- Water sparingly: Mist the soil surface lightly with your spray bottle. Avoid overwatering at this stage.
Division
If your Cheiridopsis has formed a clump, division is a great way to make more plants.
- Gently unpot the plant: Carefully remove the parent plant from its pot.
- Separate the offsets: Gently tease apart the root ball with your fingers. You’re looking for sections that have their own roots and leaves. If the roots are tangled, you can use your clean shears or a knife to carefully separate them. Aim to leave as many roots intact as possible on each new division.
- Allow to callus (optional but recommended): If you had to make any cuts to separate the divisions, let them sit for a day or two to callus over, just like with stem cuttings.
- Pot up the divisions: Plant each division in its own small pot filled with succulent mix.
- Water sparingly: Mist the soil surface lightly as you did with cuttings.
The “Secret Sauce” (Pro Tips)
Here are a few things I’ve learned over the years that make a big difference:
- Don’t rush to water: After planting any cutting or division, I resist the urge to water deeply right away. A light misting is all they need initially. This gives the roots a chance to start forming without being drowned. Wait until you see signs of new growth before watering more thoroughly.
- Bottom heat is your friend: If you live in a cooler climate or are propagating during a slightly cooler spell, placing your pots on a gentle heat mat can significantly speed up root formation. It mimics the warmth of their natural sun-drenched environments.
- Air circulation is key: Make sure your little propagations have good airflow. If they’re in a closed-off terrarium or covered tightly, they’re more prone to fungal issues. A well-ventilated spot is much better.
Aftercare & Troubleshooting
Once your Cheiridopsis cuttings or divisions have taken root (you’ll often see new growth or feel a slight resistance when gently tugging), it’s time for a little more attention.
- Watering: Begin watering as you would a mature Cheiridopsis. Water thoroughly when the soil is completely dry, then let it dry out again.
- Light: Gradually introduce them to brighter light. Start with bright, indirect sunlight and slowly move them into a spot where they receive a few hours of morning sun.
- Potting up: As they grow, you’ll eventually need to move your new plants into slightly larger pots.
Watch out for rot! This is the most common issue. If you see a cutting turning mushy, brown, or black, it’s likely due to overwatering or lack of callusing. If this happens, sadly, it’s best to discard it to prevent it from spreading. Yellowing leaves on a division might mean it’s not getting enough light, or it’s stressed from the separation.
A Little Patience Goes a Long Way
There you have it! Propagating Cheiridopsis spiculata is a wonderful way to multiply your collection and share these beauties with friends. Don’t get discouraged if your first attempts aren’t perfect. Gardening is a journey of learning and observation. Be patient, keep them in good light and dry conditions, and you’ll be rewarded with a whole new generation of these delightful succulents. Happy propagating!
Resource:
https://identify.plantnet.org/k-world-flora/species/Cheiridopsis%20spiculata%20R.F.Powell/data