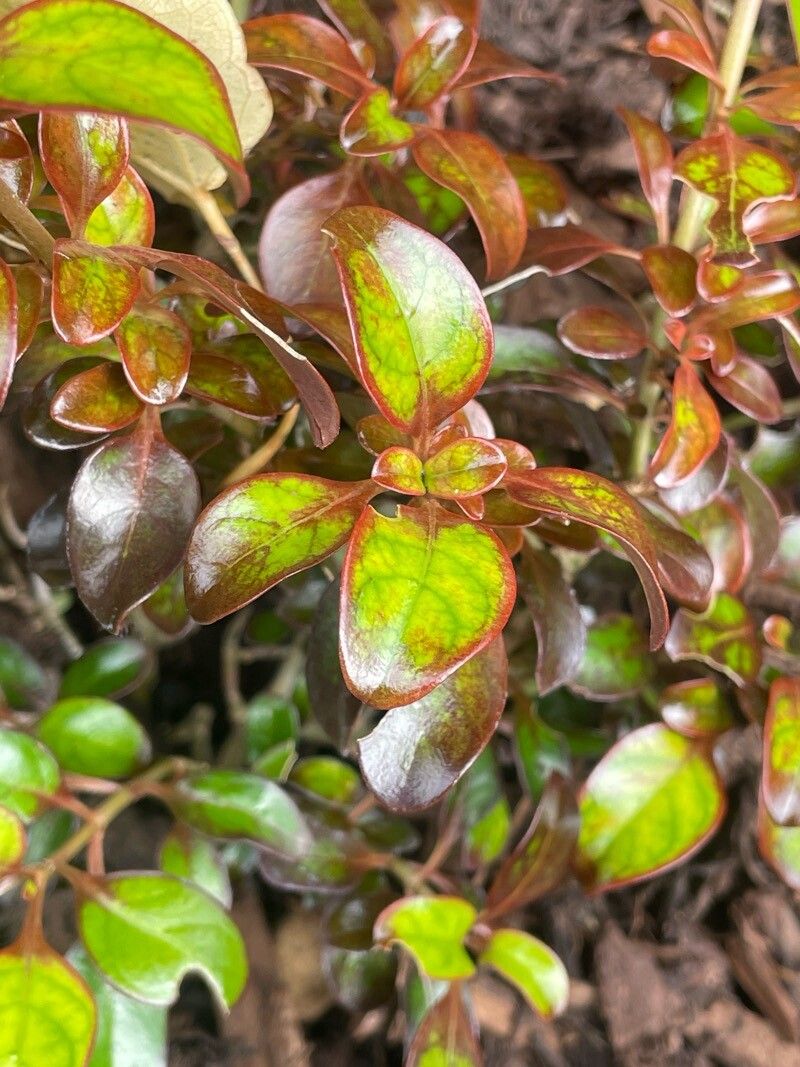
Hey there, fellow plant lovers! I’m so excited to chat with you today about a plant that has truly captured my heart over the years: Coprosma repens, also known as mirror plant or New Zealand laurel. Its glossy, leathery leaves are just gorgeous, and it brings such a wonderful, modern feel to any garden or indoor space. Plus, when you can coax a brand new plant from a cutting, oh, the satisfaction! It’s one of those projects that feels so rewarding.
For those of you just dipping your toes into the wonderful world of propagation, I have some good news: Coprosma repens is a fantastic plant to start with. It’s incredibly forgiving, making it a brilliant choice for beginners looking to expand their collection without too much fuss.
The Best Time to Start
My go-to time for propagating Coprosma repens is during the late spring or early summer. This is when the plant is actively growing, and those delicious semi-hardwood stems will have the best energy reserves to put into root development. You’re looking for stems that have started to firm up a bit but are still flexible – not too soft and floppy, and definitely not old and woody.
Supplies You’ll Need
Gathering your supplies beforehand makes the whole process smooth sailing. Here’s what I always have on hand:
- Sharp Pruning Shears or a Knife: Cleanliness is key to preventing disease.
- Rooting Hormone: This is optional but highly recommended for an extra boost. Gel or powder forms work well.
- Well-Draining Potting Mix: A good blend of perlite and peat moss or coco coir is ideal. You can also buy specific seedling or cutting mixes.
- Small Pots or Trays: Clean pots are essential. I like to use 3-4 inch pots for individual cuttings.
- Plastic Bag or Humidity Dome: To create that essential humid environment.
- Pebbles or Perlite (for water propagation): To anchor the cuttings.
- Water: Clean, room-temperature water.
Propagation Methods
There are a couple of ways to get more Coprosma from your existing plants, and both are quite successful.
1. Stem Cuttings (My Personal Favorite!)
This is generally the most reliable method for Coprosma repens.
- Take Your Cuttings: Find those semi-hardwood stems I mentioned earlier. Cut pieces that are about 4-6 inches long. Make your cut just below a leaf node (where the leaves attach to the stem).
- Prepare the Cuttings: Gently remove the lower leaves from the cutting. You want to leave just a few at the very top. This prevents them from rotting when buried in the soil. If you’re using rooting hormone, dip the cut end into it, shaking off any excess.
- Plant Your Cuttings: Fill your small pots with your well-draining potting mix. Make a small hole in the center with your finger or a pencil. Insert the cut end of the Coprosma cutting into the hole, ensuring it’s snug. Gently firm the soil around the base of the cutting.
- Provide Humidity: Water the soil lightly. Then, pop the pot inside a clear plastic bag or cover it with a humidity dome. This traps moisture and keeps your cuttings happy.
2. Water Propagation
This method is great for watching those roots emerge!
- Take Your Cuttings: Just like for stem cuttings, select 4-6 inch semi-hardwood pieces.
- Prepare the Cuttings: Remove the lower leaves.
- Place in Water: Find a clean jar or vase. You can add a few pebbles or some perlite to the bottom to help anchor the cuttings. Fill the container with clean, room-temperature water. Place the cuttings in the water, making sure no leaves are submerged. The leaves will rot if they sit in water.
- Change the Water: Change the water every few days to keep it fresh and prevent bacterial growth.
The “Secret Sauce” (Pro Tips)
Here are a few little tricks I’ve picked up over the years that can really make a difference:
- Bottom Heat is Your Friend: If you have access to a heat mat designed for plants, placing your pots on it will significantly speed up root development. It mimics that lovely warm soil feeling on a summer day.
- Don’t Be Afraid to Mist: Even with the plastic bag, giving your cuttings a light mist of water every now and then can keep things extra humid and happy.
- Patience with the Hormone: If you’re using rooting hormone, trust the process! Sometimes it can take a little longer for those roots to kick in, but the hormone gives them a real head start.
Aftercare & Troubleshooting
Once you start to see little white roots poking out of the drainage holes or you get resistance when you gently tug on a cutting, it’s a good sign!
- Transitioning: For water-propagated cuttings, wait until the roots are at least an inch long before carefully potting them into your well-draining mix. For soil-propagated cuttings, you can gently tug – if you feel resistance, they’re likely rooted.
- Gradual Acclimation: Before removing the plastic bag or humidity dome entirely, start to gradually open it up over a few days. This helps the new plant get used to normal humidity levels.
- Watering: Water your new plants when the top inch of soil feels dry. They’ll be a bit delicate at first, so don’t overwater.
- Signs of Trouble: The most common issue is rot. If your cutting turns mushy, black, or has a foul smell, it’s likely rotted. This is usually due to too much moisture and not enough air circulation. If you see this happening, unfortunately, it’s best to discard the cutting and start again. Make sure your soil drains well from the get-go!
You know, it’s amazing how a single stem can become an entirely new plant. It’s a little bit of magic happening right before your eyes. Don’t get discouraged if your first few attempts aren’t perfect. Gardening, and especially propagation, is all about learning and trying again. So, gather your tools, take a deep breath, and enjoy the wonderful journey of growing your own Coprosma repens. Happy planting!
Resource:
https://identify.plantnet.org/k-world-flora/species/Coprosma%20repens%20A.Rich./data