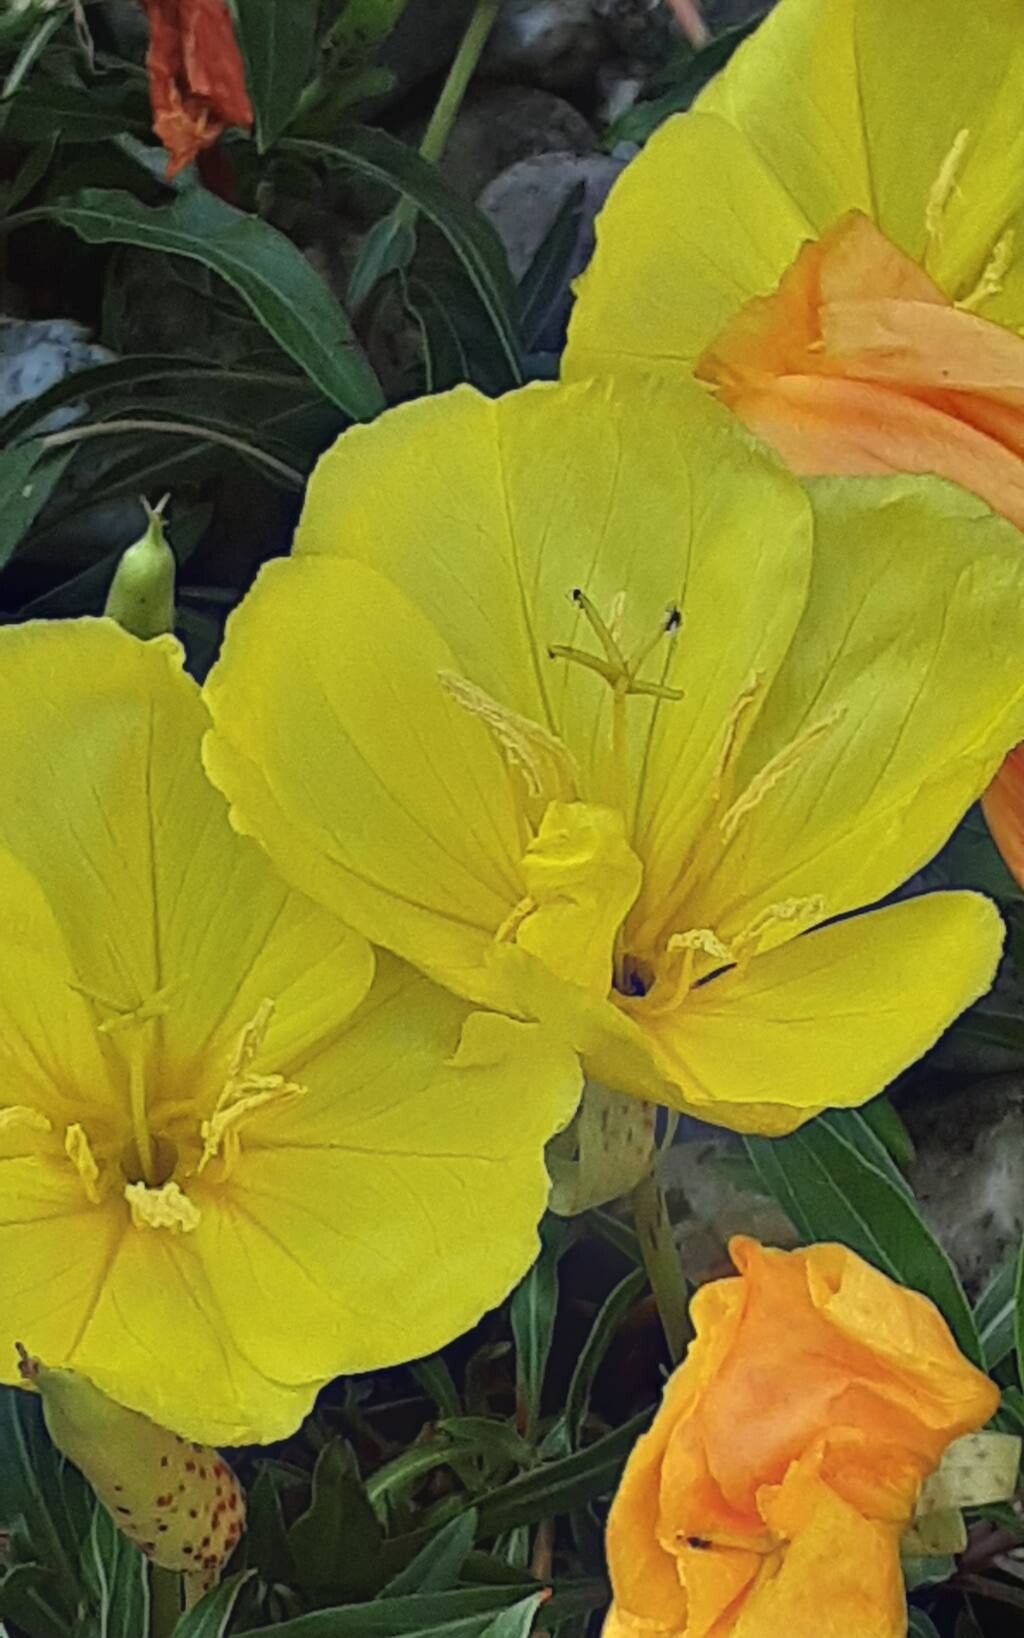
Hello there, fellow garden enthusiasts! I’ve got a real treat for you today: a deep dive into propagating Oenothera macrocarpa, or as it’s more delightfully known, Missouri Evening Primrose. If you haven’t had the pleasure, this plant is a stunner. Its large, luminous yellow flowers unfurl in the evening, bathing your garden in a golden glow that lasts through the night and into the morning. They have this wonderful, almost ethereal quality.
Now, I know the thought of propagating can sometimes feel a bit daunting, but I promise you, I’ve found Oenothera macrocarpa to be quite forgiving. It’s a fantastic plant to experiment with, and the reward of seeing those tiny baby plants flourish is simply immense. Even if you’re just dipping your toes into the world of plant propagation, you’ll likely find success here.
The Best Time to Start
For Missouri Evening Primrose, the sweet spot for propagation is usually late spring to early summer. This is when the plant is actively growing and has plenty of healthy, vigorous stems to work with. You’re looking for young, non-flowering stems. They’ll be more pliable and more receptive to rooting.
Supplies You’ll Need
Here’s what I always have on hand when I’m ready to get propagating:
- Sharp pruning shears or a clean knife: For making those crucial cuts.
- Small pots or trays: Clean ones, of course!
- Well-draining potting mix: I often use a blend of 50% peat moss or coco coir and 50% perlite. You can also buy specialized cutting mixes.
- Rooting hormone (optional but helpful): A powder or gel can give your cuttings a little boost.
- Plastic bags or a propagator: To create a humid environment.
- Watering can or spray bottle: For gentle watering.
- Labels: So you don’t forget what’s what!
Propagation Methods
Missouri Evening Primrose is wonderfully versatile. You can propagate it using a couple of straightforward methods.
Stem Cuttings
This is my go-to for Oenothera macrocarpa.
- Take your cuttings: On a mild day, use your clean shears to take 4-6 inch cuttings from healthy, non-flowering stems. Make the cut just below a leaf node (where the leaf attaches to the stem).
- Prepare the cuttings: Gently remove the lower leaves, leaving just a couple at the very top. This prevents them from rotting once they’re in the soil. If you’re using rooting hormone, dip the cut end into it now.
- Plant the cuttings: Fill your small pots with your prepared potting mix. Make a small hole with a pencil or your finger, and gently insert the cutting. Firm the soil around it.
- Create humidity: This is key! Water the soil gently, then cover the pot with a clear plastic bag or place it in a propagator. This traps moisture and creates that humid environment cuttings love. You can prop the bag up with a few sticks so it doesn’t touch the leaves.
- Find a spot: Place the pots in a bright location out of direct sunlight.
Division
If you already have a mature clump of Missouri Evening Primrose, division is an excellent, quick way to get more plants.
- Dig it up: In early spring (before it gets too warm and the plant starts flowering), carefully dig up the entire plant.
- Divide the root ball: Gently shake off excess soil to expose the roots. Look for natural divisions in the root ball. You can usually pull sections apart with your hands, or use a clean spade or trowel if it’s very dense. Make sure each division has plenty of roots and a few shoots.
- Replant: Immediately replant the divisions into their new locations or into pots, watering them in well.
The “Secret Sauce” (Pro Tips)
Here are a few things I’ve learned over the years that really make a difference:
- Don’t let those leaves touch the soil: I cannot stress this enough, especially with stem cuttings. If the removed leaves are still attached and submerged in the soil or water, they will rot and can take the whole cutting down with them. Keep them clean and dry!
- Bottom heat is your friend: If you live in a cooler climate or are propagating early, a bit of gentle warmth from below can significantly speed up root development. A seedling heat mat placed under your propagation trays works wonders. It mimics the warmth the soil would get from the sun.
- Patience, dear gardener, patience: Sometimes these cuttings can take a few weeks, or even a month or two, to show signs of rooting. Don’t give up on them too soon! Keep them consistently moist (not soggy) and in good light.
Aftercare & Troubleshooting
Once you start to see signs of new growth — tiny leaves emerging from the top of the cutting or the division looking perky — that’s your signal that roots are forming!
- Gradually acclimatize: If you’ve used a plastic bag for humidity, slowly start to open it up over a few days to let the new plant adjust to the regular air.
- Watering: Continue to keep the soil consistently moist but not waterlogged. As the plant grows, you can start to water it a bit less frequently, letting the top inch of soil dry out between waterings.
- Repotting: Once your cuttings have a good root system (you might see roots poking out of the drainage holes), they are ready to be moved into slightly larger pots.
- Troubleshooting: The most common issue you might face is rot. This is usually due to overwatering or poor drainage. If you notice a stem turning black and mushy, unfortunately, it’s likely gone. Remove it to prevent it from spreading. If your cuttings just don’t seem to be doing anything after a long time, check that they have enough light and aren’t drying out too much.
A Bit of Encouragement
Propagating Missouri Evening Primrose is such a rewarding endeavor. It’s a chance to understand your plants on a deeper level and to fill your garden, or share with friends, these beautiful, glowing blooms. Be patient with the process, trust your instincts, and most importantly, enjoy the journey of nurturing new life. Happy planting!
Resource:
https://identify.plantnet.org/k-world-flora/species/Oenothera%20macrocarpa%20Nutt./data