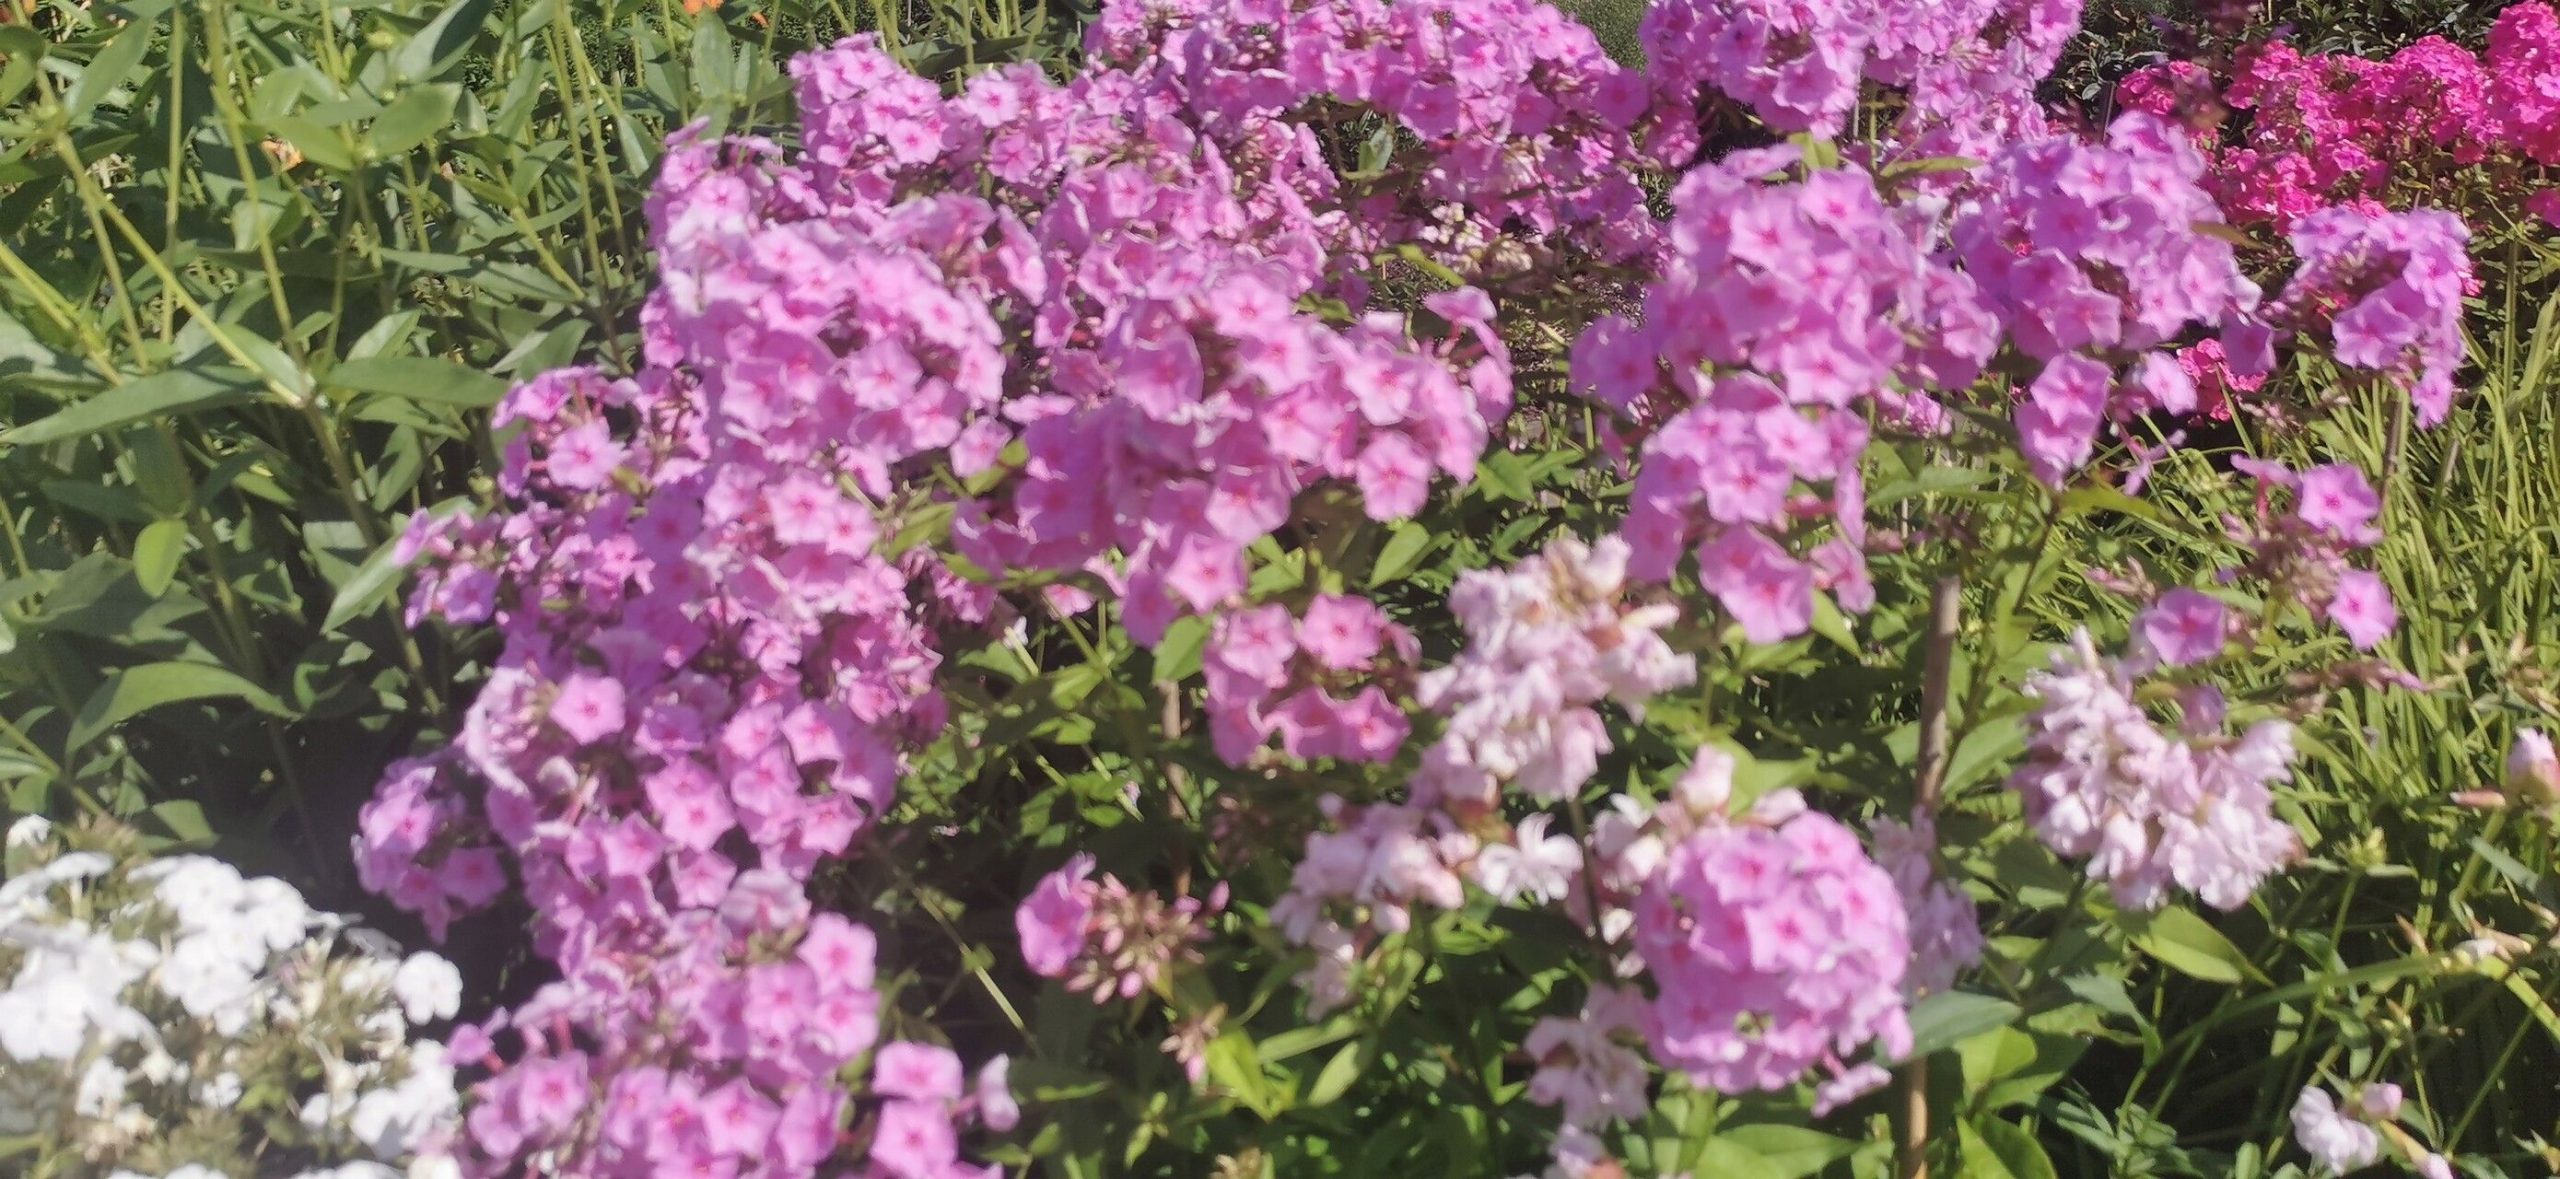
Hello, fellow garden enthusiasts! If you’ve ever marveled at the vibrant, almost electric pink blooms of Phlox carolina, or perhaps its delightful fragrance, you’re not alone. This native beauty, often called Carolina Phlox, brings such a cheerful presence to any garden. And guess what? It’s surprisingly rewarding to create more of it yourself! Don’t let the idea of propagation intimidate you; Phlox carolina is a fantastic plant for beginners looking to expand their green thumb skills.
The Best Time to Start
For the highest success rate, your golden window of opportunity is late spring to early summer. This is when the plant is actively growing and has plenty of lush, new stems to work with. Think of it as the plant being full of energy and ready to share!
Supplies You’ll Need
Here’s what I always have on hand when I’m propagating phlox:
- Sharp pruning shears or a clean knife: For making precise cuts.
- Rooting hormone (optional, but helpful): Especially for stem cuttings. I like the powder kind.
- A light, well-draining potting mix: A blend of peat moss, perlite, and a little compost works wonders. You can even use a seed-starting mix.
- Small pots or trays: With drainage holes, of course!
- A clear plastic bag or dome: To create a humid environment.
- Watering can with a fine rose: For gentle watering.
- Marker and labels: To keep track of what you’ve planted and when.
Propagation Methods
Let’s get our hands dirty! Phlox carolina can be easily propagated through a couple of common methods.
Stem Cuttings
This is my go-to method for phlox.
- Take your cuttings: In late spring or early summer, look for non-flowering, healthy stems. Aim for stems that are about 4-6 inches long. Just beneath a leaf node (where a leaf grows from the stem), make a clean cut using your sharp shears.
- Prepare the cuttings: Gently remove the lower leaves, leaving just the top couple of leaves. If your cuttings are quite large, you can even snip them in half horizontally. This reduces water loss.
- Apply rooting hormone (optional): Dip the cut end of each stem into rooting hormone, tapping off any excess.
- Plant them deep: Make a hole in your prepared potting mix with a pencil and insert the cutting about 1-2 inches deep, ensuring the leaf nodes are buried. Gently firm the soil around the stem.
- Water and cover: Water the soil gently until it’s moist but not soggy. Cover the pot or tray with a clear plastic bag or a propagation dome to maintain high humidity.
Division
If you already have a mature clump of Phlox carolina, division is a fantastic and immediate way to get new plants.
- Dig up the clump: In early spring, just as new growth is appearing, carefully dig up the entire plant. Shake off excess soil.
- Separate the divisions: Gently pull the root ball apart with your hands. You’re looking for sections that have healthy roots and at least a few shoots. If it’s a bit stubborn, you can use your trowel or a knife to help separate it.
- Replant immediately: Plant the divisions into their new spots in the garden or into pots filled with good soil. Water them well.
The “Secret Sauce” (Pro Tips)
Here are a few things I’ve learned over the years that really help:
- Humidity is your friend: That plastic bag or dome is crucial for stem cuttings. It keeps the moisture around the leaves, preventing them from drying out before they can grow roots. I sometimes even mist the inside of the bag lightly once a day to keep things extra humid.
- Bottom heat makes a difference: If you have space and can swing it, placing your tray of cuttings on a propagator mat can speed up root development significantly. It mimics the warmth of the soil in summer.
- Don’t fret about those first tiny roots: When you see new leaf growth on your cuttings, it doesn’t always mean roots have formed yet. Be patient! It takes time for them to establish.
Aftercare & Troubleshooting
Once your cuttings have rooted (you’ll know when you see new, vigorous growth and feel a slight resistance when you gently tug on the stem), it’s time for continued care.
- Acclimatize slowly: Gradually remove the plastic bag or dome over a week or so to let your new plants get used to normal humidity.
- Water with care: Continue to water them regularly, keeping the soil consistently moist but not waterlogged.
- Move to bigger pots: Once they’ve developed a good root system, you can transplant them into slightly larger pots if needed.
The most common issue you might encounter is rot. If you see your cuttings turning mushy and dark at the base, it’s usually a sign of too much moisture and not enough air circulation. Ensure your soil drains well and that you’re not overwatering. Discard any rotten cuttings and try again, perhaps with less water next time.
A Encouraging Closing
Propagating Phlox carolina is a journey of patience and observation. It’s so incredibly satisfying to watch a tiny cutting or division transform into a beautiful, blooming plant you grew yourself. Enjoy the process, celebrate every little sign of progress, and soon you’ll have plenty of cheerful phlox to enjoy and share! Happy gardening!
Resource:
https://identify.plantnet.org/k-world-flora/species/Phlox%20carolina%20L./data