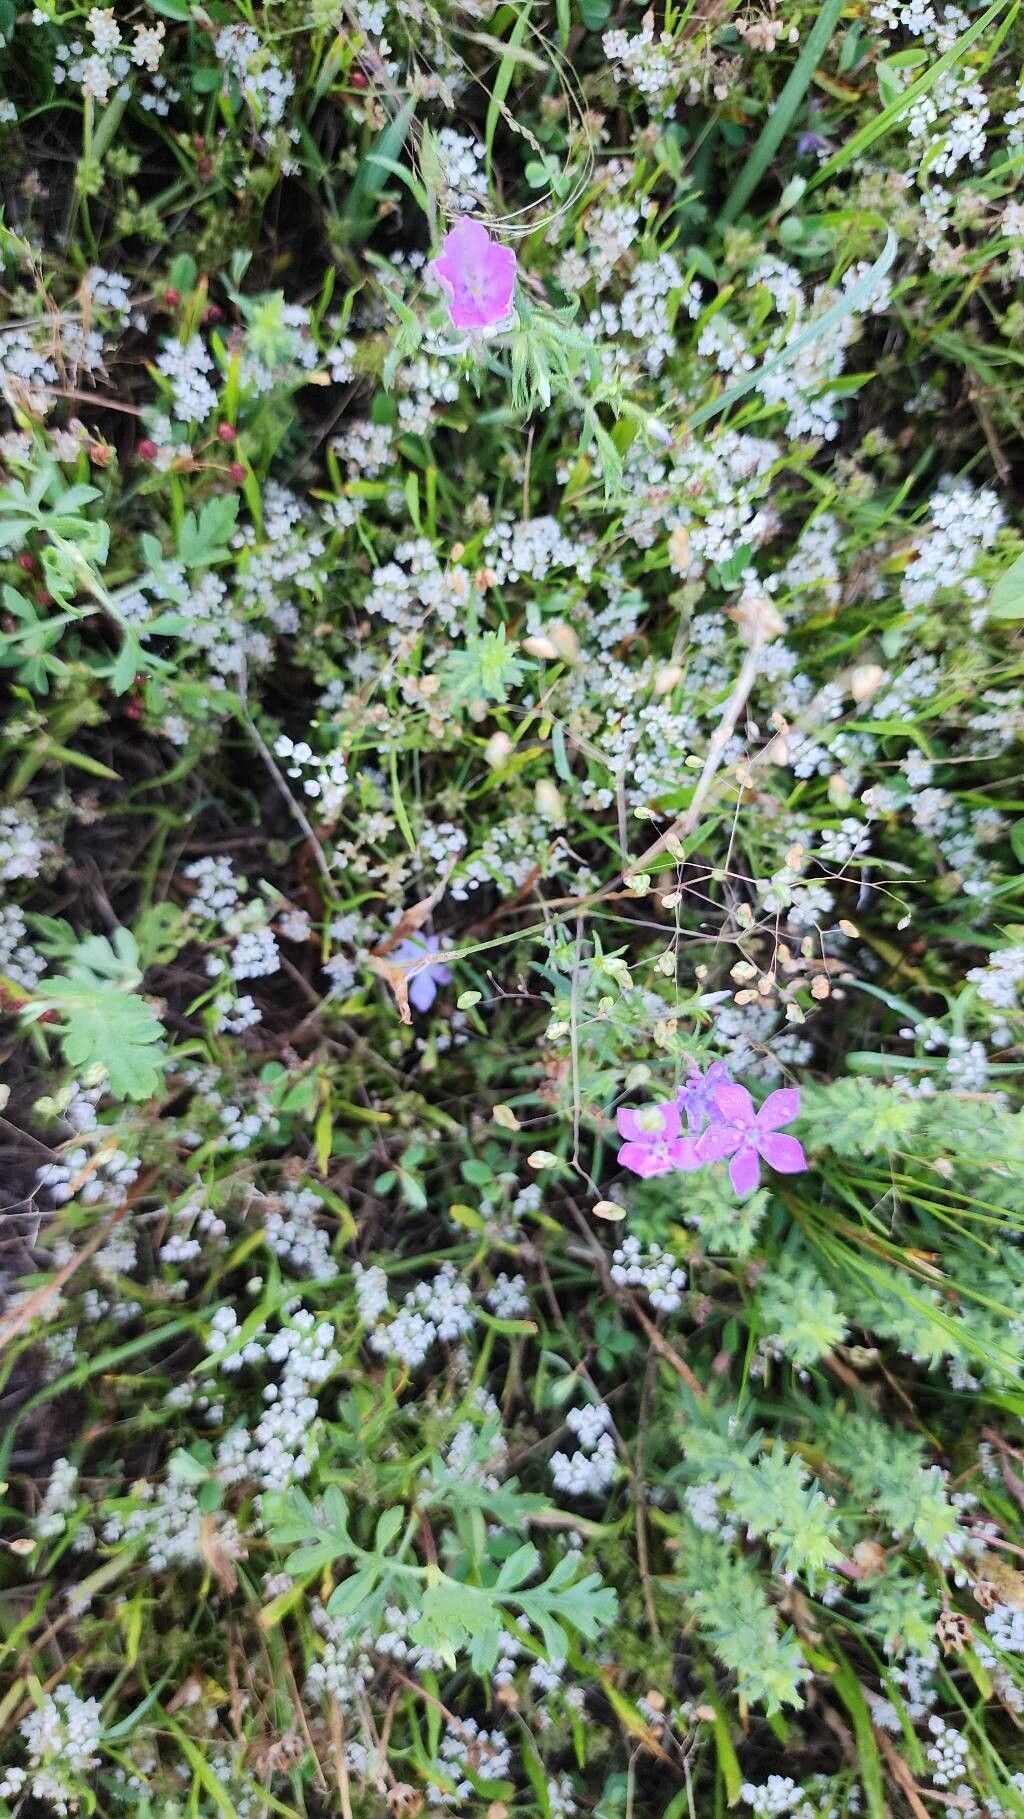
Ah, Phlox! If you’re drawn to those delightful bursts of color and sweet fragrances that grace our gardens, you’re in for a treat. Specifically, Phlox cuspidata, with its charming starry flowers, is a real gem. It’s a plant that truly sings in the garden, and the joy of creating more of them yourself? Well, that’s a whole other level of satisfaction.
Now, I know some propagation can feel a bit daunting, but I’m happy to say that Phlox cuspidata is generally quite amenable to propagation. It’s a wonderful plant for those dipping their toes into the exciting world of making more of your beloved greenery.
The Best Time to Start
For Phlox cuspidata, spring is really your golden ticket. Think of it as the plant waking up from its winter slumber, full of vigor and ready to grow. Taking cuttings or dividing in early spring, just as new growth begins, gives your new plants the longest possible season to establish and thrive. You can also have success with cuttings in early summer, but spring often yields the best results.
Supplies You’ll Need
Gathering your tools makes the whole process smoother. Here’s what I usually have on hand:
- Sharp Pruning Shears or a Craft Knife: Clean cuts are crucial for the plant’s health and success.
- Potting Mix: A lightweight, well-draining mix is key. I often use a blend of peat moss, perlite, and a bit of compost. A specific seed-starting mix works wonders too.
- Small Pots or Seed Trays: Choose containers with drainage holes.
- Rooting Hormone (Optional but Recommended): This is like a little encouragement for your cuttings to sprout roots.
- Plastic Bags or a Propagator: To create a humid environment, which is vital for cuttings.
- Watering Can with a Fine Rose: For gentle watering.
- Labeling Stakes: So you don’t forget what you planted where!
Propagation Methods
Phlox cuspidata is quite forgiving, and you have a few excellent ways to propagate it.
Stem Cuttings
This is my favorite method for Phlox cuspidata. It’s efficient and often yields great results.
- Take Cuttings: In early spring, select healthy, non-flowering stems. Look for stems that are about 4-6 inches long and have started to firm up, but are not yet woody. Using your sharp shears, make a clean cut just below a leaf node (where a leaf attaches to the stem).
- Prepare the Cuttings: Gently remove the lower leaves from the cutting, leaving just a few at the top. This prevents them from rotting once planted.
- Apply Rooting Hormone: If you’re using rooting hormone, dip the cut end of the stem into the powder or gel. Tap off any excess.
- Plant the Cuttings: Fill your pots or trays with your prepared potting mix and water it thoroughly. Make small holes in the soil with a pencil or your finger. Insert the cuttings into these holes, ensuring the nodes where you removed leaves are buried. Gently firm the soil around them.
- Create Humidity: Water the soil again very gently. Then, cover the pots with a clear plastic bag or place them in a propagator. This keeps the humidity high, which is crucial while the cuttings are trying to root. Make sure the leaves aren’t touching the plastic.
Division
If your Phlox cuspidata has grown into a larger clump, division is a fantastic way to get more plants and also rejuvenate the parent plant.
- Dig Up the Plant: In early spring, carefully dig up the entire clump.
- Inspect and Separate: Gently shake off excess soil. You should be able to see natural divisions in the root system. Use your hands or a clean spade to carefully pull or cut the clump into smaller sections. Each section should have plenty of roots and some healthy shoots.
- Replant: Replant the divisions into their new locations in your garden or into pots as you would a regular plant. Water them in well.
The “Secret Sauce” (Pro Tips)
Over the years, I’ve learned a few tricks that really seem to make a difference.
- Bottom Heat is Your Friend: If you can, placing your pots of cuttings on a heated propagator mat can significantly speed up root development. It mimics the warmth of spring soil.
- Patience with the H2O: When watering your cuttings, avoid waterlogging the soil. It’s better to let the top layer dry out slightly between waterings. Overwatering is a fast track to rot.
- The “Bend Test”: You won’t know for sure if your cuttings have rooted until you try to gently pull one. If you feel a slight resistance, that’s a good sign roots have formed. If it pulls out easily, it hasn’t rooted yet.
Aftercare & Troubleshooting
Once you see signs of new growth, it’s a wonderful feeling!
- Gradual Acclimation: As your cuttings develop roots and start producing new leaves, you’ll need to gradually acclimate them to lower humidity before removing the plastic bag or propagator completely. Do this by opening the bag for a few hours each day for a week.
- Transplanting: When the new plants are robust enough to handle, with a good root system, you can transplant them into individual pots or their final garden spot.
- Watch for Rot: The most common sign of failure is rot. If your cuttings turn mushy or black, it’s usually a sign of too much moisture or insufficient air circulation. Ensure good drainage and don’t overwater. Yellowing leaves can also indicate overwatering or poor drainage.
A Encouraging Closing
Growing more Phlox cuspidata is such a rewarding endeavor. Don’t be discouraged if your first few attempts aren’t perfect. Gardening is all about learning, experimenting, and enjoying the process. Be patient, pay attention to your plants’ needs, and soon you’ll have a whole collection of these beautiful blooms to share! Happy propagating!
Resource:
https://identify.plantnet.org/k-world-flora/species/Phlox%20cuspidata%20Scheele/data