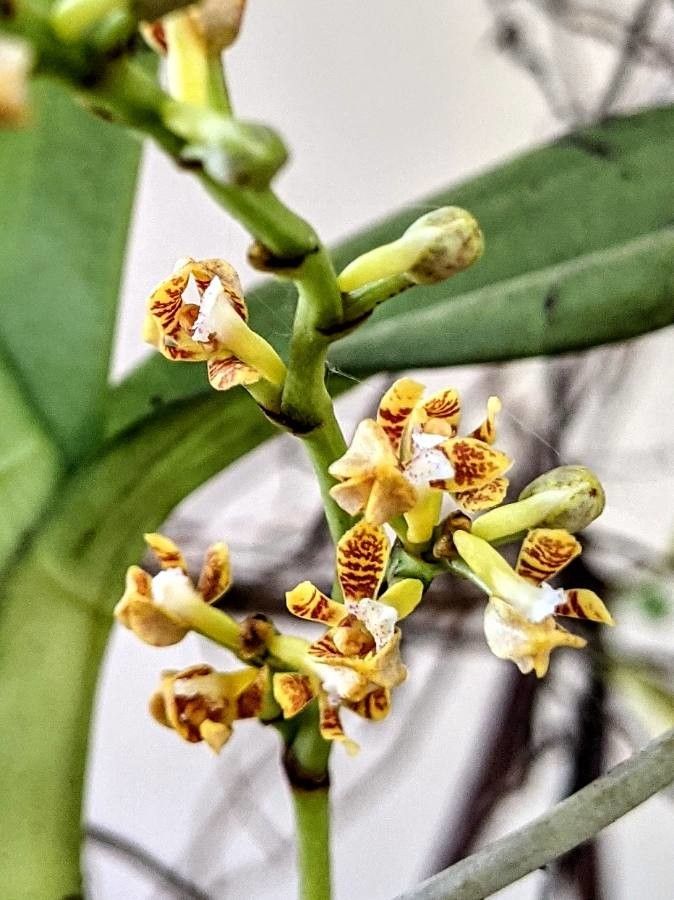
Hey there, fellow plant lovers! I’m so excited to chat with you today about a truly special orchid: Acampe pachyglossa. If you’ve ever admired its unique charm – those wonderfully thick leaves and the promise of delicate blooms – you’re in for a treat. Propagating these beauties can feel like unlocking a little piece of magic. Now, is it a breeze for complete beginners? To be honest, it can be a tad bit more involved than, say, a pothos, but with a little guidance, I promise, it’s absolutely achievable! The reward of seeing your own little Acampe sprout and flourish is just immense.
The Best Time to Start
Timing is everything in the garden, and it’s no different with our Acampe pachyglossa. The absolute sweet spot for propagating is during its active growth phase. For most of us, that means spring through early summer. You’ll see new shoots emerging, and the plant’s energy is high. Trying to propagate when it’s resting will likely lead to disappointment. Look for a healthy, established plant with plenty of good growth to work with.
Supplies You’ll Need
Gathering your tools beforehand always makes the process smoother. Here’s what I recommend:
- Sharp, sterile pruning shears or a clean knife: Essential for making clean cuts. Sterilize with rubbing alcohol between cuttings!
- Rooting hormone powder (optional but recommended): Helps to encourage faster and stronger root development.
- A suitable potting mix: For orchids, a well-draining orchid bark mix is key. You can also add a bit of perlite or sphagnum moss to retain some moisture.
- Small pots or propagation trays: Choose something that allows for good airflow.
- Clear plastic bags or a propagation dome: To create a humid microclimate.
- Watering can with a fine rose: For gentle watering.
- Labels and a permanent marker: So you don’t forget what you’ve propagated!
Propagation Methods
Acampe pachyglossa is most commonly propagated through division. This is my go-to method because it’s usually the most straightforward and successful.
Division
- Gently remove the orchid from its pot. If it’s stuck, try running a knife around the edge of the pot.
- Inspect the root system. You’re looking for natural breaks in the plant where new pseudobulbs (those swollen stem sections) are attached to the main plant. You want to divide it into sections, each with at least two to three healthy pseudobulbs and a good root system.
- Use your sterile pruners or knife to carefully separate the sections. Try to disturb the roots as little as possible. If the roots are very tangled, you might need to gently tease them apart with your fingers or a clean chopstick.
- Trim any damaged or dead roots.
- Remove any old, dry leaf sheaths from the base of the new divisions.
- If using rooting hormone, lightly dip the cut ends into the powder.
- Pot each division in its own container with the orchid bark mix. Make sure the pseudobulbs are sitting at the surface of the mix, not buried.
- Water lightly. You don’t want to saturate the potting medium right away.
- Place the pots in a warm spot with bright, indirect light.
The “Secret Sauce” (Pro Tips)
Here are a few little tricks I’ve picked up over the years that can make a big difference:
- Don’t overwater after dividing: This is probably the most common mistake. The newly divided plant needs to establish roots before it can take up lots of water. Keep the potting medium lightly moist, not soggy. Think of it as encouraging the roots rather than drowning them.
- Provide high humidity: Orchids absolutely love a humid environment, and cuttings are no exception. Tent your pots with a clear plastic bag or use a propagation dome to trap moisture. Pop a few holes in the bag for air circulation.
- Don’t be afraid of a little leaf drop: It’s normal for a division to lose a leaf or two as it adjusts. Just keep an eye on the pseudobulbs. If they start to look shriveled and soft, that’s a sign of distress indicating it’s struggling to establish roots.
Aftercare & Troubleshooting
Once your Acampe pachyglossa divisions are potted, give them time. You’re looking for signs of new root growth, which might take several weeks to a couple of months. You’ll also notice the pseudobulbs remaining firm and plump.
Common signs of trouble:
- Rotting pseudobulbs: This is usually a sign of overwatering or poor drainage. The pseudobulbs will turn mushy and dark. If you see this, pull the division out, trim away all the rotten material with sterile tools, and repot in fresh, dry mix. You might need to accept losing a division if it’s too far gone.
- Shriveled pseudobulbs: This can mean it’s not forming roots effectively, or it’s drying out too much. Check the humidity and moisture levels.
Keep them in bright, indirect light and maintain that humidity. As they grow, you can gradually acclimate them to more normal orchid care.
A Encouraging Closing
Propagating orchids like Acampe pachyglossa is a journey! It requires patience, observation, and a little bit of faith. Don’t get discouraged if your first attempt isn’t perfect. Every cutting teaches you something new. Enjoy watching your new orchids develop, and revel in the satisfaction of growing your collection from your own green thumb. Happy propagating!
Resource:
https://identify.plantnet.org/k-world-flora/species/Acampe%20pachyglossa%20Rchb.f./data