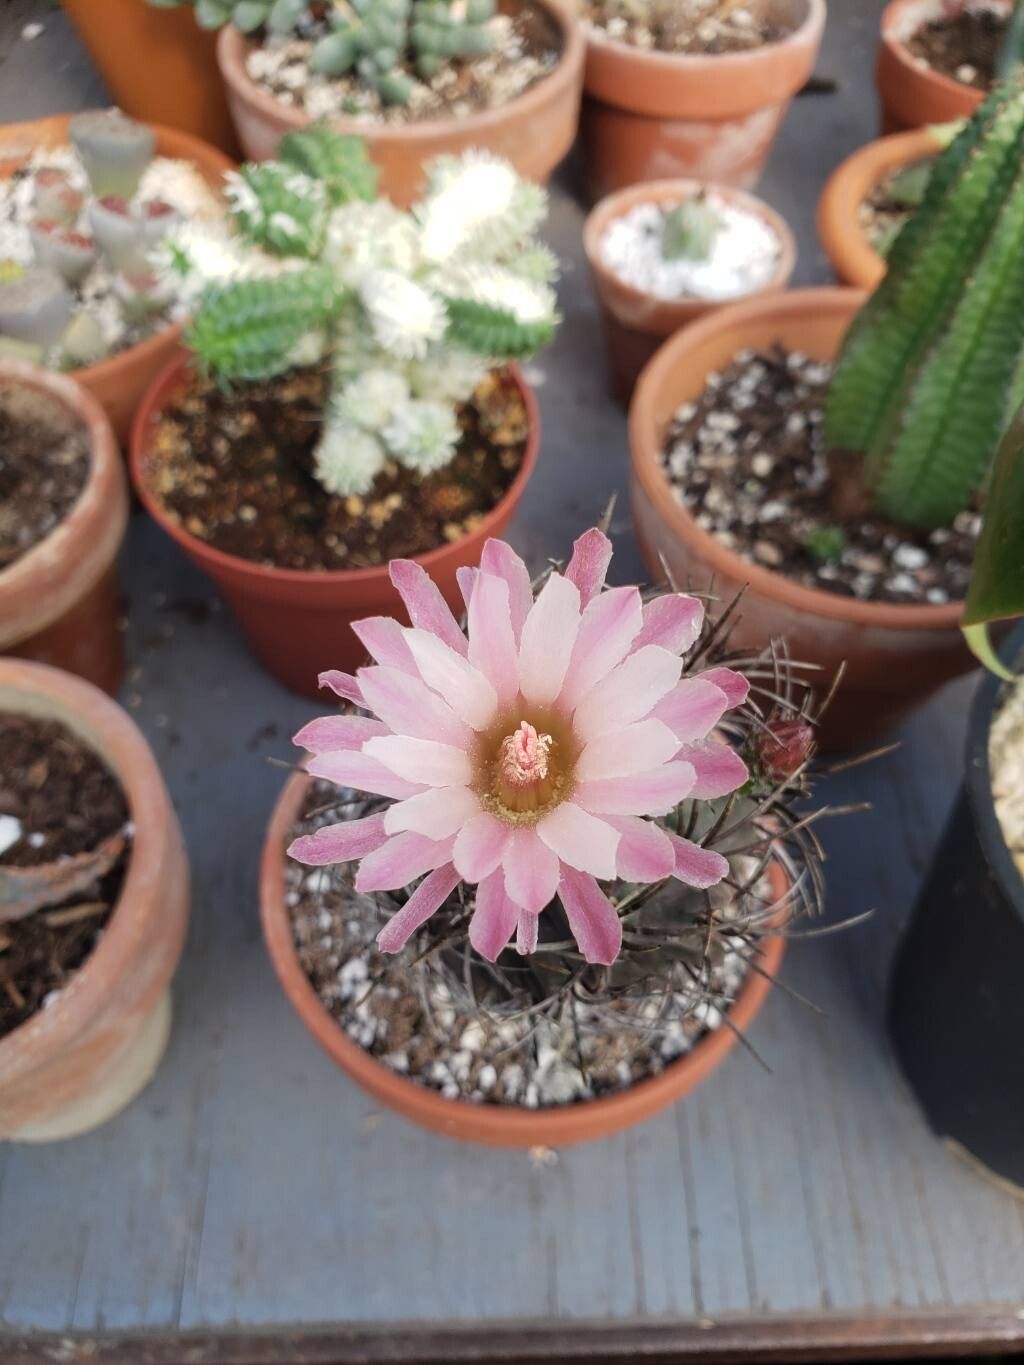
Oh, hello there! Pull up a chair and let’s chat about a little gem that really captures my heart: Eriosyce taltalensis. This Chilean cactus, with its beautiful ribbed body and often striking woolly crown, is just a stunner in any collection. There’s something incredibly satisfying about nurturing a new life from a tiny piece of an established plant. It’s a little bit of magic, really. Now, for the honest truth, Eriosyce can be a bit of a discerning plant. While not impossible for a beginner, you’ll find more success if you’re already familiar with the basics of cactus care. But don’t let that deter you, the rewards are absolutely worth the little bit of extra attention.
The Best Time to Start
For Eriosyce taltalensis, the sweet spot for propagation is during its active growing season. Think late spring through summer. This is when the plant has plenty of energy to put into developing roots and new growth. Starting when your parent plant is really thriving will give your cuttings the best chance to take off. Trying to propagate during its dormancy in winter is usually a recipe for disappointment.
Supplies You’ll Need
Here’s what I always have on hand when I’m ready to get my hands dirty:
- Well-draining cactus and succulent mix: This is non-negotiable! I often mix my own with pumice, coarse sand, and a bit of coco coir. You want it to drain fast.
- Sharp, sterilized pruning shears or a clean knife: For making clean cuts.
- Rooting hormone (optional but helpful): A powder or gel can give your cuttings a good head start.
- Clean pots or trays: Small ones are perfect for cuttings. Make sure they have drainage holes.
- A light misting bottle: For that gentle touch of moisture.
- Gravel or perlite: To help support the cuttings and keep them from wobbling.
Propagation Methods
Eriosyce taltalensis is most commonly propagated from offsets or stem cuttings. Since this cactus doesn’t always produce prolific offsets in the same way some others do, cuttings often become the go-to method.
Offset Division
- When you notice small pups or offsets growing from the base of your Eriosyce, it’s time to act.
- Carefully extract the offset. If it’s still attached firmly, use your sterilized knife to gently cut it away, making sure to get a little bit of the parent plant’s stem and ideally some areoles (the fuzzy spots where spines emerge).
- Let the offset dry and callus over for a few days to a week. This is crucial to prevent rot. You’ll see a dry, scar-like layer form at the cut.
- Once callused, you can plant it in your well-draining cactus mix. Just nestle the callused end into the soil.
Stem Cuttings
- Select a healthy stem or a significant lobe from your mature Eriosyce.
- Using your sterilized shears or knife, make a clean cut. Aim for a piece that’s at least a couple of inches long, if possible.
- Just like with offsets, the most critical step here is allowing the cutting to callus over. Place it in a dry, airy spot out of direct sunlight for a week or even two, until a firm, dry layer coats the cut surface. This can take time, but patience is key!
- Once callused, you can insert the callused end into your prepared cactus mix. I like to lean the cutting against a pebble or use perlite to keep it upright while it roots.
The “Secret Sauce” (Pro Tips)
Here are a few things I’ve learned over the years that really make a difference:
- Don’t rush the callus: I know it feels like you want to get that cutting into soil immediately, but skipping this step is the number one reason for rot. Let it dry completely. It’s better to wait a bit longer than to lose your cutting.
- Bottom heat is your friend: If you have a heat mat designed for seedlings or cuttings, use it! Warm soil temperatures encourage root development far more effectively than just ambient room temperature.
- Watering is a gentle art, not a deluge: When you do water your cuttings, be very light with it. A gentle misting to slightly dampen the surface of the soil is usually enough to encourage roots. You don’t want soggy soil, ever.
Aftercare & Troubleshooting
Once your Eriosyce cutting or offset has developed roots (you might see a little new growth or feel a slight resistance when gently tugging), it’s time to treat it like a little cactus!
Continue to water sparingly, allowing the soil to dry out completely between waterings. Keep it in bright, indirect light, gradually introducing it to more direct sun as it establishes.
The most common problem you’ll face is rot, which usually stems from too much moisture and a lack of good drainage. If you see your cutting becoming mushy, discolored (often brown or black), or developing soft spots, it’s likely rotting. Sadly, if rot sets in, it’s very difficult to save. The best prevention is good airflow, well-draining soil, and conservative watering. Another sign of distress can be shriveling, which might indicate it’s not getting enough water or that it’s dying from rot and is losing moisture.
A Little Patience Goes a Long Way
Propagating Eriosyce taltalensis is a journey, not a race. There will be times when cuttings simply don’t take, and that’s okay. Don’t get discouraged! Each attempt teaches you something new. Celebrate every success, however small, and enjoy the quiet satisfaction of growing these fascinating plants. Happy gardening!
Resource: