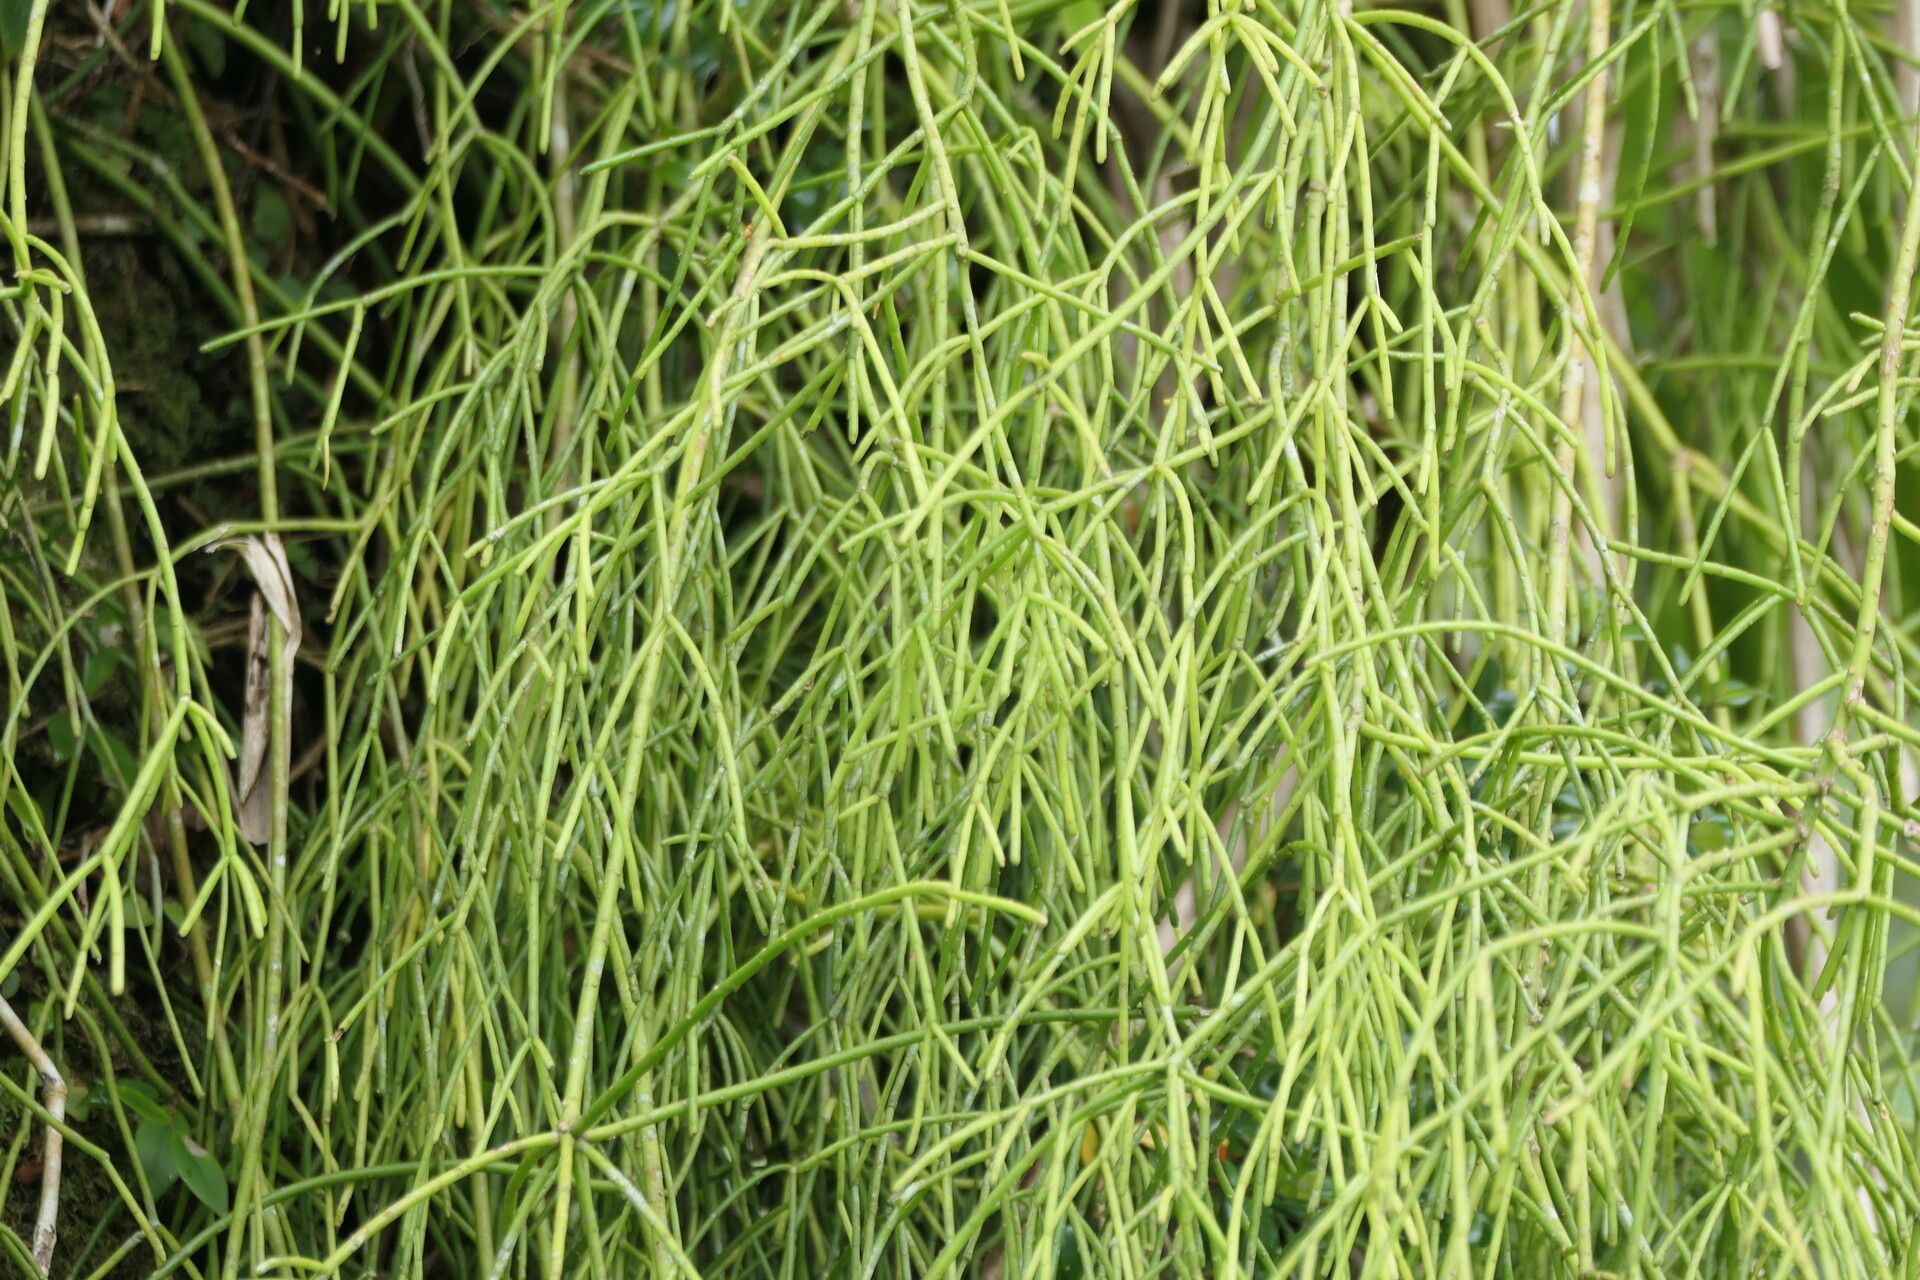
Hello there, fellow plant lovers! Today, we’re diving into the wonderfully quirky world of Rhipsalis juengeri, also known as the “Mistletoe Cactus.” If you’re captivated by its cascading chains of delicate, segmented stems, you’re not alone. This epiphyte truly brings a touch of whimsy to any indoor space. And the best part? Propagating it is a truly rewarding experience, letting you share its charm or simply expand your own collection without breaking the bank. For beginners, I’d say Rhipsalis juengeri is moderately easy to propagate, with a little patience and the right touch.
The Best Time to Start
When it comes to Rhipsalis juengeri, the sweet spot for propagation is definitely during its active growing season. Think late spring through early fall. This is when the plant is actively producing new growth and has the most energy to put into developing roots. Starting a cutting in the dark, cold days of winter is generally less successful. You want a healthy, vigorous parent plant to take your cuttings from.
Supplies You’ll Need
Gathering your tools beforehand makes the whole process smooth sailing. Here’s what you’ll want to have on hand:
- Sharp, clean pruning shears or a sharp knife: Essential for making clean cuts.
- Well-draining potting mix: I highly recommend a cactus/succulent mix, or you can create your own by combining equal parts potting soil, perlite, and coarse sand.
- Small pots or seedling trays: Something appropriately sized for your cuttings.
- Rooting hormone (optional but helpful): Think Clonex or a similar powder/gel. It really gives cuttings a boost.
- Spray bottle: For keeping cuttings lightly moist.
- Plastic bag or clear cloche: To create a humid environment.
Propagation Methods
Let’s get our hands dirty! The most straightforward method for Rhipsalis juengeri is by taking stem cuttings.
- Select your cutting: Look for healthy, mature stems that are at least 4-6 inches long. Avoid any yellowing or damaged sections.
- Make the cut: Using your sharp, clean shears or knife, carefully snip off the desired stem. I usually try to make the cut just above a joint where the segments connect.
- Let it callus: This is a crucial step! The cut end needs to dry out and form a callus. This prevents rot when you plant it. Leave the cutting in a bright, airy spot away from direct sun for 2-5 days, or until the cut end feels dry and slightly hardened.
- Prepare for planting: If you’re using rooting hormone, dip the callused end into it now. Lightly dust off any excess.
- Plant your cutting: Fill your small pot with your well-draining potting mix. Make a small hole in the center with your finger or a pencil.
- Insert the cutting: Gently insert the callused end of the cutting into the hole. Firm the soil gently around it to provide support. You can plant multiple cuttings in one pot, giving them a little space.
- Water lightly: Give the soil a light misting with your spray bottle. You want the soil to be barely moist, not waterlogged.
- Create humidity: Cover the pot with a clear plastic bag or a plastic cloche. This will create a mini-greenhouse effect, keeping the humidity high, which is vital for successful rooting. Poke a few small holes in the bag for ventilation.
Another option, and one I particularly enjoy, is water propagation.
- Prepare your cutting: Follow steps 1 and 2 above.
- Submerge the stem: Place the cutting in a clean glass or jar of water. Make sure only the cut end is submerged. It’s crucial that the leaves (the flattened segments) do not touch the water, as this will lead to rot.
- Change the water regularly: Every couple of days, refresh the water to keep it clean and oxygenated.
- Patience is key: You should start to see tiny white roots emerging from the cut end within a few weeks. Once the roots are about an inch long, you can carefully transplant them into your well-draining potting mix, following steps 5-8 for planting.
The “Secret Sauce” (Pro Tips)
Here are a couple of things I’ve learned over the years that can really make a difference:
- Don’t rush the callusing stage. I know it’s tempting to get that cutting into soil, but that dry-out period is your best defense against rot. Seriously, let it sit!
- Bottom heat is your friend. If you have a heating mat designed for seedlings, placing your pots on it can significantly speed up root development. It mimics the warm soil conditions that Rhipsalis love.
Aftercare & Troubleshooting
Once your cuttings have developed roots (you can gently tug on them – if there’s resistance, you have roots!), it’s time for a little more dedicated care.
- Transition slowly: Remove the plastic bag or cloche gradually over a few days to acclimate the new plant to normal humidity levels.
- Watering: Now, you can water more thoroughly, but still allow the soil to dry out between waterings. Overwatering is the most common pitfall. Feel the soil; if it’s dry a couple of inches down, it’s time for a drink.
- Light: Place your new Rhipsalis in bright, indirect light. Direct sun can scorch those delicate new stems.
Now, what if things go wrong? The most common issue is rot. If your cutting turns mushy, black, or smelly, it’s likely succumbed to rot. This is usually due to too much moisture and insufficient callusing. If you catch it early, you might be able to salvage a healthy section above the rot and start again. Wilting can also happen if the soil is too dry, or if the cutting hasn’t rooted yet and is struggling to find moisture.
A Little Encouragement
Propagating Rhipsalis juengeri is a beautiful journey of patience and observation. Don’t get discouraged if your first few attempts aren’t perfect. Every gardener learns through trial and error. The satisfaction of seeing those tiny roots emerge and a new plant unfurl is truly special. Enjoy the process, connect with your plants, and I can’t wait for you to have a whole cascade of your own! Happy growing!
Resource: