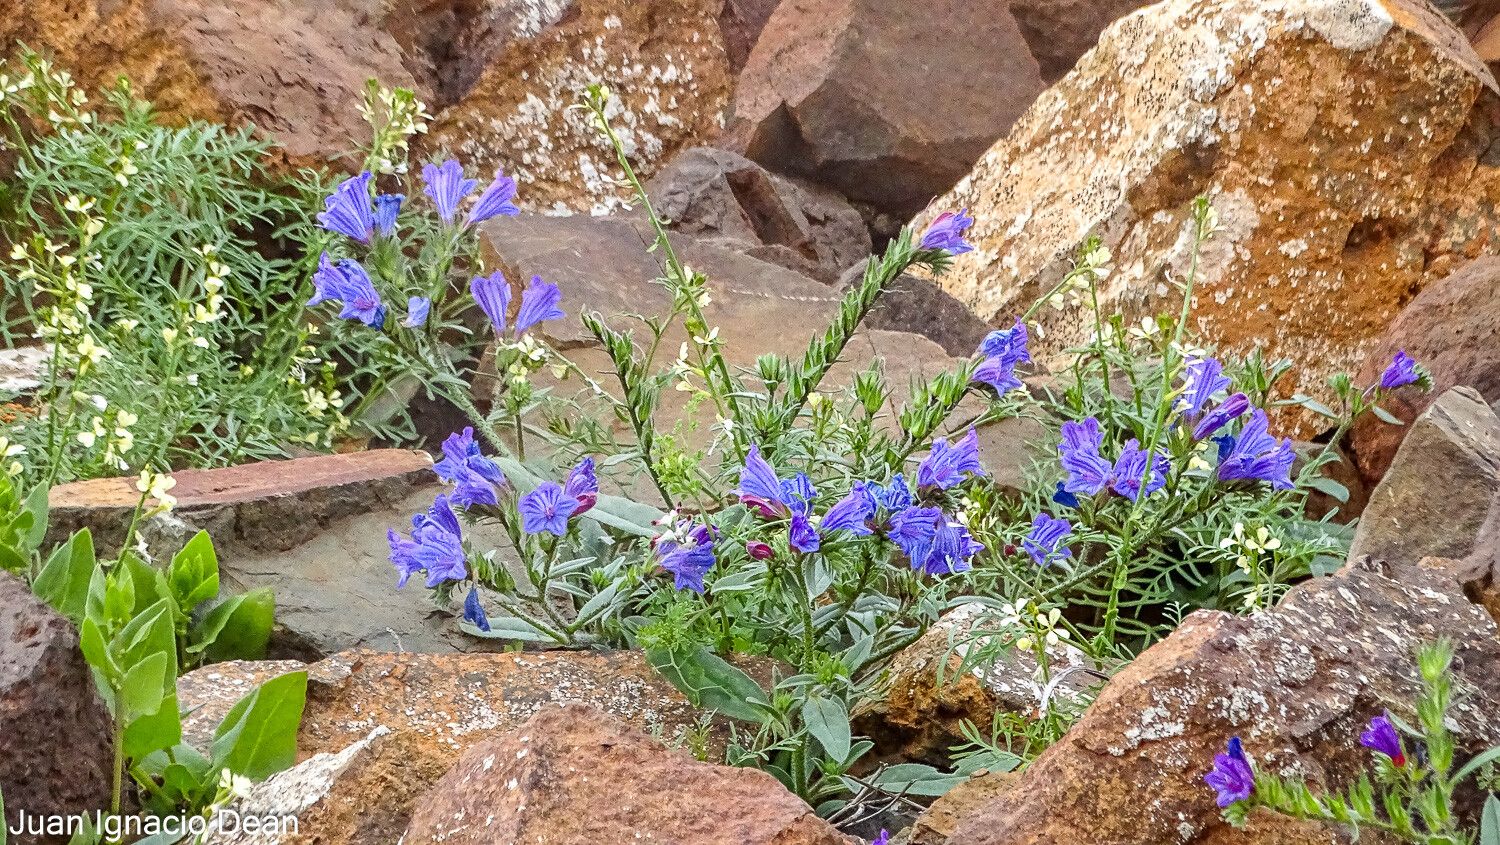
Oh, hello there! So glad you’re thinking about growing more of these magnificent Echium pitardii. I’ve always been captivated by their architectural beauty – those tall, spire-like blooms are just breathtaking, aren’t they? And propagating them yourself? It’s incredibly rewarding. It feels like you’re unlocking a little bit of nature’s magic, and soon you’ll have more of these showstoppers to fill your garden or share with friends.
Now, are they easy for a beginner? Honestly, while not as foolproof as, say, a pothos, they’re wonderfully achievable with a little patience and the right approach. I think you’ll find it much easier than you imagine, and the satisfaction you’ll get is just immense.
The Best Time to Start
For Echium pitardii, my favorite time to get propagating is definitely in the spring, as the plant is really waking up. You’re looking for actively growing shoots. Think tender, new growth that’s still pliable, not woody old stems. This is when they have the most energy to put into making new roots. Late spring, just before things get too hot and dry, is often perfect.
Supplies You’ll Need
Gathering your tools is the first step to success, like prepping your canvas before painting. Here’s what I always have on hand:
- Sharp, clean pruning shears or a sharp knife: For making clean cuts.
- Rooting hormone powder or gel: This gives your cuttings a real boost. I’m fond of the powder; it’s easy to work with.
- A well-draining potting mix: I like a mix of perlite, coarse sand, and a good quality potting soil. About a 50/50 mix works wonders.
- Small pots or trays: Clean ones! That’s crucial. Small ones are great because they don’t hold too much moisture.
- Plastic bags or a propagator lid: To create a humid environment.
- Watering can with a fine rose: To water gently.
- Labels: Don’t forget to label your creations!
Propagation Methods
For Echium pitardii, I find that stem cuttings are the most reliable and rewarding method. It’s how I’ve had the most success.
-
Taking the Cuttings: On a bright spring morning, select a healthy, actively growing stem. You want pieces that are about 4-6 inches long. Using your clean shears or knife, make a clean cut just below a leaf node (the spot where a leaf attaches to the stem). Remove any lower leaves to expose at least one or two nodes. You can take several cuttings from a single plant, just be mindful not to overprune your parent plant.
-
Rooting Hormone: Dip the cut end of each stem into rooting hormone, tapping off any excess. This step is really important for encouraging those roots to form.
-
Planting: Fill your clean pots with your well-draining potting mix. Make a pilot hole with a pencil or skewer – this prevents the rooting hormone from rubbing off. Insert the cutting into the hole, ensuring at least one node is buried in the soil. Gently firm the soil around the cutting.
-
Creating Humidity: Water the soil gently until it’s evenly moist but not waterlogged. Then, cover each pot with a clear plastic bag or place them in a propagator with a lid. This humidity is key to preventing the cuttings from drying out before they can root. Place them in a bright spot, but out of direct, harsh sunlight.
-
Waiting for Roots: Now, this is where patience comes in. Check your cuttings periodically. You should start to see new growth or feel a slight resistance when you gently tug on the cutting after about 4-6 weeks.
The “Secret Sauce” (Pro Tips)
Here are a few things I learned that really make a difference:
- Sanitation is Non-Negotiable: I can’t stress this enough. Always use clean tools and pots. Any lingering bacteria or fungus can quickly take down your precious cuttings before they even have a chance. A quick wash with soap and water, followed by a rinse with diluted bleach or alcohol, works wonders.
- Bottom Heat is Your Friend: If you have them, propagator bases or heat mats really speed things up. A consistent, gentle warmth from below encourages root development faster than if the soil is just room temperature. You’re aiming for around 70-75°F (21-24°C).
- Don’t Overwater! This is the number one killer of cuttings. They need moisture, yes, but soggy soil is a recipe for rot. Let the top inch of soil dry out slightly between waterings. The humidity from the bag will help keep the leaves hydrated.
Aftercare & Troubleshooting
Once you’ve confirmed your cuttings have rooted (give them a gentle tug, and if there’s resistance, they’ve probably made it!), it’s time to transition them. Very gradually remove the plastic bag over a few days, allowing them to acclimate to the drier air. Continue to water them as needed, again, allowing the soil to dry slightly between waterings. Keep them in that bright, indirect light.
The most common sign of trouble is rot, which usually manifests as a mushy, black stem at the soil line. If you see this, sadly, that cutting is likely lost. It’s often a sign of too much moisture and poor air circulation. Another sign is wilting that doesn’t seem to improve, which can also point to root rot or the cutting simply drying out. Don’t get discouraged if some don’t make it. It’s part of the gardening dance! Just clean up the pot and try again with fresh cuttings.
A Little Encouragement
You’ve got this! Propagation is such a wonderful way to connect with your plants and increase your garden’s abundance. Be patient with your Echium pitardii cuttings. They take their time, but the reward of seeing those tiny roots grow and a new plant unfurl is truly special. Enjoy the process, and happy gardening!
Resource:
https://identify.plantnet.org/k-world-flora/species/Echium%20pitardii%20A.Chev./data