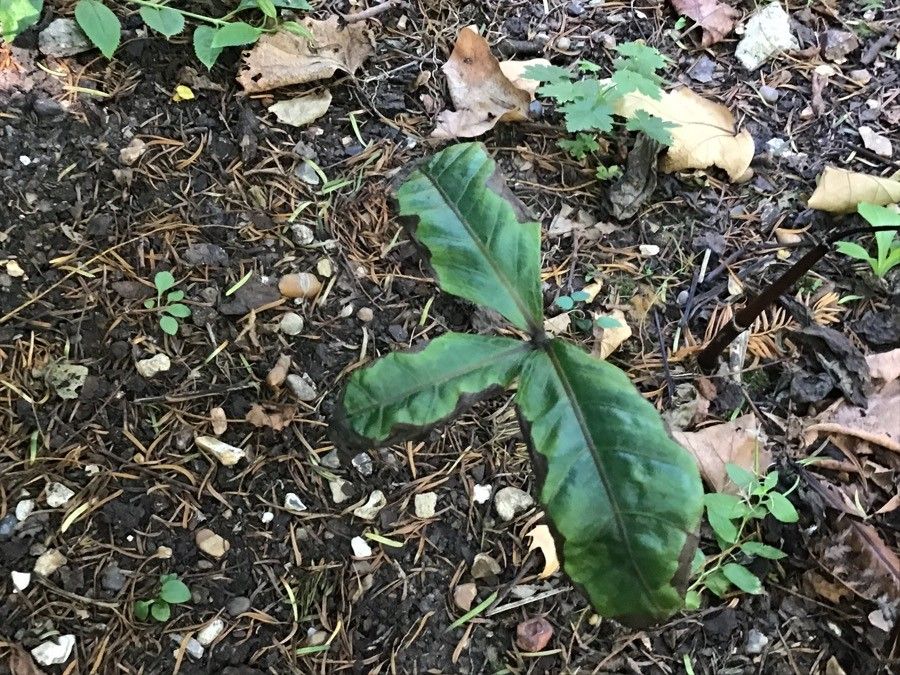
Oh, welcome, fellow plant lover! I’m so delighted you’re interested in Chloranthus fortunei. If you haven’t met this charmer yet, let me tell you, it’s a real gem with its glossy, dark green leaves and subtle elegance. It brings such a refined touch to shady corners. And the best part? It’s surprisingly rewarding to multiply! While it might seem a touch involved, I find Chloranthus fortunei to be quite forgiving, making it a lovely project for both seasoned gardeners and those just starting to explore propagation. Seeing a tiny cutting transform into its own flourishing plant is one of gardening’s greatest joys, don’t you think?
The Best Time to Start
For the highest success rate, I always recommend propagating Chloranthus fortunei in late spring or early summer. This is when the plant is in its most vigorous growth phase. New, soft, but not impossibly tender stems are ideal. They have that youthful energy, perfectly primed to develop roots. Waiting until after the main bloom flush also means you’re taking cuttings from developing growth rather than flowering stems.
Supplies You’ll Need
Before we get our hands dirty, let’s make sure we’re ready. Here’s what I usually have on hand:
- Sharp Pruning Shears or a Keen Knife: Clean cuts are vital for preventing disease.
- Rooting Hormone (Optional but Recommended): This can give your cuttings a helpful boost. Look for one formulated for softwood cuttings.
- Well-Draining Potting Mix: A good blend of peat moss, perlite, and a bit of compost works wonders. For Chloranthus, I often go for a fine bark-based mix too.
- Small Pots or Propagation Trays: Clean drainage holes are a must.
- Clear Plastic Bag or Dome: To create a humid environment for your cuttings.
- Watering Can with a Fine Rose: Gentle watering is key.
Propagation Methods
Let’s get down to the exciting part! My go-to method for Chloranthus fortunei is stem cuttings. It’s reliable and gives you plenty of opportunity to experiment.
Stem Cuttings:
- Select Your Cuttings: Look for healthy, upright stems from your established plant. You want pieces that are about 4-6 inches long. Crucially, make your cut just below a leaf node. This is where the magic happens, where the roots are most likely to form. Remove any flowers or flower buds from the cutting.
- Prepare the Cuttings: Gently strip off the lower leaves, leaving just two or three at the very top. This prevents them from rotting once buried.
- Apply Rooting Hormone (If Using): Dip the cut end of the stem into your rooting hormone. Tap off any excess.
- Plant Your Cuttings: Fill your small pots with your prepared potting mix. Make a hole in the center with your finger or a pencil. Carefully insert the cutting into the hole, ensuring the leaf node(s) you left exposed are nestled into the soil. Gently firm the soil around the base of the cutting.
- Water Gently: Water the potting mix thoroughly but delicately, ensuring there’s water draining from the bottom of the pot.
- Create Humidity: Cover the pot with a clear plastic bag or a propagation dome. This is essential to keep the humidity high around your cuttings, mimicking their natural environment and preventing them from drying out before they can root. You can secure the bag with a rubber band around the pot.
The “Secret Sauce” (Pro Tips)
Now, for a couple of little tricks I’ve learned over the years that can really make a difference:
- Don’t Let Those Top Leaves Touch the Soil: This sounds simple, but I’ve seen so many cuttings fail because the remaining leaves dipped into the moist soil, leading to rot. Make sure they arch upwards or outwards; a toothpick can sometimes help prop them up if needed.
- Bottom Heat is Your Friend: If you have a seedling heat mat, using it under your propagation tray is a game-changer. That gentle warmth from below encourages root development significantly. Just make sure the cuttings don’t overheat.
Aftercare & Troubleshooting
Once your cuttings are planted, remember they are quite vulnerable. Keep them in bright, indirect light. Avoid direct sun, which can scorch them. Check the soil moisture regularly – it should be consistently moist, but never waterlogged.
You’ll know your cuttings are rooting when you see new leaf growth. This usually takes anywhere from 4 to 8 weeks, sometimes longer. Don’t rush it! Once they’ve clearly rooted and are showing signs of active growth, you can gradually remove the plastic cover to acclimate them to lower humidity. Then, it’s time to treat them like any other young plant.
The most common issue you’ll encounter is rot. If a cutting turns dark and mushy, it’s a sign it hasn’t rooted and has succumbed to fungal disease. Usually, this is due to too much moisture and not enough air circulation. If you see this, it’s best to discard the rotted cutting and inspect the others. Sometimes, a cutting might simply fail to root, and that’s okay too! It’s all part of the learning process.
A Warm Encouraging Closing
So there you have it! Propagating Chloranthus fortunei is a wonderfully satisfying endeavor. Be patient with your little green charges. Not every cutting will make it, but each attempt teaches you something new. Enjoy the process, celebrate the successes, and before you know it, you’ll have a whole collection of these beautiful plants to share with friends or to adorn every shady nook in your garden. Happy propagating!
Resource:
https://identify.plantnet.org/k-world-flora/species/Chloranthus%20fortunei%20(A.Gray)%20Solms/data