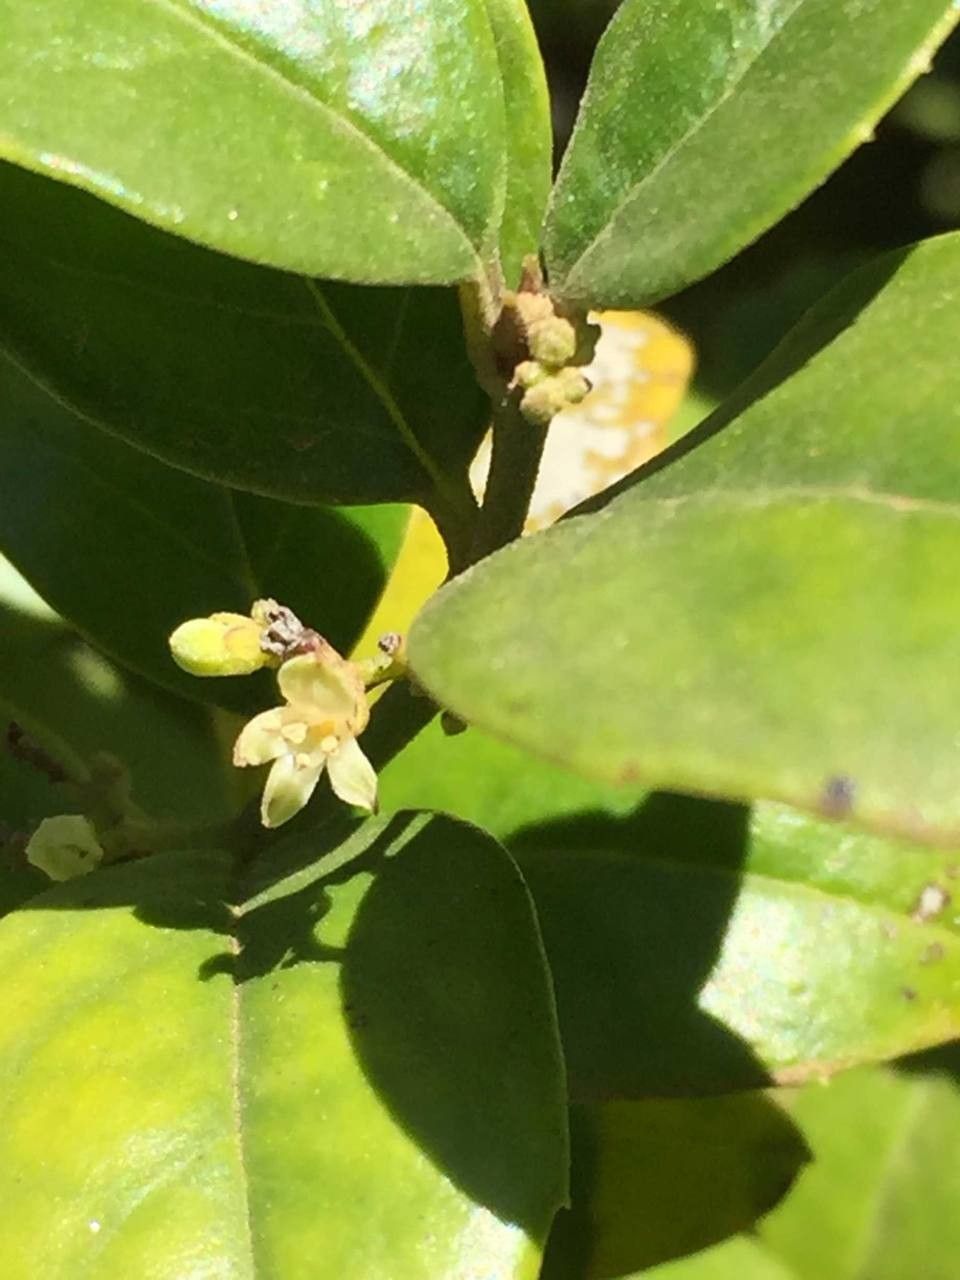
Hello there, fellow plant lovers! I’m so excited to chat with you today about a gem I’ve been nurturing for years: Cassinopsis ilicifolia. This fantastic plant, often called “Wild Holly” (though it’s not a true holly!), is an absolute stunner. Its glossy, evergreen leaves and delicate creamy flowers bring such charm to the garden, and the bonus is if you’re lucky enough to get some berries, the birds will thank you profusely!
If you’ve ever admired this beauty and thought, “I wish I had more of those!” then you’re in luck. Propagating Cassinopsis ilicifolia is a really rewarding experience. Now, I won’t sugarcoat it – it can be a little finicky for absolute beginners, but with a few trusty tips, you’ll be well on your way to multiplying your plants. It’s about understanding its needs, and that’s what we’re here to do!
The Best Time to Start
The sweet spot for propagating Cassinopsis ilicifolia is definitely late spring to early summer. This is when the plant is actively growing and will have the best energy reserves to put into developing new roots. Look for stems that are semi-hard – not brand new, floppy growth, but also not old, woody branches. They should have a bit of give without snapping easily.
Supplies You’ll Need
Before we dive in, let’s gather our trusty tools. Having everything ready makes the process so much smoother:
- Sharp Pruning Shears or a Craft Knife: For clean cuts, which are crucial for successful propagation.
- Rooting Hormone: This is your best friend! It really gives those cuttings a fighting chance by stimulating root growth. Look for a gel or powder.
- Well-Draining Potting Mix: A good blend of peat moss, perlite, and a bit of compost works wonders. You want something that won’t hold too much moisture.
- Small Pots or Seed Trays: Clean pots are a must to prevent disease.
- Clear Plastic Bags or a Propagator: To create a humid environment.
- Soft Water or Rainwater: For watering.
- Labels and a Pen: To keep track of what you’ve planted and when.
Propagation Methods
The most reliable way to multiply Cassinopsis ilicifolia is through stem cuttings. Here’s how I do it:
- Take Your Cuttings: On a mild day, select healthy, semi-ripe stems. Using your sharp pruning shears, take cuttings that are about 4-6 inches long. Make your cut just below a leaf node (where a leaf joins the stem). Remove the lower leaves, leaving just two or three at the top.
- Prepare the Cutting: Dip the cut end of the stem into your rooting hormone, ensuring it’s coated well. Tap off any excess.
- Plant the Cuttings: Fill your clean pots with your well-draining potting mix. Make a hole with a pencil or your finger and gently insert the hormone-coated end of the cutting. Firm the soil gently around it. You can usually fit several cuttings in one pot, as long as they aren’t touching each other.
- Create Humidity: Water the soil lightly. Then, cover the pot with a clear plastic bag or place it inside a propagator. This traps moisture and prevents the cuttings from drying out. You can use a couple of skewers to prop up the bag so it doesn’t touch the leaves.
- Find a Warm Spot: Place the pots in a warm, bright location but out of direct sunlight. The warmth actually helps a lot with root development.
The “Secret Sauce” (Pro Tips)
After years of trials and errors, I’ve picked up a few tricks that I find really boost success rates:
- Bottom Heat is Your Friend: If you can, place your pots on a heated propagator mat. This gentle warmth from below is a game-changer for encouraging roots to form. It mimics what happens in nature when roots grow down into warmer soil.
- Don’t Overwater, But Keep it Moist: It’s a delicate balance. You want the soil to be consistently moist but not soggy. Overwatering will lead to rot, which is the kiss of death for cuttings. Let the very top layer of soil dry out slightly between waterings.
- Gentle Tug Test: After about 6-8 weeks, you can very gently tug on a cutting. If you feel resistance, you likely have roots! If it pulls out easily, it hasn’t taken yet, and you can put it back in for a little longer.
Aftercare & Troubleshooting
Once you see signs of new growth (tiny
Resource: