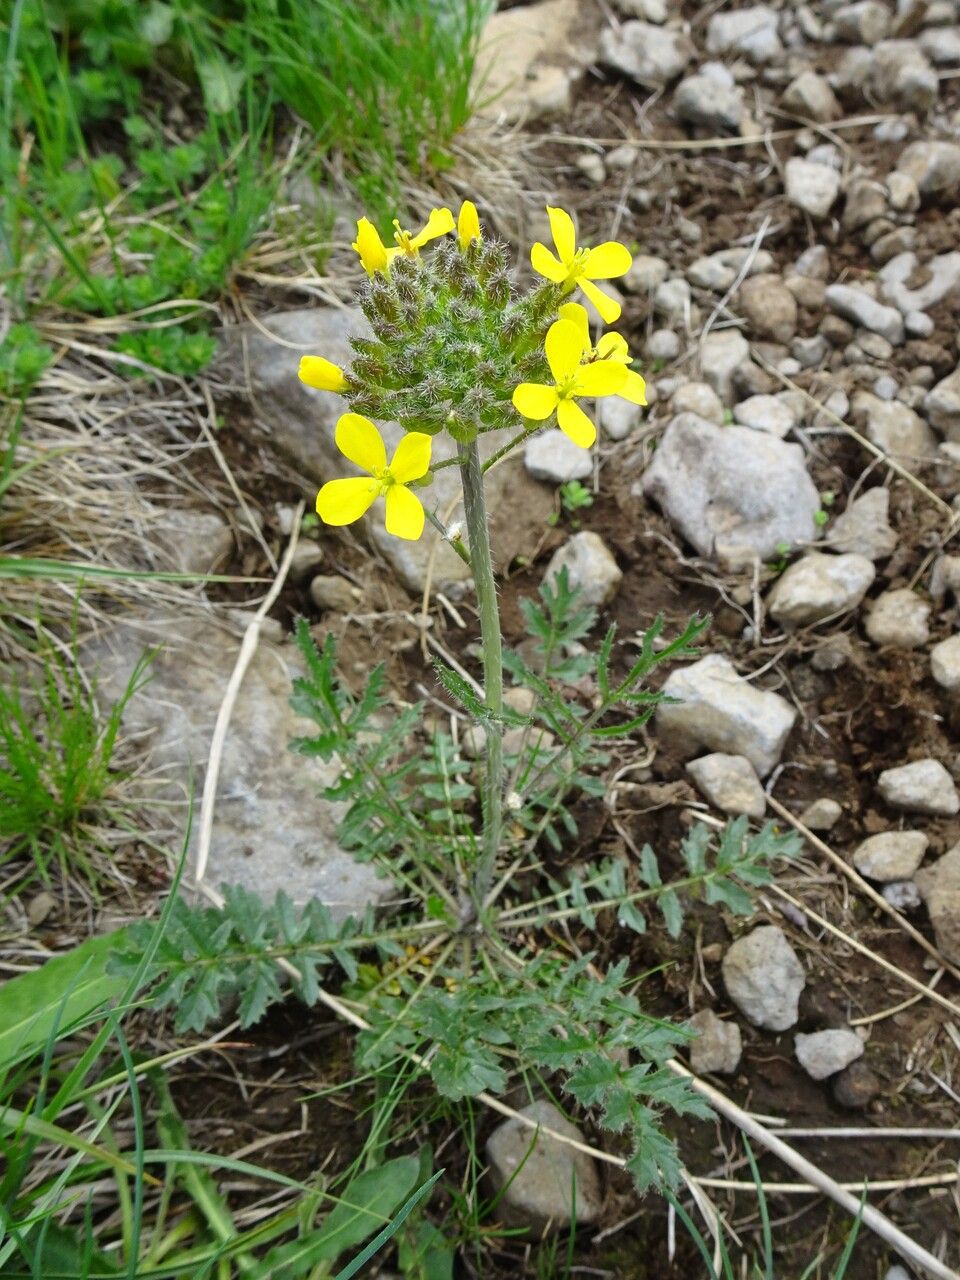
Oh, hello there! I’m so glad you’ve come here today. If you’re anything like me, you’ve probably fallen head over heels for Sisymbrium austriacum, or Austrian Broom. It’s one of those plants that just brings a smile to your face with its delicate, often fragrant, blossoms and lovely green foliage. It has this wonderful ability to add a touch of wild elegance to any garden space. And the best part? It’s wonderfully rewarding to propagate. For us gardeners, creating new life from an existing plant is truly magical, isn’t it? Now, I know some plants can feel a bit daunting when it comes to making more of them, but I’m happy to report that Sisymbrium austriacum is quite forgiving, even for beginners. You’ll be a pro in no time!
The Best Time to Start
Timing is everything, as they say, and when it comes to Sisymbrium austriacum, I find the late spring to early summer is simply the sweet spot. This is when the plant is actively growing, full of energy, and has plenty of tender, new stems. Trying to propagate when the plant is stressed or dormant just makes things harder. So, aim for those lovely, vibrant weeks when everything is bursting with life.
Supplies You’ll Need
Gathering your supplies beforehand makes the whole process so much smoother. Here’s a little list of what I usually have on hand:
- Sharp Pruning Shears or a Clean Knife: For taking clean cuttings.
- Seed Starting Mix or a Well-Draining Potting Mix: I often use a mix of peat moss and perlite for excellent aeration and drainage.
- Small Pots or Propagation Trays: Whatever fits your space, really.
- Rooting Hormone (Optional but Recommended): This isn’t essential for Sisymbrium austriacum, but it does give you a bit of an edge.
- Plastic Bags or a Clear Dome: To maintain humidity around your cuttings.
- Watering Can with a Fine Rose: For gentle watering.
Propagation Methods
Sisymbrium austriacum is a gem because it’s quite versatile. I usually have the best luck with stem cuttings.
Stem Cuttings
- Select Your Cuttings: Look for healthy, non-flowering stems that are about 4-6 inches long. You want stems that are flexible but not too flimsy. They should be actively growing, not woody.
- Make the Cut: Using your sharp shears or knife, take a clean cut just below a leaf node. A leaf node is where a leaf attaches to the stem. This is where the magic of root development often happens.
- Prepare the Cuttings: Gently remove the lower leaves, leaving only a couple of leaves at the very top. If the leaves are quite large, I sometimes snip them in half to reduce water loss.
- Apply Rooting Hormone (If Using): Dip the cut end into your rooting hormone, tapping off any excess.
- Plant Your Cuttings: Make a small hole in your prepared potting mix with a pencil or your finger. Insert the cut end of the stem into the hole and gently firm the soil around it.
- Water Gently: Water the soil thoroughly but not so much that it becomes waterlogged.
- Create a Humid Environment: Cover the pot or tray with a plastic bag or a clear dome. This is crucial for keeping the cuttings from drying out while they try to root. Make sure the leaves don’t touch the sides of the bag if possible.
The “Secret Sauce” (Pro Tips)
Now, for a couple of little things I’ve learned over the years that can really boost your success:
- Bottom Heat is Your Friend: If you can, placing your propagation tray on a gentle heating mat can speed up root development significantly. It mimics the warmth of spring soil and encourages roots to form faster.
- Don’t Be Afraid to Experiment: While I love stem cuttings, I’ve also had success with softwood cuttings early in spring. Just keep an eye on your plants and see what works best in your specific climate. You’ll learn so much by just trying!
Aftercare & Troubleshooting
Once your cuttings have been in their humid environment for a few weeks, you’ll want to start checking for roots. You can do this by giving a gentle tug. If you feel resistance, you’ve got roots!
- Acclimating: Once roots have formed, it’s time to slowly acclimate your new plants to regular air. Start by opening the plastic bag or dome for a few hours each day. Gradually increase the time until they can live without the extra humidity.
- Watering: Continue to water moderately, keeping the soil consistently moist but not soggy. Overwatering is a common culprit for failure and can lead to root rot, which often appears as a mushy, blackened stem base.
- Signs of Trouble: If your cuttings start to yellow and wilt, it could be a sign they’re drying out, or sadly, they may have succumbed to fungal diseases if the conditions have been too wet and not airy enough. If you see mold, remove the affected cutting immediately and improve air circulation.
A Encouraging Closing
Remember, gardening is a journey, and propagation is one of its most rewarding stops. Be patient with your little Sisymbrium austriacum cuttings. Some will take off immediately, while others might take a bit longer. Don’t get discouraged if not every single one makes it – that’s part of the learning process! Celebrate the successes, learn from the challenges, and most importantly, enjoy the wonderful process of creating more beauty for your garden. Happy propagating!
Resource:
https://identify.plantnet.org/k-world-flora/species/Sisymbrium%20austriacum%20Jacq./data