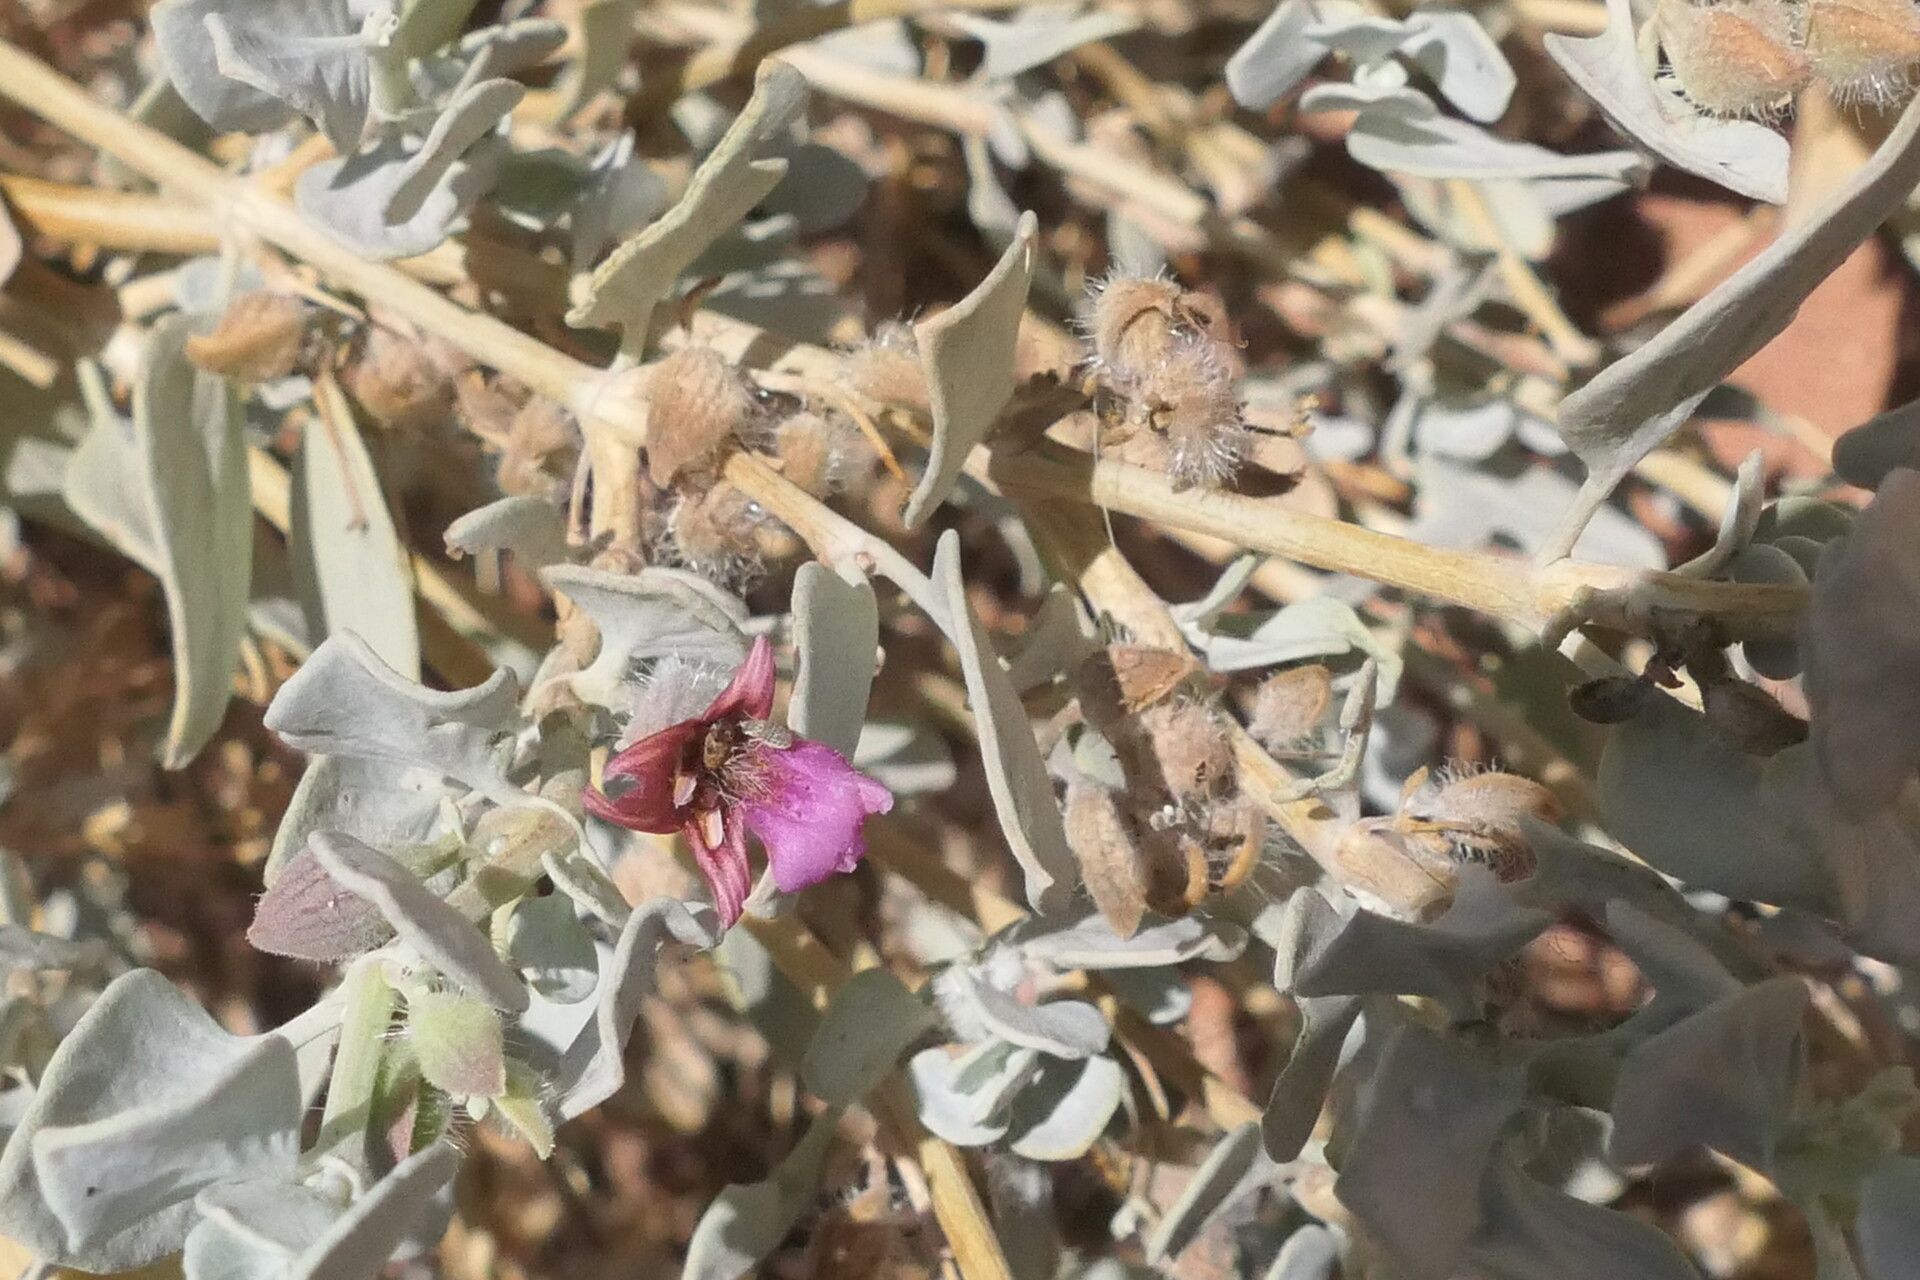
Hello fellow plant lovers! If you’re anything like me, you might have stumbled upon Petalidium canescens and found yourself utterly charmed. With its delicate, trumpet-shaped flowers, often in shades of soft pink and creamy white, it brings a touch of understated elegance to any garden. It’s a plant that whispers rather than shouts its beauty, and every time I see a bloom, I just want more!
The wonderful thing about multiplying these beauties is the sheer satisfaction it brings. There’s something deeply rewarding about taking a piece of your existing plant and nurturing it into a whole new life. It’s a connection to nature, a bit of magic happening right on your windowsill or in your greenhouse, if you’re lucky enough to have one! Now, you might be wondering if Petalidium canescens is a tricky one to propagate. Honestly, it’s a pretty straightforward plant once you understand its preferences. It’s a great one for those of you dipping your toes into the world of propagation.
The Best Time to Start
For the highest success rates with Petalidium canescens, late spring to early summer is your golden window. This is when the plant is actively growing, full of vigor, and has plenty of energy to put into rooting. You’ll want to look for stems that are semi-hardwood – not brand new, floppy green growth, but not woody and old either. Think of those stems that have a bit of snap to them but are still flexible.
Supplies You’ll Need
Gathering your tools before you begin makes the whole process so much smoother. Here’s what I usually have on hand:
- Sharp Pruning Shears or a Craft Knife: Clean cuts are key!
- Rooting Hormone: A small amount can significantly boost your chances. Gel or powder works well.
- Well-Draining Potting Mix: A good blend of peat moss, perlite, and a bit of coarse sand is ideal. Some growers swear by a cactus/succulent mix, and that works too!
- Small Pots or Seedling Trays: Clean ones are a must to prevent disease.
- Plastic Bags or a Propagating Dome: To create a humid environment.
- Watering Can with a Fine Rose: Gentle watering is essential.
- Labels: So you don’t forget what you’ve planted where!
Propagation Methods
The most reliable way I’ve found to propagate Petalidium canescens is through stem cuttings. It’s a tried-and-true method that usually gives fantastic results.
- Take Your Cuttings: Head out to your healthy Petalidium plant on a nice, warm day. Using your clean pruning shears or craft knife, select a healthy stem. Cut a section about 4-6 inches long, making sure it has at least a couple of sets of leaves. Try to take cuttings from the tips of branches.
- Prepare the Cuttings: Gently remove the lower leaves from the cutting, leaving just the top two sets. If you’re using a rooting hormone, dip the cut end of the stem into the hormone powder or gel, coating about an inch or so. Tap off any excess.
- Potting Up: Fill your small pots or seedling trays with your well-draining potting mix. Make a small hole in the center of the soil with your finger or a pencil. This prevents you from rubbing off the rooting hormone.
- Insert the Cuttings: Carefully insert the prepared stem cutting into the hole, ensuring the nodes where the leaves were removed are covered by soil. Gently firm the soil around the base of the stem.
- Water Gently: Water the soil lightly so it’s moist but not waterlogged. You want it to feel like a wrung-out sponge.
- Create Humidity: Now for the humidity! You can cover the pots with a clear plastic bag, securing it around the rim with a rubber band. Alternatively, use a propagating dome. Ensure the leaves don’t touch the plastic as this can encourage rot. You can use small stakes to prop up the bag if needed.
The “Secret Sauce” (Pro Tips)
Now, here are a couple of little tricks I’ve learned over the years that can really make a difference:
- Bottom Heat is Your Friend: If you have a propagation mat or can place your pots on a warm surface (like a gently heated windowsill), this can significantly speed up root development. The warmth encourages the plant to really get going.
- Don’t Be Too Quick to Uncover: I know it’s tempting to peek, but resist the urge to remove the humidity cover too soon. Leave those cuttings in their humid little environment until you start to see good signs of new leaf growth, which usually indicates they’ve rooted.
Aftercare & Troubleshooting
Once you start seeing signs of new growth – tiny leaves unfurling or the cutting looking robust – it’s a good indication that roots have formed!
- Acclimatize Slowly: Gradually introduce your new plants to lower humidity. For the first week, try removing the plastic bag or dome for just an hour or two each day, then gradually increase the time.
- Watering: Continue to water when the top inch of soil feels dry. It’s always better to underwater slightly than to overwater at this stage.
- Light: Place your newly rooted cuttings in bright, indirect light. Avoid direct, harsh sunlight, which can scorch delicate new growth.
Now, what if things aren’t going as planned? The most common issue you might encounter is stem rot. If you see your cuttings turning mushy and black, it’s usually a sign of too much moisture and not enough air circulation. If this happens, carefully remove the rotted cutting, check your watering habits, and ensure your potting mix is draining well. Sometimes, a cutting just won’t take, and that’s okay! Plant propagation is a journey of learning, and not every attempt will be a roaring success.
So, there you have it! With a little patience and these simple steps, you’ll be well on your way to multiplying your beloved Petalidium canescens. Enjoy the process, celebrate every little sign of life, and soon you’ll have a legion of these charming plants to share or simply enjoy yourself. Happy propagating!
Resource: