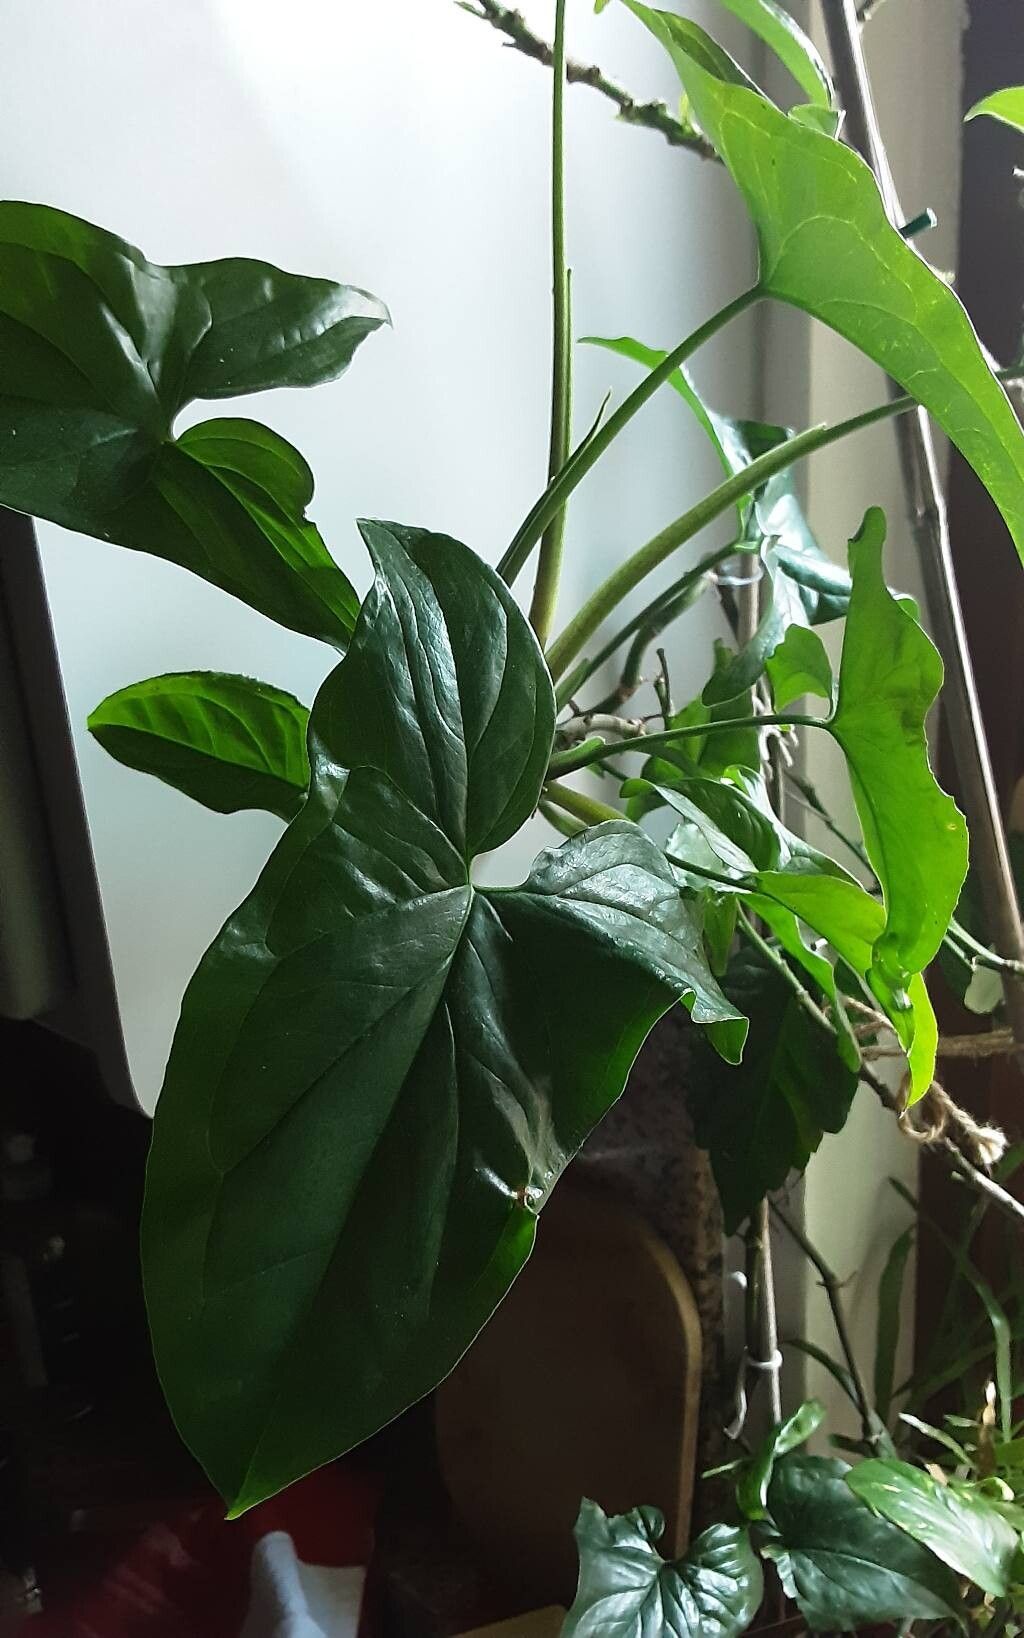
Hey there, green thumb! So, you’ve fallen for the charm of Typhonium blumei, haven’t you? I totally get it. Those unique, arrow-shaped leaves and that fascinating spathe are just… captivating. There’s something so special about multiplying these beauties, watching a tiny rhizome or a humble cutting transform into a flourishing new plant. It’s a feeling that never gets old.
Now, you might be wondering if this is a project for the seasoned pro or if a beginner can jump right in. Honestly, with a little patience and the right approach, propagating Typhonium blumei is quite achievable. While it might not be as foolproof as propagating a pothos, the satisfaction you’ll get from a successful propagation is well worth the effort.
When to Get Your Hands Dirty
The absolute best time to propagate Typhonium blumei is during its active growing season. Think late spring through summer. This is when the plant has plenty of energy stored in its rhizomes and is putting out new growth. Trying to propagate when the plant is dormant or stressed is like asking for a miracle – not impossible, but certainly more challenging. You’ll want to start when you see vigorous new leaves unfurling.
What You’ll Need to Get Started
Gathering your supplies beforehand makes the whole process so much smoother. Here’s what I always have on hand:
- Sharp Pruning Shears or a Clean Knife: For making clean cuts.
- Well-Draining Potting Mix: I like a blend of coco coir, perlite, and a bit of orchid bark. It’s airy and prevents waterlogging.
- Small Pots or Seedling Trays: With drainage holes, of course!
- Plastic Bags or Clear Domes: To maintain humidity.
- Optional: Rooting Hormone: While Typhonium can root without it, it can give you a boost.
- Optional: Bottom Heat Mat: For creating ideal rooting conditions.
Let’s Get Propagating!
Typhonium blumei is often easiest to propagate through division, and sometimes you can even coax new plants from rhizome cuttings. Forget stem cuttings for this one; it’s all about those underground treasures.
Method 1: Rhizome Division (My Favorite!)
This is usually the most successful method.
- Gently Unpot: When your plant is actively growing, carefully remove it from its pot. You might need to gently loosen the soil around the edges.
- Inspect the Rhizomes: Look for the swollen, fleshy underground stems. You’ll often see smaller offsets or nodes where new growth emerges.
- Make the Cut: With your clean, sharp tool, carefully separate a healthy rhizome or an offset that already has some roots or a growth bud. The key is to have a piece that looks robust and ready to grow.
- Prepare the Cutting: If the rhizome is particularly large, you can cut it into sections, ensuring each section has at least one growth bud (where a new leaf will emerge). Let the cut surfaces dry for a day or two in a warm, dry spot. This helps to callous over the wound and prevent rot.
- Pot it Up: Fill your small pots with your well-draining mix. Plant the rhizome section horizontally or vertically, with the growth bud facing upwards, about an inch or so below the surface.
- Water Sparingly: Give it a gentle watering. You don’t want it soggy, just moist.
- Provide Humidity: Place the pot inside a clear plastic bag or cover it with a dome to create a humid environment.
Method 2: Larger Rhizome Cuttings
If you have a larger rhizome you don’t want to divide, you can cut it into chunks.
- Cut Sections: Ensure each piece is a few inches long and has at least one visible growth bud or eye.
- Callous Over: Just like with division, let these cut ends dry and callous over for 2-3 days. This is crucial to prevent rot.
- Plant: Plant these sections in pots filled with your free-draining mix, with the growth bud just peeking out or facing upwards.
- Humidity: Again, cover them to maintain high humidity.
The “Secret Sauce” for Speedy Roots
Here are a few tricks I’ve learned over the years that really make a difference:
- Bottom Heat is Your Friend: Typhonium thrives in warmth. Placing your pots on a heat mat set to around 75-80°F (24-27°C) can significantly speed up root formation and discourages rot. It mimics the cozy conditions they love.
- Don’t Drown Them! While humidity is vital, stagnant, waterlogged soil is the fastest way to lose your precious propagation. Let the very top layer of soil dry out slightly between waterings. It’s a delicate balance, but experience will teach you.
- Patience with the Rooting Hormone: If you choose to use rooting hormone, dust the calloused ends lightly before planting. Don’t overdo it; a little goes a long way. Too much can actually inhibit rooting.
Aftercare and What to Watch For
Once you see signs of new growth – a tiny unfurling leaf or a peek of green from the soil – you’re on the right track!
- Gradual Acclimation: As your new plant establishes, slowly start to open the plastic bag or dome over a few days to let it acclimate to less humid air. Don’t shock it!
- Consistent Moisture: Continue to keep the soil consistently moist but not soggy.
- Bright, Indirect Light: Place your successful propagation in a spot with bright, indirect light. Avoid direct sun, which can scorch delicate new leaves.
Now, what if things go wrong? The most common culprit is rot. If your rhizome turns mushy and brown, or has an unpleasant odor, it’s a sign that it’s too wet or potentially not calloused properly. Unfortunately, rot is usually irreversible. Another sign of failure is just… nothing. No growth after a long time. This can happen if the piece was too small, lacked a viable bud, or conditions weren’t right. Don’t get discouraged; just grab another piece and try again!
Keep Growing!
Propagating Typhonium blumei is such a rewarding journey. It’s a chance to connect with your plants on a deeper level and share their beauty. Remember to be patient – nature has its own rhythm. Keep them warm, keep them humid (but not soggy!), and trust the process. Happy propagating!
Resource:
https://identify.plantnet.org/k-world-flora/species/Typhonium%20blumei%20Nicolson%20&%20Sivad./data