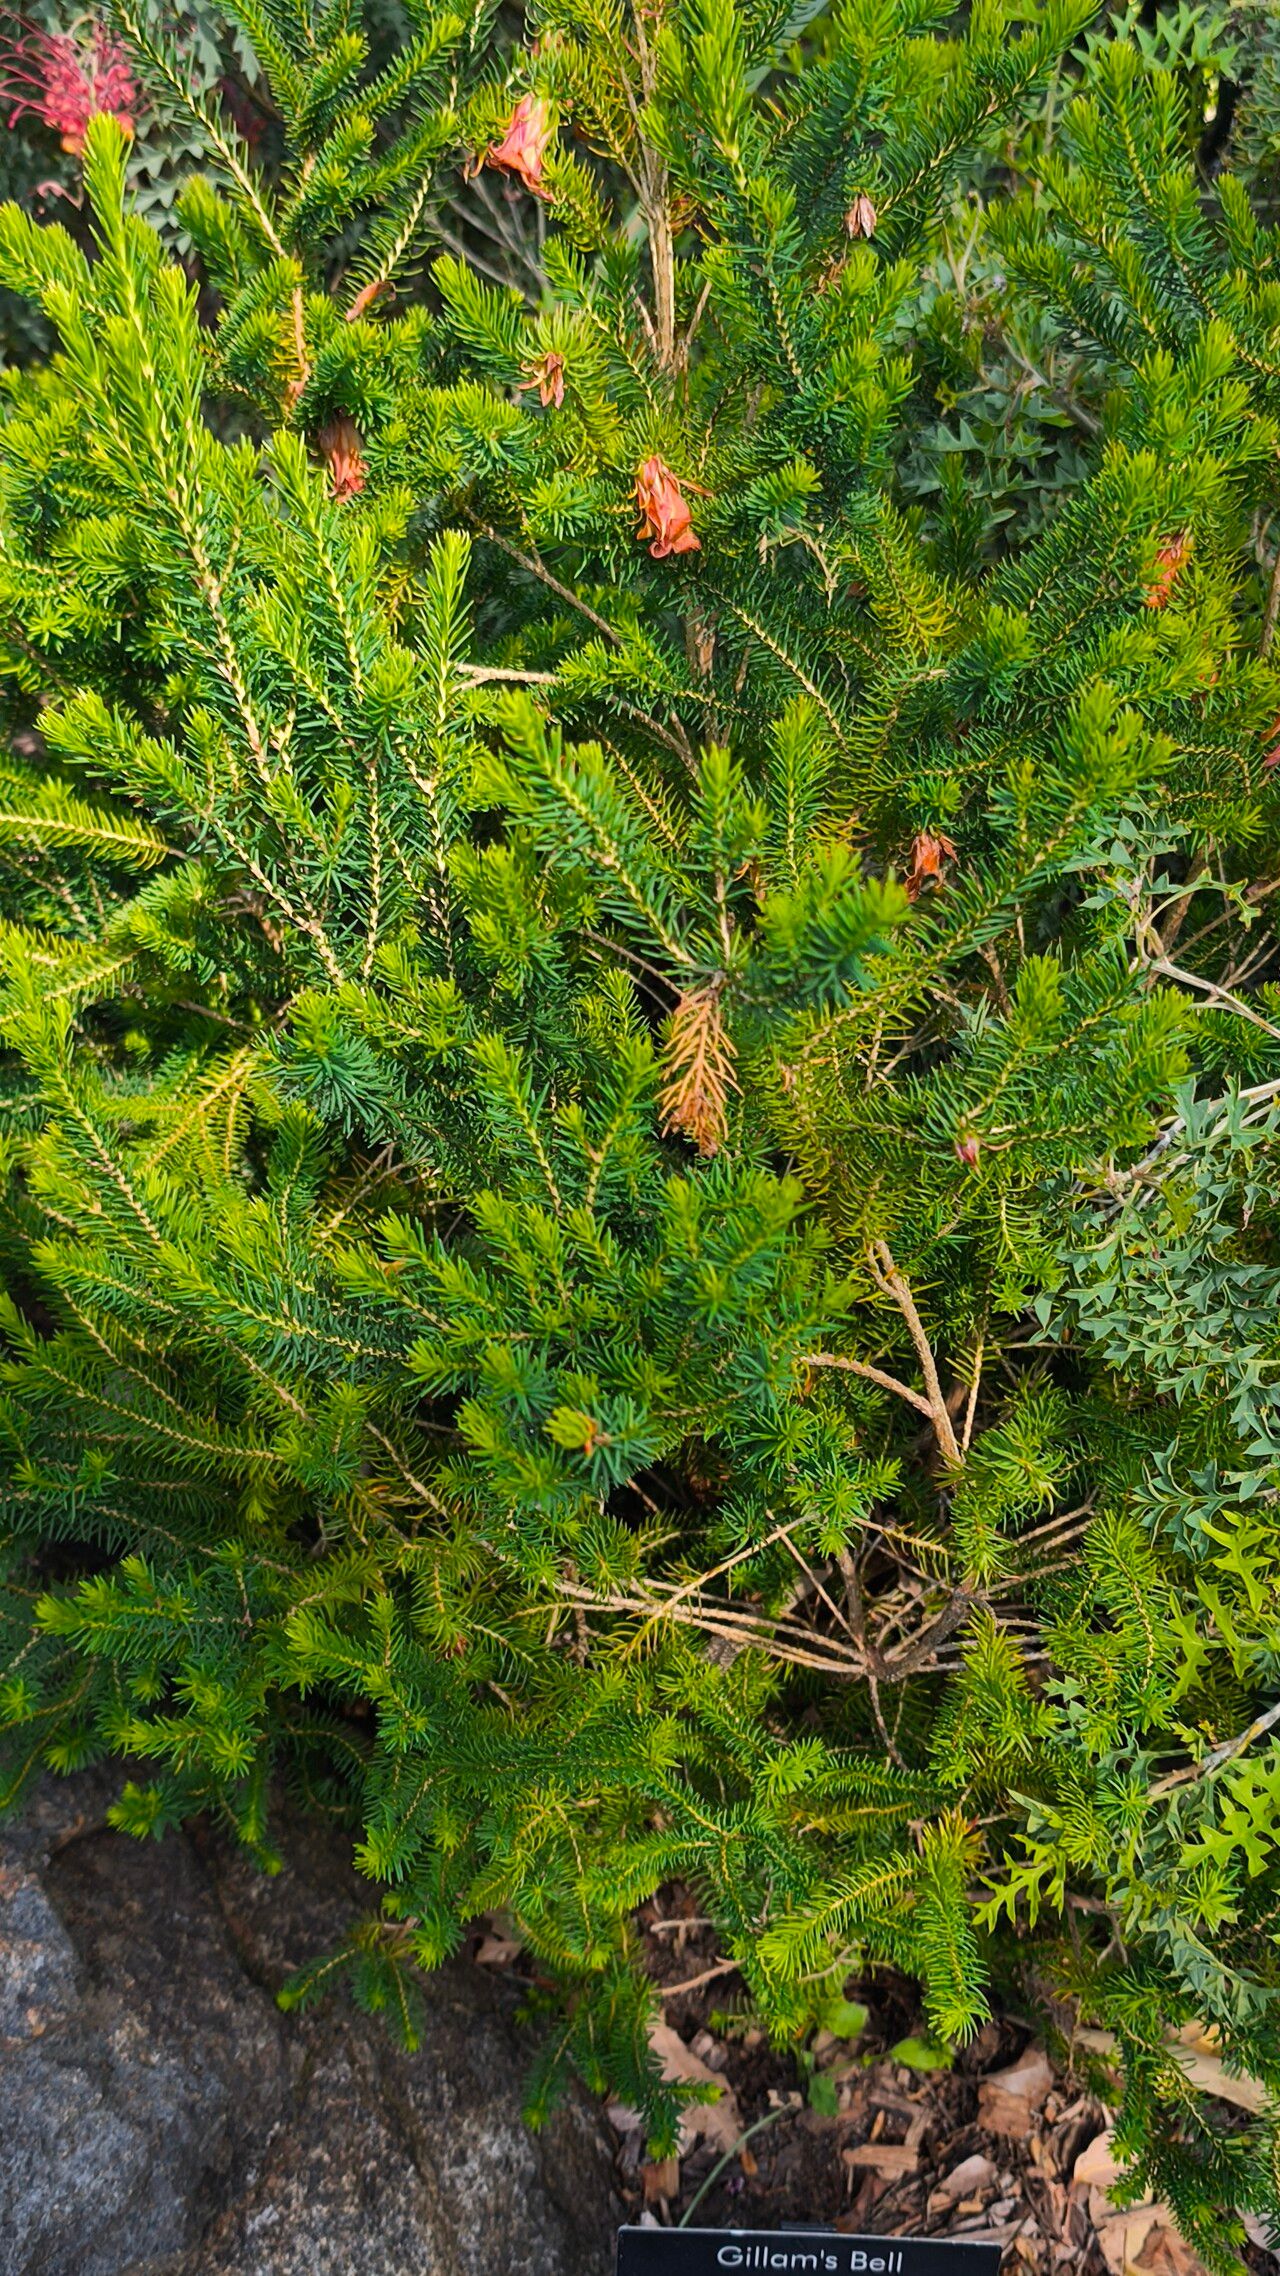
Hello there, fellow plant lovers! Today, I want to chat about a truly special Australian native: Darwinia oxylepis. This little beauty, often called the “Chester Bellflower” for its charming, bell-shaped blooms, brings such delicate charm to any garden or pot. Its understated elegance is something I’ve always admired. If you’re looking to expand your collection of these exquisite plants, or share them with friends, propagation is a wonderful way to go. Now, I won’t lie to you – Darwinia can be a touch fussy, so it’s more of a moderately challenging plant to propagate. But don’t let that deter you! With a little patience and the right approach, you’ll be celebrating your own new Darwinia babies in no time.
The Best Time to Start
For Darwinia oxylepis, late spring to early summer is generally your golden window. This is when the plant is actively growing, and the stems are usually semi-hardwood – not too soft and floppy, and not too woody. You’ll find the cuttings take root more readily when the plant is in this vigorous phase. Avoid trying to propagate from very soft, new growth or old, hard wood.
Supplies You’ll Need
Gathering your materials beforehand makes the whole process so much smoother. Here’s what I always have on hand:
- Sharp, sterile pruning shears or secateurs: Cleanliness is key to preventing disease.
- Rooting hormone powder or gel: This isn’t always strictly necessary, but it definitely gives your cuttings a confidence boost, especially with plants like Darwinia.
- A well-draining potting mix: I love a blend of good quality potting soil, perlite, and a little coarse sand. Think gritty! You want to avoid anything that holds too much moisture.
- Small pots or trays with drainage holes: Clean recyclables work great, or you can buy specific propagation pots.
- A spray bottle: For gentle misting.
- A clear plastic bag or propagation dome: To create a humid microclimate.
- A marker and labels: So you know what’s what!
Propagation Methods
We’ll focus on the most reliable method for Darwinia oxylepis: stem cuttings.
Step 1: Select and Take Cuttings
Choose a healthy, vigorous stem on your mature Darwinia. Look for a section that’s about 4-6 inches long, ideally with some signs of developing maturity (meaning it’s not bright green and bendy, but not grey and stiff either). Using your sterile secateurs, make a clean cut just below a leaf node. This is where the magic happens, as roots are most likely to form.
Step 2: Prepare the Cuttings
Gently remove the lower leaves from the cutting, leaving just a few at the top. This prevents them from rotting when they sit in the soil or water. You can even take your secateurs and make a small slit, about half an inch long, on one or two sides of the very bottom of the stem. This exposes more tissue for rooting.
Step 3: Apply Rooting Hormone (Optional but Recommended)
Dip the cut end of the stem into your rooting hormone powder or gel. Tap off any excess. This step significantly improves your chances of success.
Step 4: Potting the Cuttings
Fill your pots or trays with your prepared, well-draining potting mix. Make a hole in the center with a pencil or your finger – this prevents the rooting hormone from rubbing off when you insert the cutting. Gently place the cutting into the hole, ensuring it’s firm. Water gently to settle the soil around the base of the cutting.
Step 5: Create a Humid Environment
Cover the pots loosely with a clear plastic bag or place them under a propagation dome. This traps moisture and humidity, which is crucial for cuttings to root. Make sure the plastic doesn’t touch the leaves of the cuttings themselves.
The “Secret Sauce” (Pro Tips)
Here are a couple of things I’ve learned over the years that really help with those trickier plants:
- Don’t Let the Leaves Touch the Water (if you try water propagation): While stem cuttings directly into soil are preferred for Darwinia, if you do experiment with water propagation for other plants, always ensure the leaves are above the water line. Any submerged foliage will rot very quickly, introducing disease and hindering rooting.
- Bottom Heat is Your Friend: Darwinia often appreciates a little warmth from below. Placing your pots on a heated propagation mat can encourage root development much faster and more reliably. It mimics the warmth of spring soil.
- Observe, Don’t Disturb: Resist the urge to pull on your cuttings to check for roots! You’ll only damage any new growth. Trust the process. You’ll usually see signs of new leaf growth which indicates successful rooting.
Aftercare & Troubleshooting
Once your cuttings have formed roots (which can take anywhere from 4-8 weeks, sometimes longer), it’s time to give them a little more attention.
- Gradual Acclimatisation: Slowly remove the plastic bag or dome over a few days, allowing the new plants to adjust to normal humidity levels.
- Gentle Watering: Continue to keep the soil slightly moist but not waterlogged. Overwatering is the most common killer of young cuttings.
- Light: Place them in a spot with bright, indirect light. Avoid harsh, direct sun, which can scorch tender new growth.
- Transplanting: When the new plant is robust enough to handle it, you can transplant it into its own small pot.
The biggest troubleshooting issue you might encounter is rot. If your cutting turns black and mushy, it’s sadly a lost cause. This is usually a sign of too much moisture and poor air circulation. Don’t be disheartened; just clean your pot thoroughly and try again, perhaps with improved drainage or ventilation.
A Little Patience Goes a Long Way
Propagating Darwinia oxylepis is a rewarding journey. It requires a bit of finesse, but the satisfaction of seeing a tiny cutting transform into a new, healthy plant is just immense. Be patient, observe your cuttings closely, and celebrate every little success. Happy growing!
Resource: