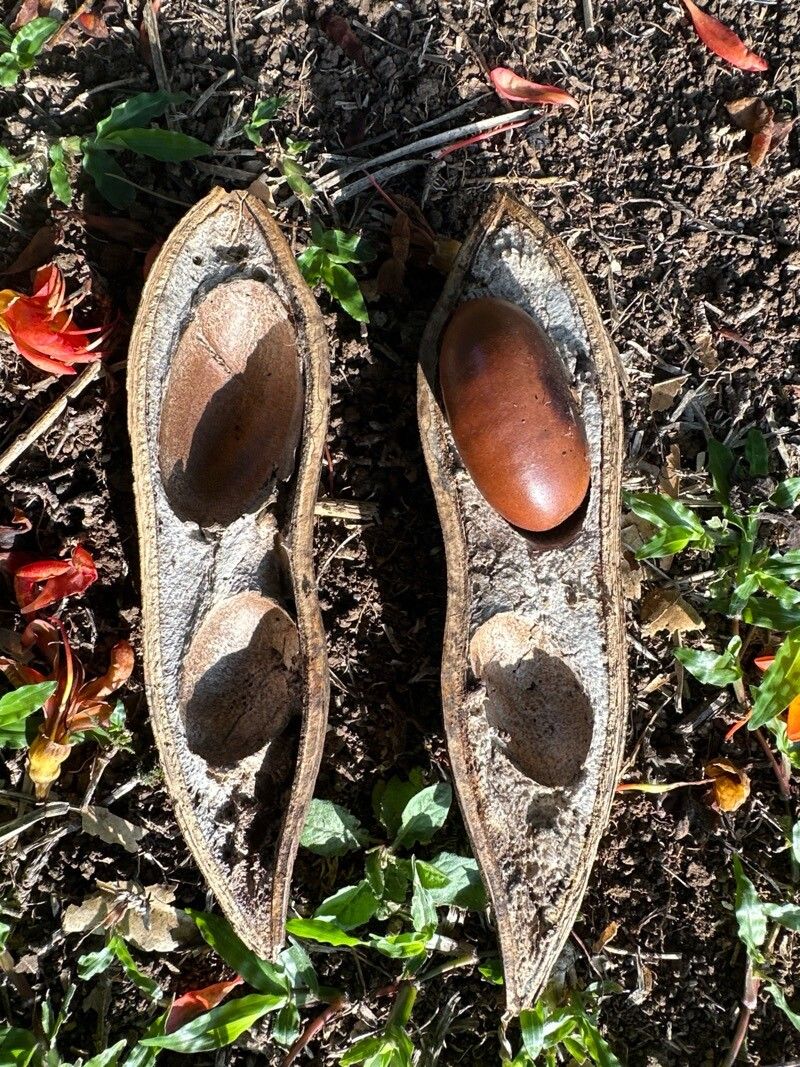
Oh, the magnificent Black Bean Tree! Castanospermum australe, isn’t it just a stunner? With its glossy, deep green leaves and those dramatic, almost sculptural seed pods, it adds a touch of the exotic to any space. And the best part? You can create more of these beauties yourself! Propagating this Queensland native is incredibly satisfying, truly connecting you with the life cycle of a plant. As for beginners, I’d say it’s moderately easy, with just a few tricks up your sleeve.
The Best Time to Start
My favorite time to get propagating is during the spring and early summer. This is when the plant is actively growing, full of energy, and just bursting with life. Newer growth, those soft, pliable stems, tend to root much more readily than older, woody bits. So, think of it as tapping into the plant’s prime vitality.
Supplies You’ll Need
Gathering your tools is the first step to success. Here’s what I always have on hand:
- Sharp pruning shears or a clean knife: Sterilize them before use to prevent disease.
- Rooting hormone powder or gel: This is a real game-changer, encouraging robust root development.
- A well-draining potting mix: I like a blend of equal parts perlite, peat moss, and good quality potting soil. Some orchid bark can also be a nice addition for aeration.
- Small pots or seed trays: Clean ones, of course!
- Clear plastic bags or a propagator: To create a humid microclimate.
- Spray bottle: For misting.
- Optional: Bottom heat mat: Especially useful if your home is on the cooler side.
Propagation Methods
The most successful way I’ve found to create new Castanospermum australe plants is through stem cuttings. It’s straightforward and yields great results.
- Take Cuttings: Look for a healthy stem that’s about 4-6 inches long. Make a clean cut just below a leaf node (where a leaf attaches to the stem). Remove the lower leaves, leaving just a couple at the top.
- Apply Rooting Hormone: Dip the cut end into the rooting hormone, ensuring it’s well-coated. Gently tap off any excess.
- Plant the Cutting: Fill your small pot with your prepared potting mix. Make a hole with your finger or a pencil and gently insert the cutting, firming the soil around it.
- Water and Cover: Water the soil thoroughly until it’s evenly moist, but not waterlogged. Then, place the pot inside a clear plastic bag or propagator, making sure the bag doesn’t touch the leaves too much. This traps in humidity, which is crucial for cuttings. You can use a few twigs to prop up the bag if needed.
- Find a Warm Spot: Place your pot in a bright location, but out of direct sunlight. A good spot is on a kitchen counter or a shelf near a window. If you have one, a bottom heat mat set to around 70-75°F (21-24°C) will really boost rooting.
The “Secret Sauce” (Pro Tips)
Now, for a couple of things that have made all the difference for me:
- The humidity is key, but ensure the leaves aren’t constantly sitting in water if condensation builds up. If you see too much moisture, open the bag for a few hours to let it air out. A light misting every few days is usually enough.
- Don’t be tempted to keep checking for roots too soon! It can take anywhere from 4 to 8 weeks for new roots to form. Patience is your best gardening tool here. When you see new leaf growth appearing, that’s usually a good sign that roots are developing underneath.
Aftercare & Troubleshooting
Once you see those tell-tale signs of new growth, it’s time to gradually acclimate your new baby to life outside the humidity tent. Slowly open the plastic bag over a week, allowing it to get used to the ambient air. Continue to keep the soil consistently moist but not soggy.
The most common issue you might encounter is rot. If your cutting looks withered, mushy, or turns black at the base, it’s likely rotted. This is usually a sign of too much moisture and not enough air circulation. If this happens, unfortunately, it’s best to discard the cutting and try again, perhaps with a slightly different watering schedule or more perlite in your mix.
A Little Encouragement
There you have it! Propagating your own Castanospermum australe is a wonderful journey. Don’t be discouraged if your first attempt doesn’t go perfectly – gardening is all about learning and trying. Enjoy the process, watch your little cuttings unfurl, and soon you’ll have new treasures to share or keep for yourself. Happy growing!
Resource: