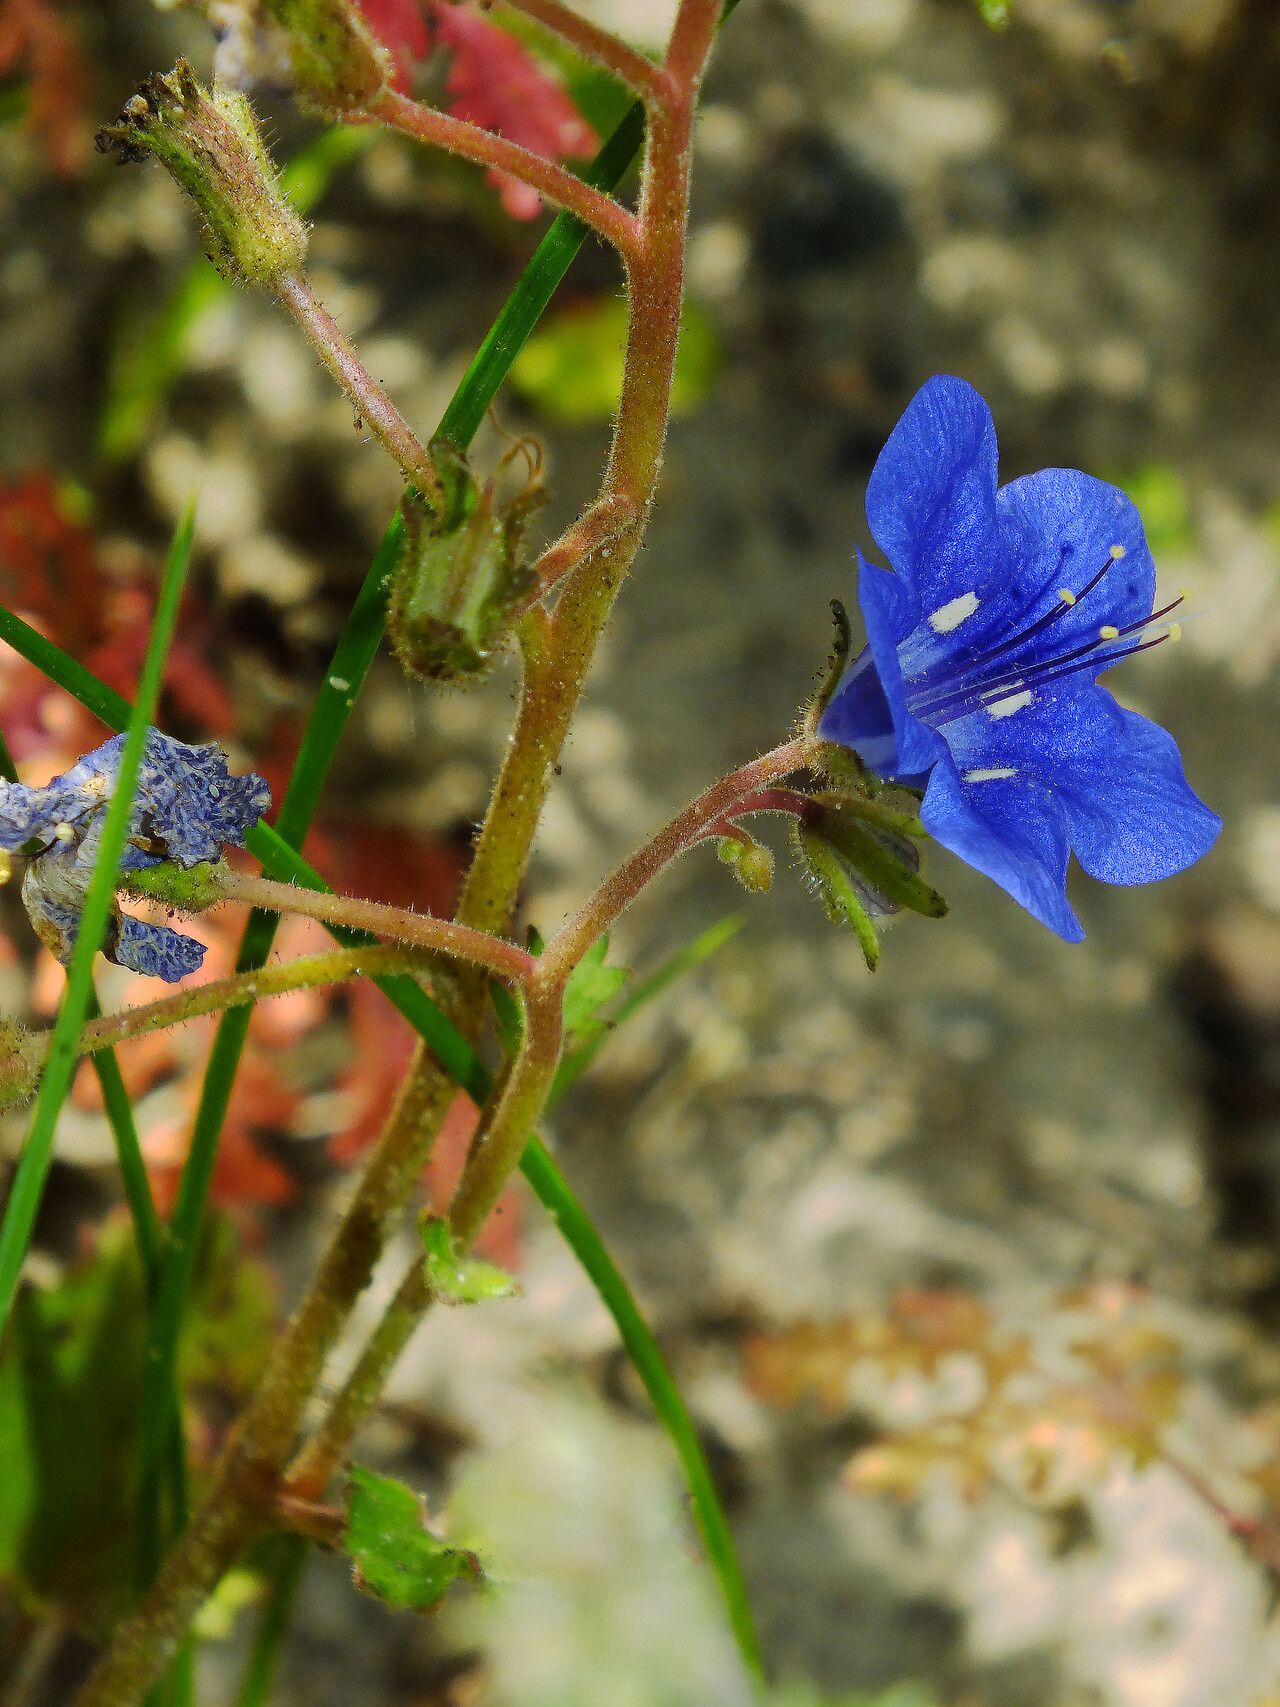
Gather ’round, plant lovers! Let’s talk about a little gem that truly brightens up any garden: Phacelia campanularia, or California Bellflower. I’ve spent two decades coaxing life from seeds and cuttings, and I can tell you, this one is a real joy. Its vibrant, bell-shaped flowers, often a stunning deep blue or purple, are like little beacons drawing in pollinators. Plus, they bloom for a good spell, giving your garden a wonderful pop of color.
Propagating Phacelia campanularia is a fantastic way to expand your collection or share these beauties with friends. And honestly, for a beginner? You’re in luck. This plant is wonderfully forgiving. I’ve found it to be quite cooperative, making it a perfect starting point for anyone dipping their toes into propagation.
The Best Time to Start
When it comes to getting your Phacelia campanularia off to the best start, spring is your golden ticket. As soon as the last frost has safely passed and the soil is warming up, that’s your cue. Starting from seed is the most straightforward method, and the young plants will have the whole growing season to establish themselves and show off their blooms. If you’re aiming for stem cuttings, late spring or early summer, when the plant is actively growing, is ideal.
Supplies You’ll Need
Before we get our hands dirty, let’s make sure we have everything ready. It’s always a good idea to have your tools at the ready.
- Seeds: Freshly harvested or good quality purchased seeds.
- Seed Starting Mix: A light, well-draining mix is key. You can buy a commercial one or make your own with peat moss, perlite, and a little compost.
- Small Pots or Seed Trays: Whatever you have available – just make sure they have drainage holes.
- Watering Can with a Fine Rose: To water gently without disturbing tiny seeds.
- Optional: Rooting Hormone: While Phacelia campanularia usually roots easily, a dip in rooting hormone can give cuttings a little boost.
- Clean Pruning Shears or a Sharp Knife: For taking clean stem cuttings.
- A Clear Plastic Bag or Dome: To create a humid environment over cuttings.
Propagation Methods
For Phacelia campanularia, I find two methods work exceptionally well.
1. Starting from Seed (The Easiest Way!)
This is what I always recommend for beginners. It’s just so reliable.
- Step 1: Prepare Your Pots: Fill your small pots or seed trays with your chosen seed-starting mix. Lightly tamp it down.
- Step 2: Sow the Seeds: Scatter the seeds thinly on the surface of the soil. You don’t need to bury them deeply; they actually prefer a little light to germinate. A good rule of thumb is to cover them with about twice their width in soil, which for these tiny seeds is barely anything.
- Step 3: Water Gently: Use your watering can with the fine rose to mist the soil until it’s evenly moist. You don’t want to blast the seeds away!
- Step 4: Provide Warmth and Light: Place the pots in a warm spot, ideally around 65-70°F (18-21°C). A sunny windowsill or a heat mat works wonders.
- Step 5: Watch and Wait: Germination usually happens within 1 to 3 weeks. Keep the soil consistently moist but not waterlogged. Once seedlings appear, make sure they are getting plenty of bright light to prevent them from getting leggy. You can start to thin them out if they are too crowded, snipping away weaker seedlings at the soil line.
2. Taking Stem Cuttings (For the Adventurous!)
This is a bit more involved but can be very rewarding if you have a parent plant you want to replicate.
- Step 1: Select Healthy Stems: Look for pencil-thick, non-flowering stems from a healthy, mature plant. Aim for cuttings about 4-6 inches long.
- Step 2: Make the Cut: Using your clean pruning shears or knife, make a clean cut just below a leaf node. This is where roots tend to form most readily.
- Step 3: Prepare the Cutting: Remove the lower leaves from the cutting, leaving just a couple of sets at the top. If you’re using rooting hormone, dip the cut end into it now.
- Step 4: Pot Them Up: Insert the cut end of the stem into a small pot filled with a moist, well-draining potting mix. You can use a mix similar to your seed starting mix.
- Step 5: Create a Humid Environment: Gently water the soil. Then, cover the pot with a clear plastic bag or a propagator lid. This traps humidity, which is crucial for cuttings to root. Use a few skewers or sticks to keep the bag from touching the leaves.
- Step 6: Place in Bright, Indirect Light: Find a location that is warm and gets bright, but not direct, sunlight. Too much sun can scorch your delicate cuttings.
The “Secret Sauce” (Pro Tips)
Here are a few little tricks I’ve picked up over the years that can make a big difference.
- Don’t let the leaves touch plain water if you’re trying water propagation. If you’re experimenting with just putting cuttings in water (though I find potting mix more successful for Phacelia), ensure the leaves stay above the waterline. Rot can set in quickly if leaves are submerged.
- Bottom heat can be a game-changer for both seeds and cuttings. A seedling heat mat placed under your trays or pots provides consistent warmth, which encourages faster germination and rooting. It’s like giving them a cozy underfloor heating system!
- The “nick and soak” trick for seeds. While not always necessary for Phacelia campanularia, if you find seeds are slow to germinate, you can try gently nicking the seed coat with a file or fine sandpaper, then soaking them in warm water for a few hours before sowing. This can help break dormancy.
Aftercare & Troubleshooting
Once you see those little roots emerging, whether they’re peeking out of the bottom of your pots from seeds or you’re seeing new growth on your cuttings, it’s time for a new phase of care.
- For Seedlings: Gradually acclimatize your seedlings to less humid conditions. Once they have a few true leaves and a good root system, you can transplant them into larger individual pots. Continue to water them consistently, allowing the soil to dry slightly between waterings. Feed with a dilute liquid fertilizer every few weeks.
- For Cuttings: Once your cuttings have developed a good root system (you can gently tug on them to feel resistance, or look for roots in the drainage holes), they are ready to be transplanted into their own pots. Treat them much like you would a small seedling. Keep the soil moist but not soggy, and provide plenty of light.
- Troubleshooting: The most common problem you’ll encounter is rot. This is usually caused by overwatering and poor drainage. If you see stems turning mushy or leaves wilting despite moist soil, it’s likely rot. Discard affected plants to prevent it from spreading. Leggy seedlings? They need more light. Keep an eye out for common pests like aphids, too, and address them promptly.
A Little Patience Goes a Long Way
Remember, gardening is a journey, and propagation is a wonderful part of that. Not every seed will sprout, and not every cutting will root. That’s perfectly okay! Each attempt teaches you something new. Be patient, observe your plants, and most importantly, enjoy the process of bringing more California Bellflowers into your life. Happy growing!
Resource:
https://identify.plantnet.org/k-world-flora/species/Phacelia%20campanularia%20A.Gray/data