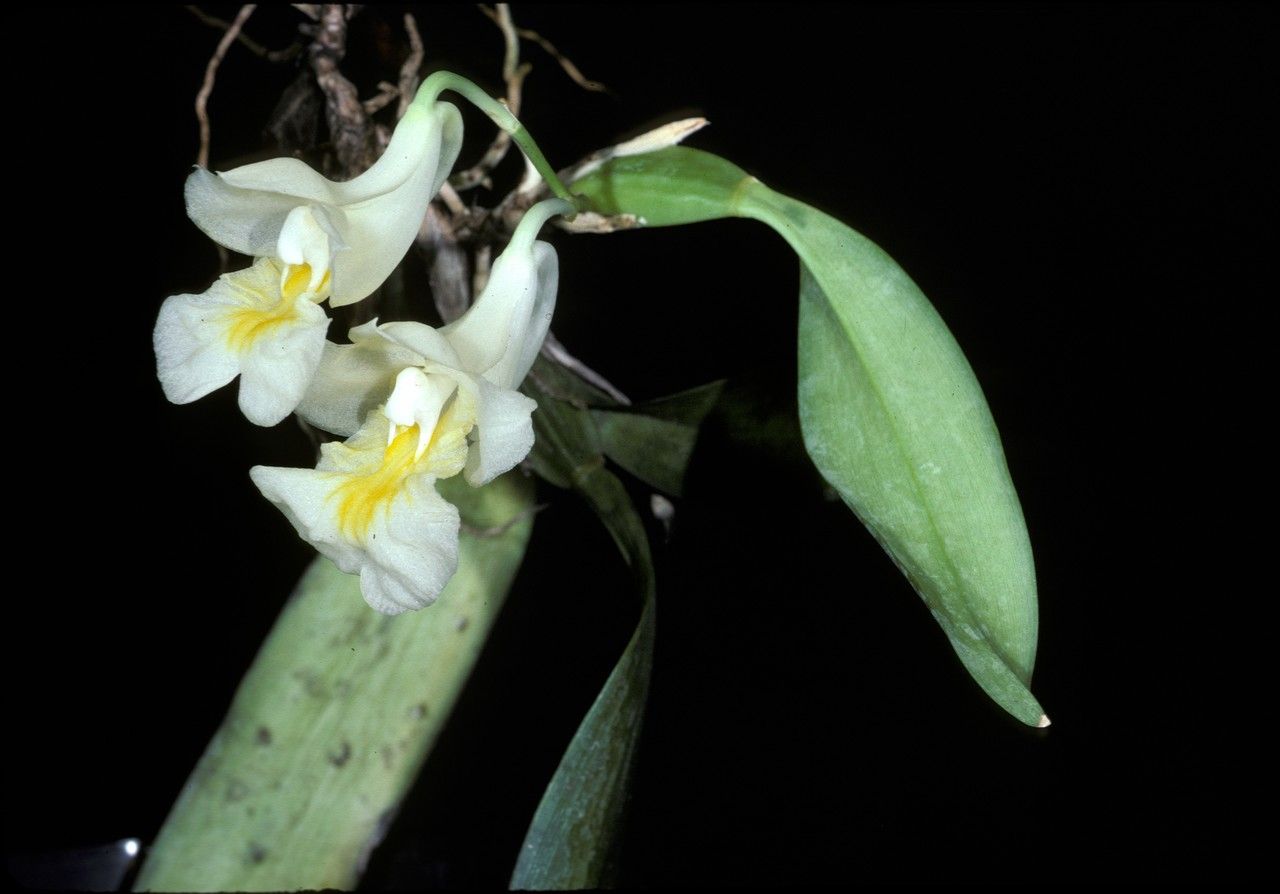
Hey there, fellow plant lovers! If you’ve ever been captivated by the ethereal beauty of Rodriguezia candida, I’m so glad you’re here. This little orchid, with its delicate, pristine white flowers, truly feels like a bit of captured moonlight. And the joy of growing more of these lovelies from your own mother plant? Well, it’s second to none. Now, let me be upfront – Rodriguezia candida isn’t quite a “stick it in the ground and walk away” kind of plant for propagation. It takes a little focused attention. But don’t let that deter you! With a bit of guidance, you’ll find it surprisingly achievable, and oh-so-rewarding.
When to Get Your Hands Dirty
The absolute best time to propagate Rodriguezia candida is during its active growing season. For most orchids like this, that typically means after they’ve finished flowering and are putting out new roots and leaves. You’ll see those lush, green shoots starting to emerge, and that’s your cue. Working with a plant that’s actively growing means it has the energy reserves to dedicate to developing new roots. Trying to propagate when it’s dormant is like asking a sleepy bear to run a marathon – it’s just not going to go well!
Your Propagation Toolkit
Here’s what you’ll want to have ready before you dive in:
- Sharp, sterilized pruning shears or a clean knife: Essential for making clean cuts. Sterilize with rubbing alcohol.
- Orchid potting mix: A well-draining mix is crucial. I often use a blend of bark, perlite, and a bit of sphagnum moss.
- Small pots or containers: Clean and with drainage holes, of course.
- Rooting hormone (optional but helpful): A bit of a confidence booster for those new cuttings.
- Clear plastic bags or a small propagation dome: To create a humid environment.
- Water: Clean, room-temperature water.
- A spray bottle: For misting.
- Patience! This is arguably the most important tool.
Bringing New Life Forth: Propagation Methods
Rodriguezia candida is best propagated here at home by division. This method works wonderfully because it’s less disruptive to the plant than trying to take cuttings, and you’re essentially giving a mature piece of the plant its own start.
- Gently Remove from Pot: Carefully take your established Rodriguezia candida out of its current pot. If it’s a bit stuck, you might need to gently loosen the old potting mix from the roots with your fingers or a chopstick.
- Inspect the Rhizome: You’re looking for the rhizome, which is the thick, stem-like structure that grows horizontally along the surface of the potting mix. You’ll see new growths (called pseudobulbs) emerging from this rhizome, often with new roots at their base.
- Identify Divisions: Look for sections of the rhizome that have at least two to three healthy pseudobulbs and a good portion of healthy roots. These are your potential new plants.
- Make the Cut: Using your sterilized pruning shears or knife, carefully make a clean cut through the rhizome to separate the division from the mother plant. Try to do this with as few cuts as possible. Ensure each division has a healthy root system attached.
- Potting Up: Take your new division and pot it up into fresh orchid mix in a clean pot. Make sure the roots are spread out a bit and the base of the pseudobulbs is just at or slightly above the surface of the mix. You don’t want to bury them too deep.
- Water and Humidity: Water your newly potted division thoroughly. Then, I like to place the pot inside a clear plastic bag, propping it open slightly so there’s still some air circulation, or put it under a propagation dome. This creates that high humidity these orchids crave as they establish themselves.
The “Secret Sauce”: My Insider Tips
- Don’t Over-Pot: When repotting your divisions, resist the urge to put them in a pot that’s too large. They like to be a little snug. Too much excess potting mix can stay too wet and lead to root rot, which is the enemy of orchid propagation.
- “Chitting” is Your Friend: Sometimes, new growths can be a bit shy. If you have a division with healthy pseudobulbs but minimal visible new root growth, you can encourage it by keeping it in its humid environment and sometimes even placing it on a heat mat. The gentle warmth encourages it to wake up and start growing!
- Listen to Your Roots: You’ll often see new aerial roots developing first. These are a fantastic sign! Don’t be tempted to repot them until those roots have latched onto the potting mix and started growing downwards.
Nurturing Your New Sprouts & What to Watch For
Once your new divisions are potted, the key is to maintain consistent humidity and moderate light. Keep them misted daily, especially if they are in a bag or dome. Avoid direct sunlight, which can scorch delicate new growths.
The most common pitfall is root rot. If you notice your pseudobulbs starting to shrivel, turn black, or feel mushy, it’s likely too much moisture or poor drainage. In this case, you might need to unpot it, trim away any rotted roots (and I mean all the mushy bits), and repot into completely dry, fresh mix. Re-establish your humidity, but perhaps give it a little more air circulation.
Keep Nurturing, Keep Growing
Growing more Rodriguezia candida is a journey that rewards patience and observation. Don’t get discouraged if your first attempt isn’t perfect. Every plant is a learning experience. Enjoy the process, celebrate each new root and leaf, and soon you’ll have a collection of these luminous beauties to share (or keep all to yourself – I won’t judge!). Happy growing!
Resource: