Hey there, fellow plant lovers! Today, we’re diving into the wonderful world of propagating Afrocarpus usambarensis, often known as the East African Yellowwood. If you’ve ever admired its graceful evergreen foliage and stately presence, you’ll know why it’s a treasured specimen in many gardens. Growing more of these beauties from your existing plants is incredibly satisfying. Think of it as cloning your favorite tree! For beginners, I’d say it falls into the “moderately challenging” category – a fun project that rewards patience and a little attention.
The Best Time to Start
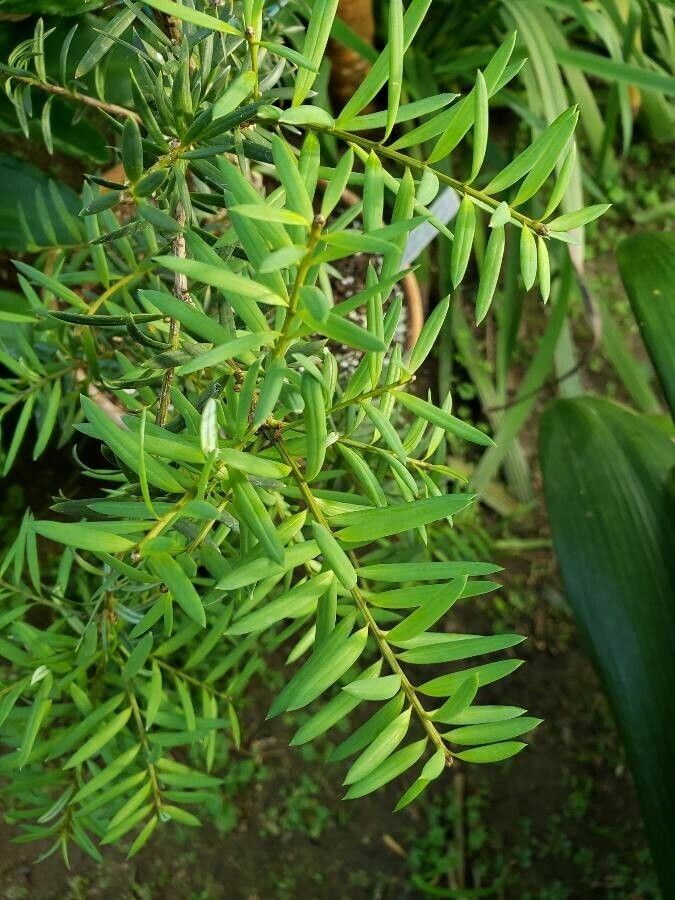
When it comes to our Afrocarpus, spring and early summer are your golden windows. This is when the plant is in its most vigorous growth phase, meaning cuttings will have the best energy reserves to develop roots. Look for new, semi-hardwood growth – it should be firm but still slightly flexible, not woody and brittle, nor bright, flimsy new shoots.
Supplies You’ll Need
Gathering your supplies ahead of time makes the whole process smoother. Here’s what I always have on hand:
- Sharp, clean pruning shears or a knife: For making clean cuts. Sterilize them with rubbing alcohol between cuts!
- Rooting hormone: A powdered or liquid product. I’m a big fan of the powdered kind for ease of use.
- Well-draining potting mix: A 50/50 blend of perlite and peat moss or coco coir works beautifully. You want good aeration.
- Small pots or a propagation tray: Clean pots are essential to prevent disease.
- Plastic bags or a propagator lid: To create a humid environment.
- A spray bottle with water: For misting.
- Optional: Bottom heat mat: This can really speed up rooting.
Propagation Methods
For Afrocarpus usambarensis, stem cuttings are generally the most successful method. While water propagation is popular for some plants, the semi-hardwood cuttings of this species tend to fare better directly in a rooting medium.
Stem Cuttings
- Take Your Cuttings: Using your sterilized shears, take cuttings about 4-6 inches long from healthy, semi-hardwood stems. Make the cut just below a leaf node (where a leaf attaches to the stem). Remove any lower leaves, leaving just a few at the top.
- **
Resource: