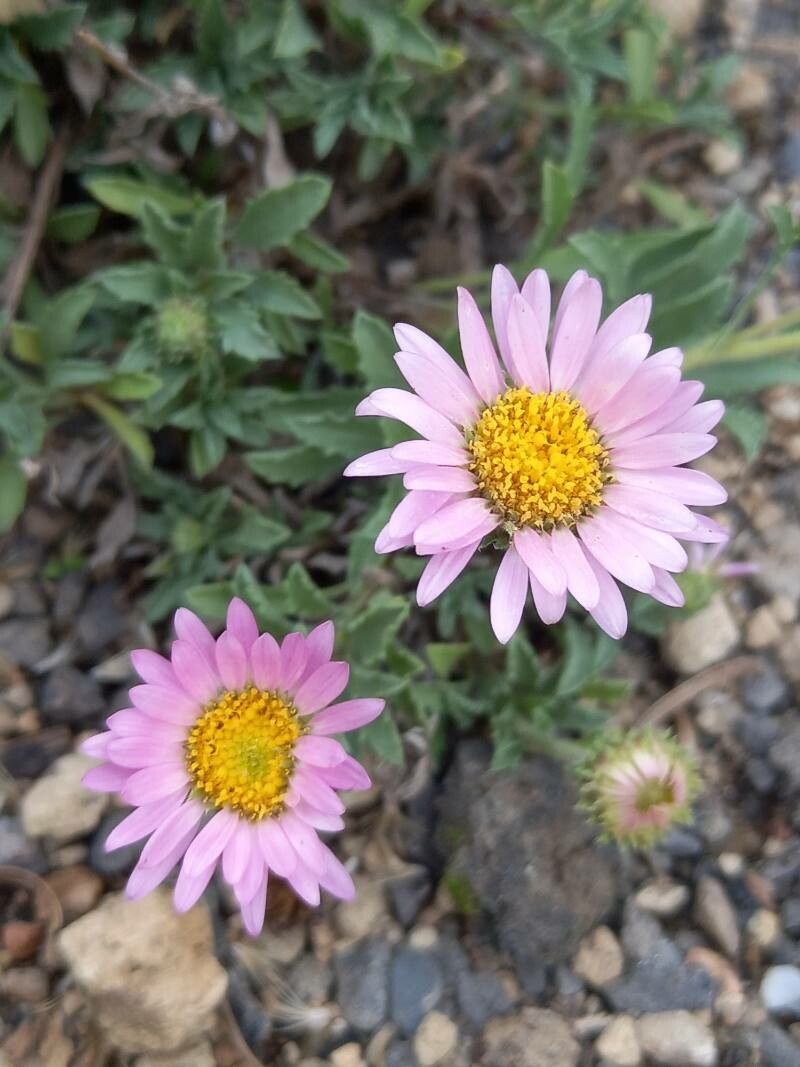
It’s wonderful to connect with fellow garden enthusiasts! Today, I want to talk about a little gem that’s been catching my eye more and more: Xanthisma coloradoense, or as some of us affectionately call it, the Colorado desert star daisy. Its cheerful, bright yellow blooms are like little bursts of sunshine, and its delicate, starry appearance brings a unique charm to any garden. If you’ve fallen in love with this resilient beauty, you’re in for a treat, because propagating it yourself is incredibly rewarding. Honestly, it’s a fantastic plant for beginners looking to dip their toes into propagation.
The Best Time to Start
For Xanthisma coloradoense, the sweet spot for starting new plants is definitely late spring to early summer. This is when the plant is actively growing and has plenty of energy to put into developing new roots. Waiting until after the main flush of flowering has passed also means you’re not sacrificing precious blooms for your propagation efforts.
Supplies You’ll Need
Gathering your tools beforehand makes the whole process much smoother. Here’s what I usually bring out:
- Clean, sharp pruning shears or a sharp knife: For making clean cuts.
- Rooting hormone (optional but recommended): A powder or gel that helps cuttings form roots faster and more reliably.
- A suitable potting mix: I like a well-draining mix – think a blend of perlite, coarse sand, and a good quality potting soil. Some people also find success with a succulent or cactus mix.
- Small pots or seed trays: With drainage holes, of course!
- A spray bottle: For misting.
- Plastic bags or a propagator: To create a humid environment.
- Labels: To keep track of what you’ve planted.
Propagation Methods
Xanthisma coloradoense is remarkably easy to propagate from stem cuttings. This is my go-to method for this plant.
- Take Your Cuttings: On a bright, sunny morning (when the plant is less likely to be stressed), select healthy, non-flowering stems from a mature plant. Using your clean shears, cut a stem that’s about 4-6 inches long. Make the cut just below a leaf node (where a leaf attaches to the stem).
- Prepare the Cuttings: Gently remove the leaves from the lower half of the cutting. This prevents them from rotting when buried or submerged.
- Apply Rooting Hormone (Optional): Dip the cut end of the stem into rooting hormone powder or gel, tapping off any excess.
- Plant Your Cuttings: Fill your small pots or trays with your well-draining potting mix. Make a small hole in the soil with your finger or a pencil. Insert the cut end of the stem into the hole, ensuring at least one leaf node is below the soil surface. Gently firm the soil around the cutting.
- Water and Cover: Water the soil lightly until it’s evenly moist, but not soggy. Place the pots into a plastic bag or propagator to create a humid microclimate. You can also cover individual pots with a clear plastic dome.
The “Secret Sauce” (Pro Tips)
Over the years, I’ve picked up a few tricks that seem to make all the difference:
- Don’t let the leaves touch the water – or the soil surface unnecessarily. Anything submerged below where you want roots to form is just an invitation for rot. For stem cuttings, this means stripping lower leaves, and for water propagation (though I prefer cuttings in soil for this one), it’s crucial to keep the leaves above the water line.
- Bottom heat is your friend. Xanthisma coloradoense appreciates a little warmth to encourage root development. Placing your pots on a heat mat designed for plants can significantly speed up the process. It mimics the warmth of the soil in its natural habitat.
- Patience and observation are key. Don’t be discouraged if you don’t see progress immediately. Check your cuttings regularly, but avoid disturbing them too much. Look for the subtle signs of new growth.
Aftercare & Troubleshooting
Once your cuttings have rooted (you’ll know by a gentle tug offering resistance, or by seeing new leaf growth), it’s time to transition them.
- Acclimatize: Gradually remove the plastic covering over a week or so to get the new plants used to the ambient humidity.
- Watering: Water when the top inch of soil feels dry. Avoid overwatering, as this is the fastest way to invite root rot, which is the biggest sign of failure. You might see wilting, yellowing leaves, or a mushy stem base. If you suspect rot, it’s often best to discard the affected cutting to prevent it from spreading.
- Light: Move your new plants to a bright spot with indirect sunlight. Direct, strong sun can scorch young, delicate leaves.
A Little Encouraging Closing
Propagating plants is a bit like crafting – it takes observation, a little practice, and a lot of patience. Don’t get discouraged if your first few attempts aren’t perfect. Every gardener learns by doing. Enjoy the process of nurturing these little bits of life, and soon you’ll have an abundance of Colorado desert star daisies to share or to fill your own garden with their sunny disposition. Happy gardening!
Resource: