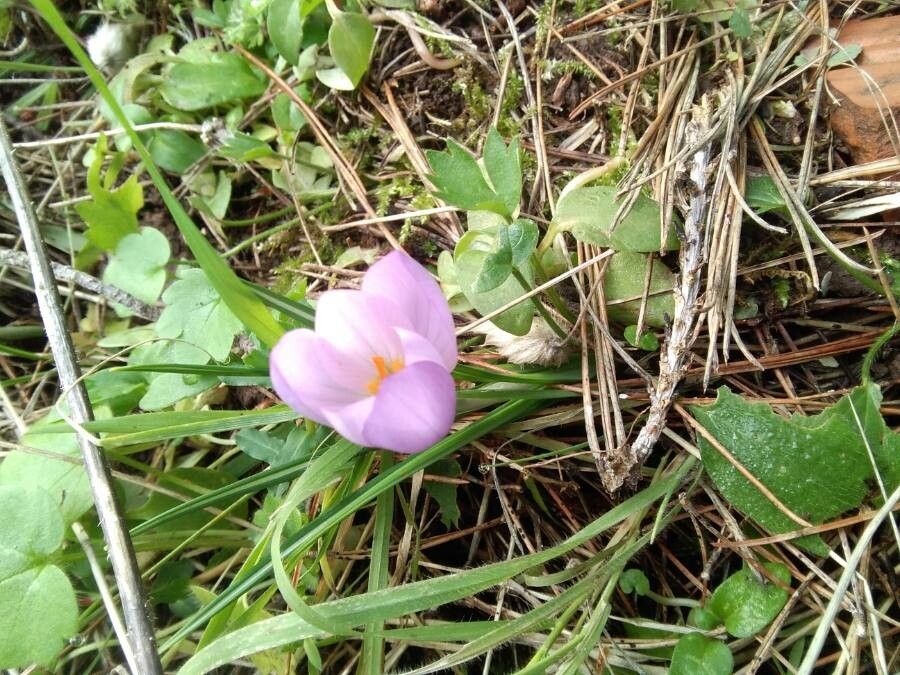
Oh, hello there! I’m so glad you stopped by. Today, we’re going to delve into the wonderful world of Crocus laevigatus, a truly charming little plant that brings a splash of early spring color (or sometimes late autumn!) to our gardens. There’s something so special about tiny bulbs pushing through the soil, and propagating them yourself is just incredibly rewarding. It’s a fantastic way to fill your garden beds or share these beauties with friends. If you’re new to propagating bulbs, Crocus laevigatus is actually a pretty good place to start. They’re quite forgiving!
The Best Time to Start
When it comes to Crocus laevigatus, the magic happens when they’re dormant. You’ll want to divide and propagate your corms after they’ve finished flowering and the foliage has completely died back, usually in late spring or early summer. This gives them time to store up energy and reduces stress on the plant when you’re disturbing them. Trying to do this while they’re actively growing will just be too much for them.
Supplies You’ll Need
Gathering your supplies beforehand makes the whole process so much smoother. Here’s what you’ll want to have on hand:
- Fresh, moist potting mix: Something well-draining is key. A mix for bulbs or a general potting mix cut with perlite works wonders.
- A sharp trowel or hori-hori knife: For carefully digging up the corms.
- Gloves: To keep your hands clean.
- A small mesh sieve: If you find you have lots of tiny cormlets to sort.
- Clean pots or seed trays: For your new propagations to grow in.
- Watering can with a fine rose: For gentle watering.
- (Optional) A rooting hormone powder: While not strictly necessary for Crocus laevigatus, it can give an extra boost.
Propagation Methods
Now, for the exciting part! Crocus are best propagated through division.
Division: This is your primary method for Crocus laevigatus.
- Locate your crocus patch. Gently dig around the area where your crocus were. Use your trowel or hori-hori to carefully lift the clump of corms. You’ll likely see the main corm from the previous year, and surrounding it, you’ll find smaller cormlets.
- Gently separate the corms. Brush away excess soil. The older, larger corms are the ones that flowered last year. The smaller cormlets are the new babies. Sometimes they pull apart easily, but if they’re very tightly attached, you might need to use the tip of your trowel or a clean knife to gently slice them apart. Make sure each division has at least one small ‘eye’ or growing point.
- Inspect and trim. Check for any signs of rot or damage on the corms. Trim away any dead or withered roots. If you’re using rooting hormone, lightly dip the cut end of the corms in it now.
- Plant your new corms. Fill your pots or seed trays with your prepared potting mix. Plant the corms about 2-3 inches deep, with the pointed end (the ‘eye’) facing upwards. Give them a little space – about 1-2 inches apart is usually plenty.
- Water gently. Once planted, water the pots thoroughly but gently. You want the soil to be moist, not waterlogged.
The “Secret Sauce” (Pro Tips)
Here are a couple of little tricks I’ve learned over the years that really help:
- Let them dry slightly. After digging up the corms, I like to let them sit out for a day or two in a shady, well-ventilated spot. This allows any potential surface moisture to dissipate, which can help prevent fungal issues later on. Don’t let them shrivel up, though!
- Start them in pots. Even if you plan to plant them directly into the garden, starting your divided corms in pots for the first season is a great idea. It allows you to control their environment more precisely and ensures they are well-established before facing the competition and varying conditions of the open garden.
Aftercare & Troubleshooting
Once your corms are planted, keep the soil consistently moist but not soggy. A good place for them is in a bright spot, but out of direct, scorching summer sun. You might not see much activity for a while – that’s normal! They are storing energy. You’ll likely see shoots emerge in the autumn or the following spring.
The most common issue you might encounter is rot. This almost always stems from overwatering or poor drainage. If you notice soft, mushy corms, or a moldy smell, unfortunately, that corm is likely lost. Next time, ensure your soil drains exceptionally well and that you’re not over-watering.
A Little Encouragement
Growing things takes patience, and propagating bulbs is no different. Don’t be discouraged if not every single division takes. Each year, you’ll learn a little more, and your crocus collection will grow. Just enjoy the process, get your hands dirty, and celebrate every tiny sprout you see! Happy gardening!
Resource:
https://identify.plantnet.org/k-world-flora/species/Crocus%20laevigatus%20Bory%20&%20Chaub./data