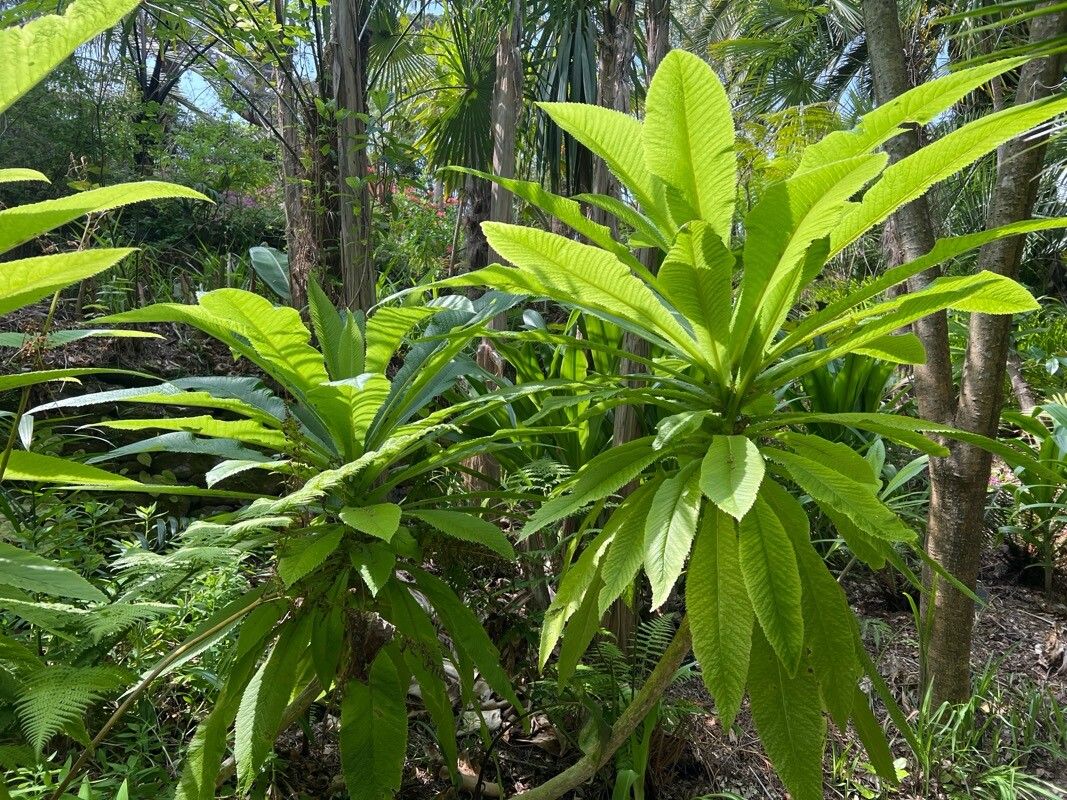
Hey there, fellow plant lovers! I’m so excited to chat with you today about a truly special plant: Musschia wollastonii. This striking succulent, often called the “Madeira rock plant,” has this gorgeous, architectural form that just commands attention. Its rosette of fleshy leaves, often tinged with beautiful reds and bronzes, brings a touch of the exotic to any collection.
If you’re looking for a propagation project that feels a little bit unique, this is it. While it might not be the absolute easiest plant for a complete beginner to tackle – it’s not quite a pothos cutting, you know? – it’s absolutely doable with a little patience and the right approach. And honestly, coaxing a new life from one of these beauties? Pure garden joy.
The Best Time to Start
For Musschia wollastonii, spring is really your golden ticket. Think of it as the plant waking up after its winter rest. The new growth is vigorous, energy levels are high, and cuttings taken at this time tend to establish roots faster and with less hassle. Waiting until the plant is actively growing is key; you want to tap into that natural surge of life.
Supplies You’ll Need
Before we dive in, let’s gather our gear. Having everything ready makes the process so much smoother.
- Sharp, clean pruning shears or a knife: A clean cut is crucial to prevent disease.
- Well-draining potting mix: I like a blend of cactus and succulent mix with some perlite or pumice added for extra aeration. About a 50/50 ratio works wonders.
- Small pots or propagation trays: Choose something with drainage holes!
- Rooting hormone (optional but recommended): This can give your cuttings a little boost.
- Spray bottle: For gentle misting.
- Clear plastic bag or humidity dome: To create a mini-greenhouse environment.
- Labels and a permanent marker: Don’t forget to label your babies!
Propagation Methods
Musschia wollastonii is most commonly and successfully propagated from stem cuttings, and sometimes even from offsets if your plant is mature enough. Let’s walk through how to do it.
Stem Cuttings
This is where most of the magic happens.
- Select a healthy stem: Look for a mature stem that has at least a few sets of leaves.
- Make the cut: Using your clean shears or knife, cut a section of stem about 4-6 inches long. Try to get a cut just below a leaf node, where roots are more likely to form.
- Prepare the cutting: Gently remove any leaves from the bottom half of the cutting. This prevents them from rotting once planted.
- Let it callous: This is super important! Place the cutting in a dry, airy spot for 2-7 days. You’ll see the cut end dry up and form a “callous.” This protective layer prevents rot when you plant it.
- Apply rooting hormone (optional): If you’re using it, dip the calloused end into the rooting hormone powder, tapping off any excess.
- Plant your cutting: Gently insert the calloused end into your prepared, moistened, well-draining potting mix. Just tuck it in so the leaf nodes are covered, but try not to compact the soil too much. Make sure the remaining leaves aren’t touching the soil.
- Create a humid environment: Water the soil very lightly. Then, cover the pot with a clear plastic bag or place it under a humidity dome. This keeps things moist for the new roots to develop. You can stick the whole pot into a larger, clear plastic bag as well.
Offsets (Pups)
If your Musschia has started to produce little baby plants around its base, you’ve got an even easier route!
- Gently unearth: Carefully tease away some of the soil from around the base of the mother plant to reveal the offsets.
- Separate with a clean cut: Using a sharp, clean knife, sever the connection between the offset and the mother plant. Try to get a little bit of root attached if possible, though it’s not always necessary.
- Let it callous: Just like with stem cuttings, allow the cut end of the offset to dry and callous over for a few days.
- Plant: Pot the offset in a small pot with well-draining mix. Water very lightly.
The “Secret Sauce”
Here are a couple of tricks I’ve picked up over the years that make a big difference:
- Bottom heat is your friend: Especially if your house is on the cooler side, placing your pots on a gentle seedling heat mat can significantly speed up root formation. It mimics the warmth of spring soil and gives those roots a real nudge. Just make sure the temperature isn’t too high – think warm bath water, not hot tub!
- Don’t overwater, EVER: This is the big one for succulents. They are built to store water, so they’re easily prone to rot. When you first plant your cuttings or offsets, water just enough to moisten the soil. Then, only water again when the soil feels dry to the touch. The humidity dome will do a lot of the work in keeping things moist initially.
Aftercare & Troubleshooting
Once your cutting or offset is planted, patience is key.
- Watering: Continue to water sparingly. Let the soil dry out between waterings. You can lightly mist the leaves from time to time if the environment gets particularly dry, but focus on keeping the soil just moist.
- Light: Place your new propagation in a bright, indirect light location. Avoid direct, harsh sun, which can scorch tender new growth.
- Rooting Time: It can take anywhere from 4-8 weeks (or even longer) for roots to establish. You can gently tug on the cutting – if there’s resistance, it’s likely rooted. You might also see new growth appearing, which is another good sign.
Troubleshooting:
- Rotting: This is usually a sign of too much moisture. If you see a cutting becoming mushy or blackening at the base, it’s probably rot. Unfortunately, there’s not much you can do once this sets in, so it’s best to discard it so it doesn’t spread. This is why proper drainage and careful watering are so vital.
- Wilting: If your cutting wilts without any signs of rot, it might just be thirsty, or it hasn’t rooted yet and is using up its stored water. Check the soil moisture. If it’s dry, give it a light watering and ensure the humidity is good.
Wrap Up
Propagating Musschia wollastonii is a rewarding journey, and each new plant you bring into the world feels like a little victory. Don’t get discouraged if your first attempt isn’t perfect. Gardening is all about learning, experimenting, and enjoying the process. So grab your shears, get your hands a little dirty, and happy propagating! I can’t wait to hear about your successes.
Resource:
https://identify.plantnet.org/k-world-flora/species/Musschia%20wollastonii%20Lowe/data