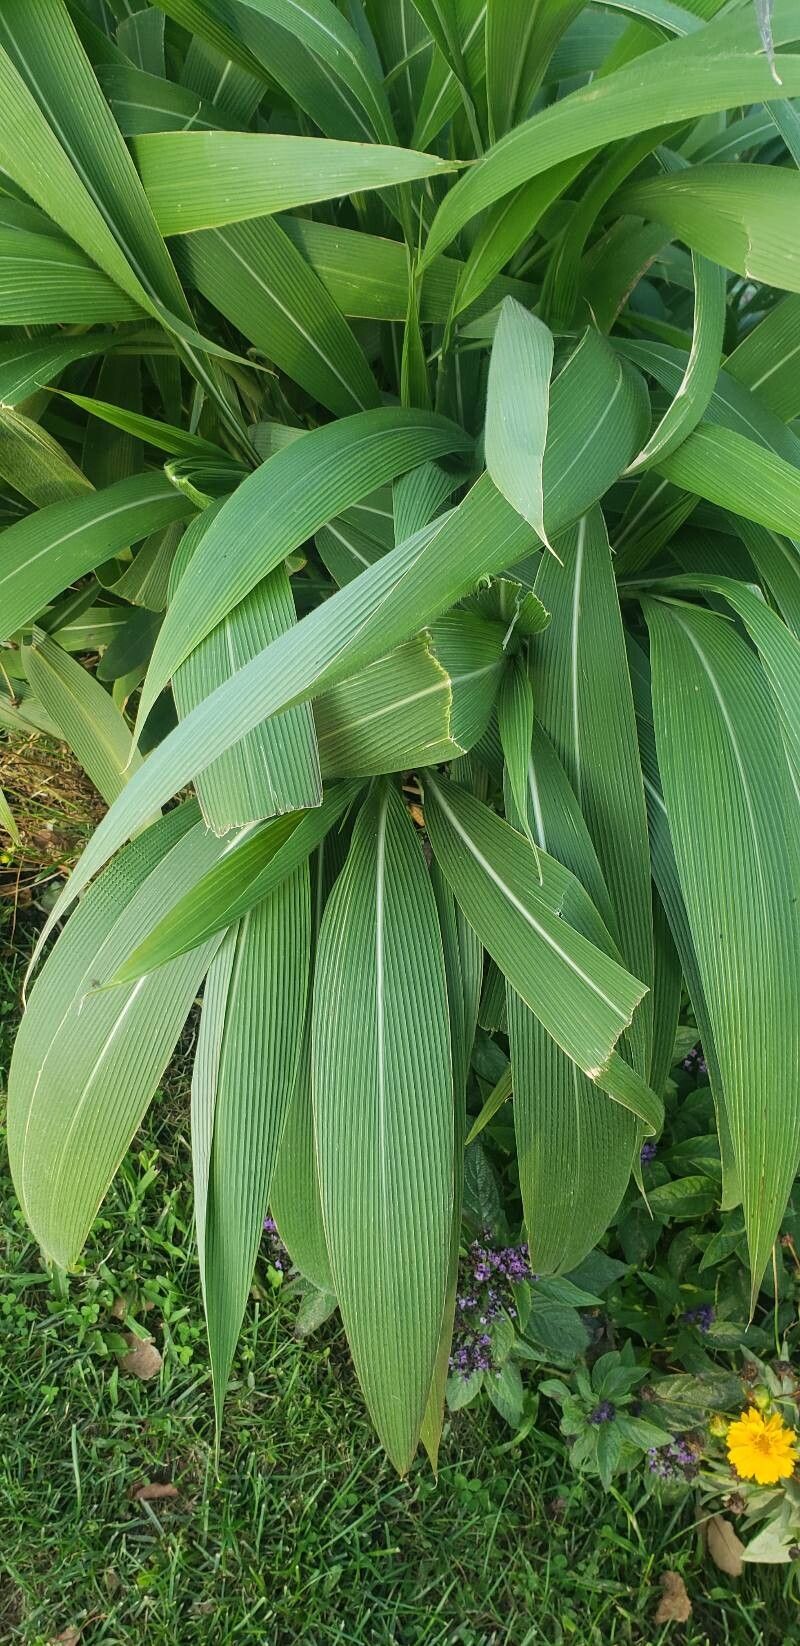
Hello there, fellow plant enthusiasts! It’s me, your garden friend with a few decades of dirt under my fingernails. Today, we’re going to talk about a plant that has truly captured my heart and filled my ponds with vibrant life: Hymenachne grandis.
If you’re looking for a water plant that’s easy to care for and offers a real visual punch, look no further. Hymenachne grandis, often called Giant Marsh Grass, is a magnificent aquatic grass with lush, green foliage that can add a tropical feel to any water feature. The joy of seeing a tiny cutting transform into a thriving plant is truly one of gardening’s greatest pleasures, and happily, this beauty is quite approachable for beginners.
The Best Time to Start
For Hymenachne grandis, spring and early summer are your absolute best friends when it comes to propagation. Think of it like this: the plant is just waking up from its winter slumber and is full of energy, ready to grow. You’ll find it’s much easier to get cuttings to root and divisions to establish when the weather is warm and the days are long. Waiting until the plant is actively growing, usually after the last frost, is key.
Supplies You’ll Need
Don’t let a long list scare you! Most of these are garden staples.
- Sharp Pruning Shears or a Clean Knife: Essential for making clean cuts.
- Rooting Hormone (Optional, but helpful): A sprinkle of this can encourage faster root development.
- Potting Mix: For planting divisions, a well-draining potting mix is crucial. You can even use a mix specifically designed for aquatic plants.
- Container for Cuttings: This could be a jar, a vase, or even a small pot.
- Fresh Pond Water or Dechlorinated Tap Water: Your young plants will thank you for it.
- Small Pots or Aquatic Planters: Once your babies have roots and are ready for their own space.
Propagation Methods
Hymenachne grandis is quite generous, and you can propagate it through a couple of simple methods.
1. Stem Cuttings: This is often the easiest way to multiply your Hymenachne grandis.
- First, select a healthy, vigorous stem from your mature plant. Look for one that’s at least 6-8 inches long and has several sets of leaves.
- Using your clean shears or knife, make a cut just below a leaf node. The leaf node is where new roots will emerge.
- To help things along, you can dip the cut end into rooting hormone, if you’re using it. Just tap off any excess.
- Now, place the cutting into your container filled with fresh pond water or dechlorinated tap water. Make sure at least one or two leaf nodes are submerged. The leaves themselves should stay above the water line.
- Place the container in a bright, indirect light location. Avoid direct sunlight, which can scorch the tender young stems.
- Change the water every few days to keep it fresh and prevent rot. You should start to see tiny roots emerging from the leaf nodes within a couple of weeks.
2. Division: This method is perfect when your Hymenachne grandis has grown into a larger clump.
- Gently remove the entire plant from its pot or its spot in the pond. It’s best to do this when the plant is actively growing.
- Carefully tease apart the root ball to separate it into smaller sections. Each section should have a good amount of roots and some healthy foliage. You might need to use your fingers or even a clean spade for larger divisions.
- Inspect the roots and remove any dead or mushy material.
- Pot up each division into its own small pot, using your well-draining potting mix. If you’re planting directly into a pond, you can use an aquatic planter filled with aquatic soil.
- Water thoroughly after planting.
The “Secret Sauce” (Pro Tips)
As a seasoned gardener, I’ve learned a few tricks that make a big difference.
- Make sure no leaves are submerged in the water when you’re propagating cuttings. They’ll just rot and can invite fungal issues. Lift them up, or trim them if they’re in the way of the water level.
- Bottom heat can be a game-changer, especially if you’re propagating in cooler spring weather or indoors the rest of the year. A seedling heat mat placed under your propagation containers can significantly speed up root formation. You don’t need it to be scorching hot, just gently warm.
- Don’t be afraid to experiment with slightly different water levels for your cuttings. Some plants are finicky! A little higher, a little lower – observe and adjust.
Aftercare & Troubleshooting
Once your Hymenachne grandis cuttings have developed a good network of roots (you’ll see them trailing prettily!), or your divisions have settled in, it’s time for them to grow!
- Transition them gently. If you’ve propagated in water, you can plant them directly into their aquatic planters or pond after roots are about an inch long. If you started with divisions in pots, continue to keep them moist.
- Ensure they have plenty of sunlight. Hymenachne grandis loves a sunny spot.
- Keep an eye out for rot. This is the most common problem. If a cutting turns mushy and dark, or if you see white mold on the surface of your soil, it’s likely rot. This usually happens due to too much moisture, poor drainage, or stagnant water. Remove any affected parts immediately to prevent it from spreading.
A Little Patience Goes a Long Way
Watching new life emerge from a simple cutting or division is one of the most rewarding parts of gardening. Be patient with your Hymenachne grandis, give it the right conditions, and you’ll be rewarded with a beautiful, thriving plant. Enjoy the process, and happy gardening!
Resource: