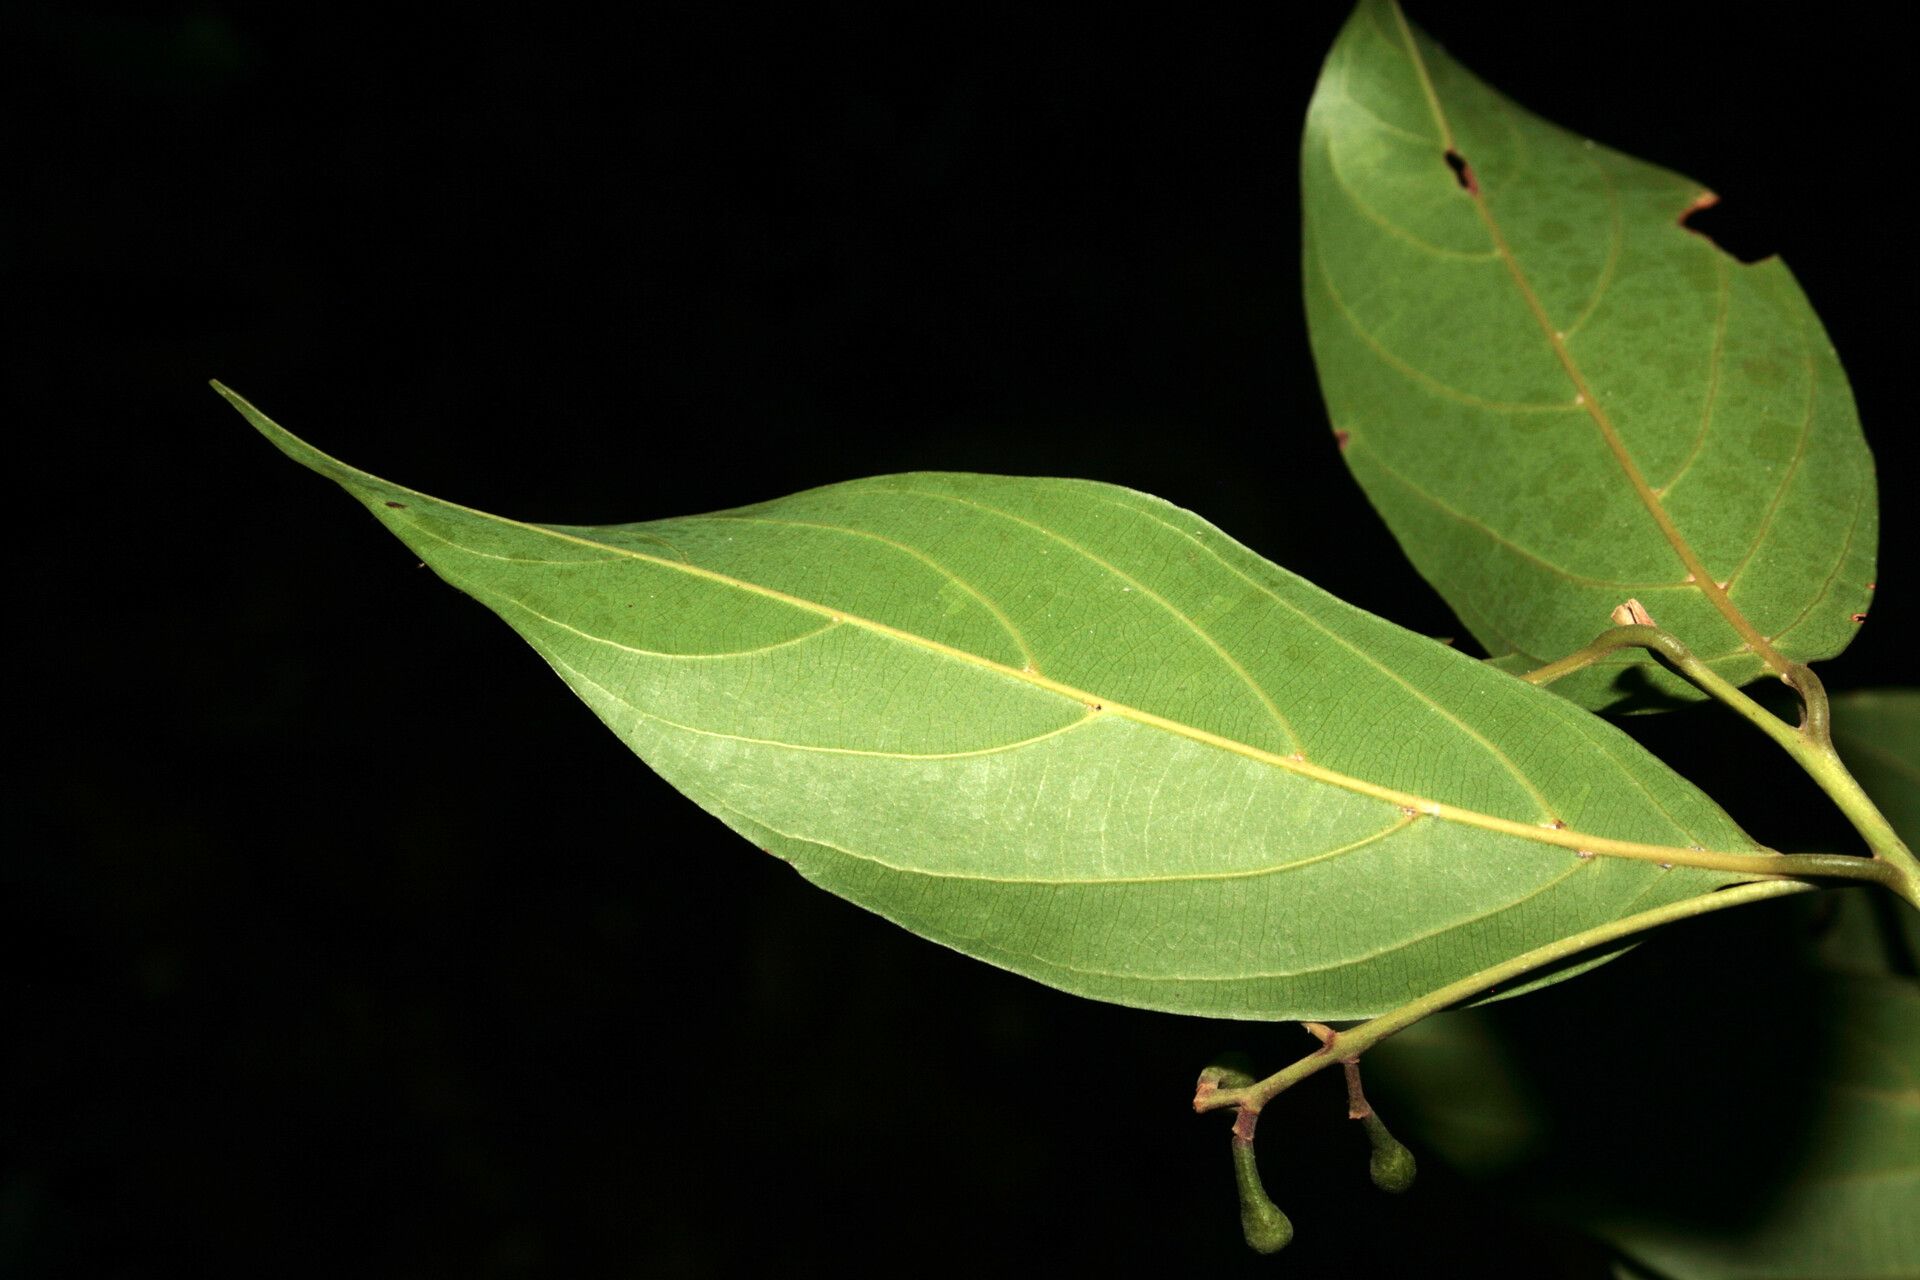
Hey there, fellow plant lovers! I’m so excited to talk to you today about a plant that’s really captured my heart: Nectandra amazonum. If you’re drawn to plants with a bit of exotic flair, a beautiful glossy leaf, and the promise of a lush, tropical vibe, then this one’s for you. Imagine a cascade of vibrant green, a touch of the rainforest right in your own home. Propagating Nectandra amazonum is a truly rewarding experience. It’s like getting to play creator, watching new life spring forth from your own efforts. Now, let’s be honest, is it a walk in the park for a total newbie? It can be a little finicky, but with a bit of guidance and enthusiasm, I promise you’ll be successful.
The Best Time to Start
For Nectandra amazonum, I’ve found the late spring or early summer to be your sweet spot. This is when the plant is in its active growth phase. You’re looking for stems that are vigorous and healthy, not too woody, and not brand new, tender shoots. Think of it as selecting a piece that’s sturdy enough to make the journey but still young enough to be eager to root.
Supplies You’ll Need
Gathering your supplies beforehand makes the whole process so much smoother! Here’s what I recommend:
- Sharp Pruning Shears or a Knife: Cleanliness is key here to prevent disease.
- Rooting Hormone: Not strictly mandatory, but it really gives your cuttings a boost. Look for one that’s formulated for softwood cuttings.
- Well-Draining Potting Mix: A good blend of peat moss, perlite, and a little coco coir works wonders. You want it to hold some moisture but not become waterlogged.
- Small Pots or Propagation Trays: Clean them thoroughly before use.
- Plastic Bag or Humidity Dome: To create that essential humid environment.
- Misting Bottle: For gentle watering.
- Patience! The most important tool, honestly.
Propagation Methods
Let’s get our hands dirty and dive into how you can give your Nectandra amazonum a little family.
Stem Cuttings
This is my go-to method for Nectandra amazonum. It’s generally the most reliable.
- Select Your Cutting: Choose a healthy stem that’s about 4-6 inches long. You want to see at least 2-3 sets of leaves on the stem.
- Make the Cut: Using your clean shears or knife, make a clean cut just below a leaf node. This is where new roots are most likely to form.
- Prepare the Cutting: Gently remove the lower leaves, leaving only the top 1-2 sets.
- Apply Rooting Hormone: Dip the cut end into your rooting hormone, tapping off any excess. This helps encourage root development.
- Plant the Cutting: Fill your small pot with your prepared potting mix. Make a small hole in the center with your finger or a pencil.
- Insert the Cutting: Carefully place the cut end into the hole, ensuring that at least one leaf node is buried in the soil. Gently firm the soil around the stem.
- Water Gently: Use your misting bottle to lightly water the soil until it’s evenly moist.
- Create Humidity: Place the pot inside a clear plastic bag or cover it with a humidity dome. This traps moisture, which is crucial for cuttings that haven’t developed roots yet. Make sure the leaves aren’t touching the inside of the bag if possible – I’ll tell you why later!
Water Propagation (Use with Caution)
While possible, I find Nectandra amazonum to be a bit more prone to rot when left in plain water for too long. If you choose this method, be extra vigilant.
- Select and Prepare: Follow steps 1, 2, and 3 from the stem cutting method.
- Place in Water: Put the prepared cutting in a clean glass or jar filled with clean water.
- Placement: Place the jar in a bright, indirect light location. Change the water every few days to keep it fresh.
- Monitor Closely: Watch carefully for signs of rot (a slimy or mushy stem). If you see any, immediately trim away the affected part and place the cutting in fresh water. Root development can take longer this way.
- Planting Out: Once you see decent root growth (about an inch or so), you’ll need to carefully transplant it into your well-draining potting mix. Be very gentle with those fragile roots!
The “Secret Sauce” (Pro Tips)
Here are a few little tricks I’ve picked up over the years that can really make a difference:
- The Bottom Heat Trick: For stem cuttings, placing your pot on a gentle heating mat can significantly speed up root formation. It mimics the warm soil environment that roots love, especially if your ambient room temperature isn’t super warm.
- Don’t Let Those Leaves Drip! I know it seems simple, but if the leaves of your cutting are sitting in standing water inside the humidity dome or plastic bag, they can start to rot. Ensure good air circulation and trim away any lower leaves that are getting too close to moisture. Think of it as giving your cutting its own little breathable space within the humid environment.
- Scrape for Success: For slightly tougher cuttings, a very gentle scrape along one side of the stem (about an inch long) before applying rooting hormone can sometimes expose more of the cambium layer, which is rich in cells that can develop into roots. Be extremely light-handed with this – you don’t want to damage the stem.
Aftercare & Troubleshooting
So, you’ve got some sleepy cuttings. Now what?
Once you see new growth emerging from your cutting – little leaves unfurling or the stem pushing upwards – that’s a great sign roots are forming! You can gently tug on the cutting (very, very gently!) to feel for resistance, which indicates roots are developing.
- Gradual Acclimation: When you see this new growth, it’s time to gradually acclimate your cutting to normal room humidity. Start by opening the plastic bag or humidity dome for a few hours each day, then slowly increase the time over a week or so.
- Watering: Continue to water sparingly, allowing the top inch of soil to dry out between waterings. Overwatering is the quickest way to kill a new propagation.
- Light: Keep your new baby plant in bright, indirect light. Direct sun can scorch tender new leaves.
Troubleshooting:
- Wilting: This can happen if the soil is too dry, or if the cutting hasn’t rooted yet and can’t absorb water. Ensure consistent moisture of the soil.
- Rotting Stem: This is usually a sign of too much moisture and not enough air circulation. Make sure your potting mix drains well and try to improve airflow around the cutting. If the stem turns mushy and black, it’s likely a lost cause.
- No Signs of Life: Sometimes, cuttings just don’t take. Don’t get discouraged! Sometimes it takes a few tries. Check your environmental conditions – is it warm enough? Is there enough light?
A Welcoming End
Growing new plants from cuttings is such a beautiful, tangible way to connect with nature. It teaches us patience, observation, and the sheer wonder of life. So, give it a go with your Nectandra amazonum. Be attentive, be gentle, and most importantly, enjoy the journey of nurturing something new. Happy propagating!
Resource:
https://identify.plantnet.org/k-world-flora/species/Nectandra%20amazonum%20Nees/data