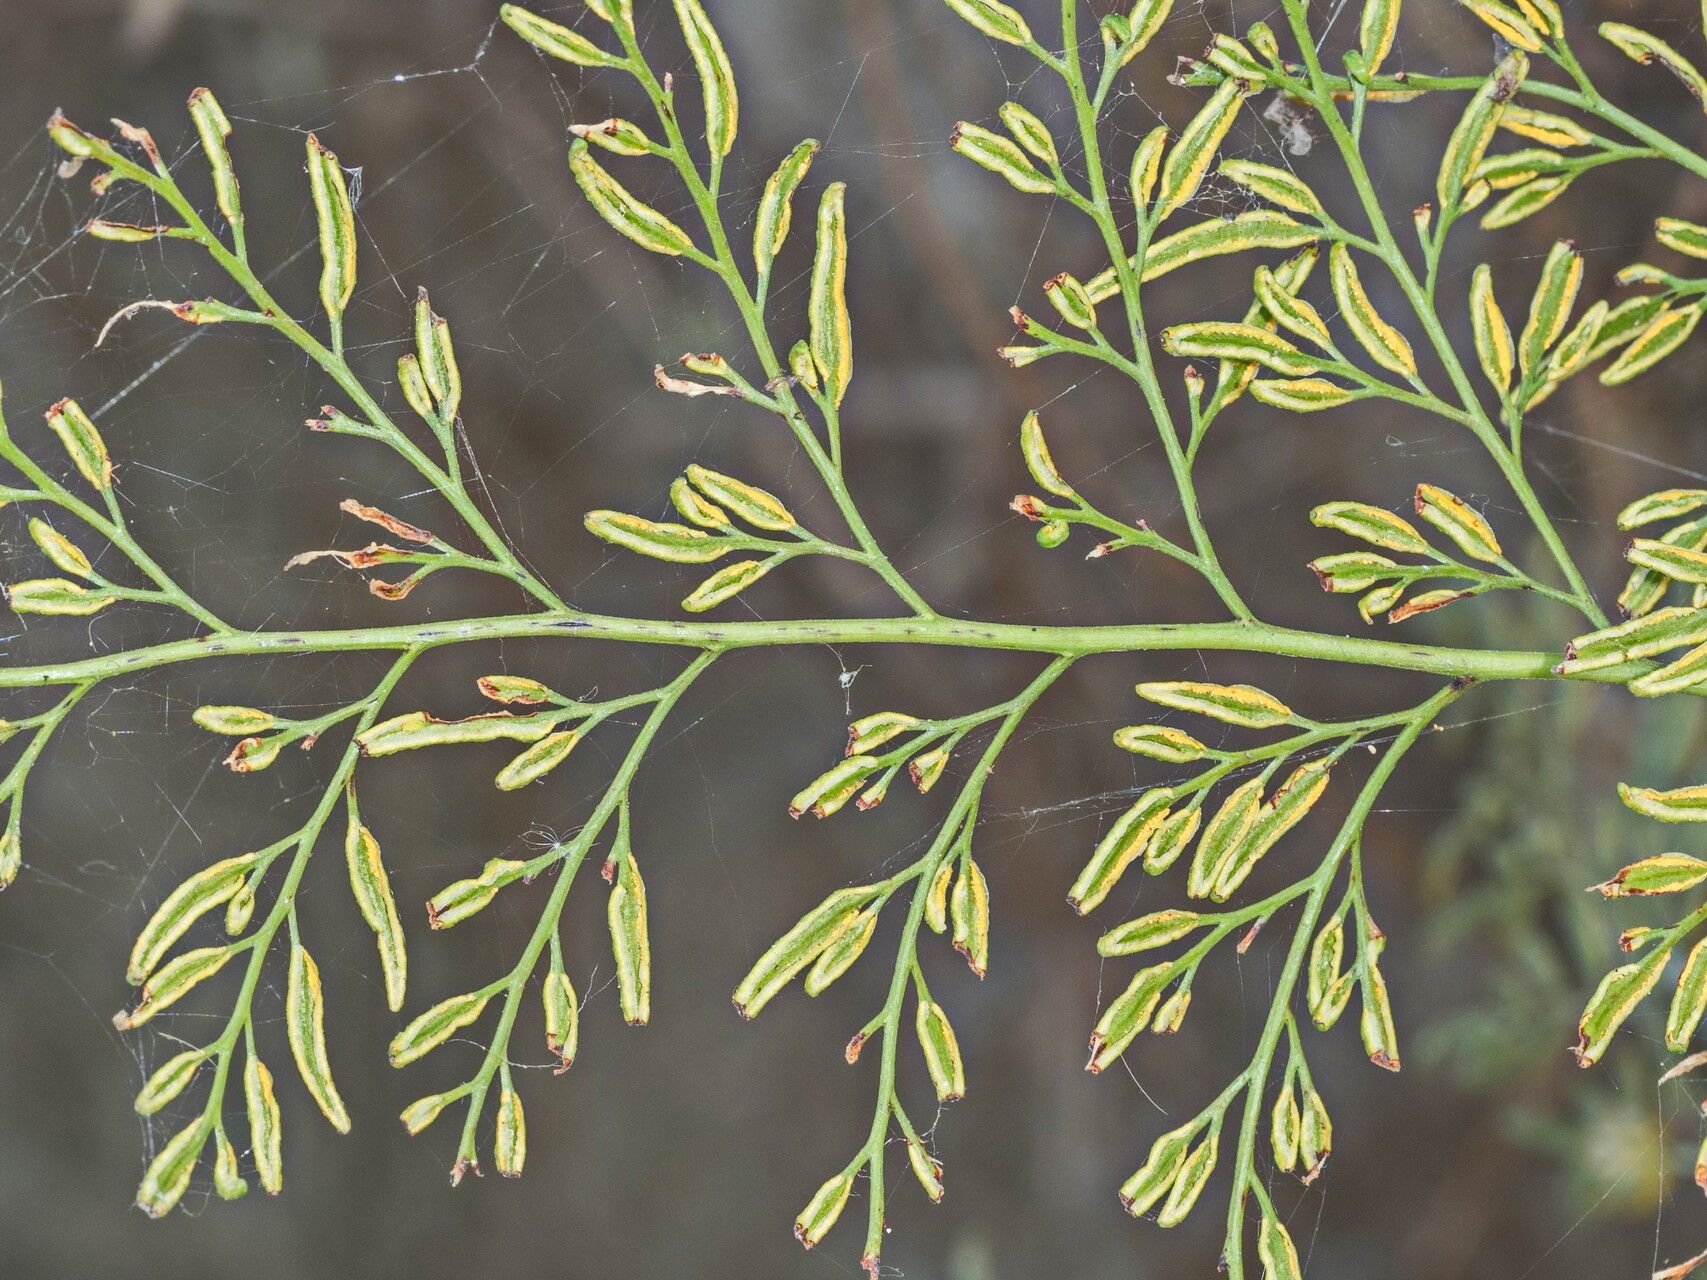
Oh, Onychium siliculosum! What a delight to talk about this fern. If you’ve ever admired its delicate, feathery fronds, you know it brings a touch of airy elegance to any shady spot. It’s the kind of plant that whispers secrets of the forest floor. And the best part? Sharing that beauty by propagating it yourself is incredibly rewarding. While it’s not the most challenging fern to work with, it does have a few quirks. I’d say it’s a good project for a confident beginner who’s ready to learn a bit about what makes a fern happy.
The Best Time to Start
For most of my propagation projects, I find the spring and early summer to be the golden window. That’s when plants are bursting with new growth, full of energy. For Onychium siliculosum, you’ll want to look for healthy, vigorous material. Aim for new fronds that are just unfurling, or gently emerging. These are usually packed with hormones that encourage root development. Avoid old, woody stems or fronds that look like they’re past their prime.
Supplies You’ll Need
Don’t let a long list intimidate you! We’ll just gather a few essentials:
- Sterile potting mix: A good quality, well-draining mix is crucial. I usually opt for a blend of peat moss, perlite, and a touch of compost.
- Sharp, sterile pruning shears or a clean knife: For making clean cuts.
- Rooting hormone (optional but recommended): A powder or gel form can significantly boost your success rates.
- Small pots or trays: With drainage holes, of course!
- Watering can or spray bottle: For gentle watering.
- Clear plastic bags or a propagation dome: To create a humid environment.
- A warm spot: Away from direct sunlight.
Propagation Methods
While you can divide older Onychium ferns, my preferred method for getting the most successful new plants is through stem cuttings. It’s reliable and you can get several plants from one healthy specimen.
Stem Cuttings:
- Select your cutting: Look for a healthy stem that has at least two to three leaves and extends about 4-6 inches from the main plant.
- Make the cut: Using your sharp, sterile shears, make a clean cut just below a leaf node. This is the little bump on the stem where a leaf emerges.
- Prepare the cutting: Gently remove any lower leaves from the stem, leaving just the top two or three. This prevents them from rotting in the soil.
- Apply rooting hormone (if using): Dip the cut end of the stem into your rooting hormone, tapping off any excess.
- Plant your cutting: Make a small hole in your moistened potting mix with your finger or a pencil. Insert the cutting, ensuring the leaf node is buried. Gently firm the soil around the stem.
- Create humidity: Water just enough to settle the soil, then cover the pot with a clear plastic bag, or place it under a propagation dome. Make sure the leaves aren’t touching the plastic if you can help it!
- Find a warm, bright spot: Place the pot in a location that receives bright, indirect light and is consistently warm. Think about placing it near a heat vent.
The “Secret Sauce” (Pro Tips)
Here are a couple of things I’ve learned over the years that make a real difference:
- Bottom Heat is Your Friend: Ferns love warmth, especially when they’re trying to root. I always recommend using a heating mat placed underneath your propagation trays. This consistently warms the soil and mimics the perfect tropical conditions they crave. It’s a game-changer for getting those roots established quickly.
- Don’t Drown It! While humidity is key, sogginess is the enemy of new cuttings. Water thoroughly once when you first plant, then only water when the top inch of soil feels dry to the touch. Overwatering is the quickest way to invite rot.
Aftercare & Troubleshooting
Once you’ve got your cuttings planted, patience is your best friend. Check them every few days, peeking under the plastic. You’re looking for signs of new growth and, eventually, a bit of resistance when you gently tug on the cutting.
When roots appear (usually after 4-6 weeks, but can vary):
- Acclimate gradually: Slowly remove the plastic bag over a week or so, allowing the new plant to adjust to normal humidity levels.
- Water when needed: Continue to water when the top inch of soil feels dry.
- Move to a slightly larger pot: Once the plant is well-established with several new fronds, you can move it to a slightly larger pot.
Common signs of failure:
- Yellowing leaves and wilting: This can be a sign of too much or too little water, or not enough light.
- Rotting at the base: This is almost always due to overwatering and poor drainage. If you see this, it’s best to discard the cutting and start again.
- Mealybugs or spider mites: Keep an eye out for pests. A quick wipe with a damp cloth can usually take care of small infestations.
A Encouraging Closing
Propagating Onychium siliculosum is a journey, one that will teach you a lot about the plant’s needs. Remember to be gentle, observant, and don’t be discouraged if your first attempt isn’t perfect. Each new plant you nurture into life is a little victory, and the process itself is so wonderfully meditative. Go ahead, get your hands dirty, and enjoy the magic of creating new life!
Resource:
https://identify.plantnet.org/k-world-flora/species/Onychium%20siliculosum%20(Desv.)%20C.Chr./data