Hello there, fellow garden enthusiasts!
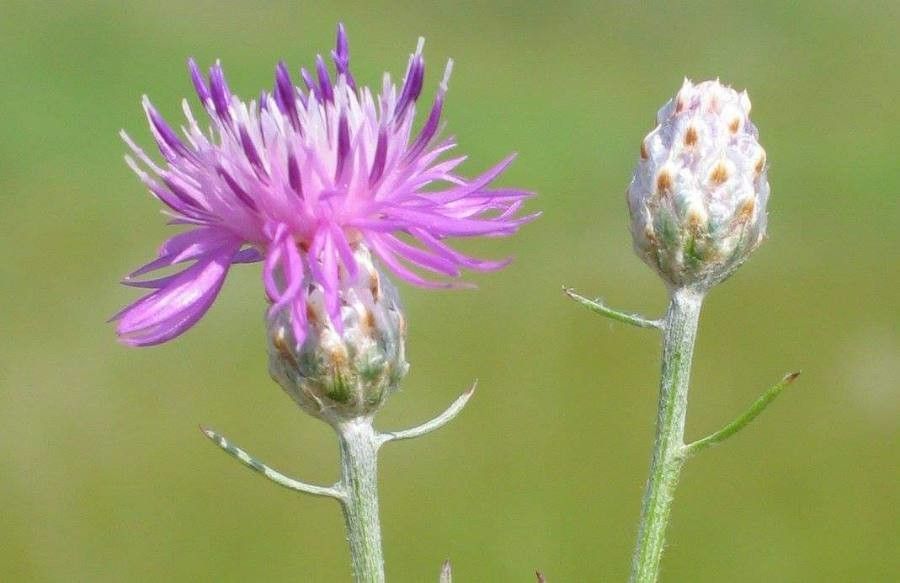
Today, let’s talk about one of my absolute favorites: Centaurea caliacrae. You know, the one with those wonderfully ethereal, whisper-soft pale blue flowers that just dance in the breeze? They bring such a delicate, almost airy feel to the garden border, and their wispy foliage is a textural delight. If you’ve fallen for their charm, you’re in luck! Propagating them is one of the most rewarding gardening activities, allowing you to fill your own garden or share these beauties with friends. Good news for beginners: Centaurea caliacrae is quite approachable for those just dipping their toes into the world of propagation.
The Best Time to Start
For the highest success rate with Centaurea caliacrae, I find the late spring or early summer is absolutely prime time. This is when the plant is in its active growth phase, and the new shoots are vigorous and full of life. Starting then gives your cuttings or divisions plenty of time to establish before the cooler weather sets in. Aim for when the plant is producing healthy, non-flowering stems.
Supplies You’ll Need
Here’s what you’ll want to have on hand before you begin:
- Sharp, clean pruning shears or a sharp knife: For making clean cuts that heal well.
- Small pots or trays: With good drainage holes, of course!
- A well-draining potting mix: I recommend a blend of peat moss, perlite, and a little bit of sand. Some gardeners swear by a specialized seed-starting mix, and that works beautifully too.
- Rooting hormone (optional but recommended): This can give your cuttings a helpful boost.
- A plastic bag or propagation dome: To create a humid environment.
- Water: For keeping things moist.
- Labels and a marker: To keep track of what you’ve propagated.
Propagation Methods
Let’s get our hands dirty with the most reliable ways to multiply your Centaurea caliacrae.
Stem Cuttings
This is my go-to method for Centaurea caliacrae because it’s so effective.
- Select your parent plant: Choose a healthy, vigorous Centaurea caliacrae that isn’t flowering.
- Take your cuttings: Using your clean shears or knife, snip off healthy, non-woody stems. Make cuts about 4-6 inches long. Aim to take cuttings from the new growth that appears in spring or early summer. Take several – not all will make it, and that’s perfectly normal.
- Prepare the cuttings: Gently remove the lower leaves from the cutting. You want to expose a bit of stem to encourage root formation.
- Apply rooting hormone (if using): Dip the cut end of the stem into your rooting hormone powder or gel. Tap off any excess.
- Plant the cuttings: Fill your small pots with your prepared potting mix. Make a small hole in the center with your finger or a pencil. Insert the prepared cutting into the hole, ensuring the nodes (where leaves were) are below the soil surface. Gently firm the soil around the stem.
- Water gently: Give the soil a light watering to settle it around the cuttings.
- Create humidity: Cover the pot with a clear plastic bag or a propagation dome. You can secure the bag with a rubber band around the pot.
Division
If your Centaurea caliacrae has been in its spot for a couple of years and is looking a bit crowded, division is a fantastic way to get more plants and give the original a boost.
- Dig carefully: In the early spring, before new growth gets too tall, gently dig around the base of the established plant. You want to lift the entire root ball.
- Separate the clumps: Once you have the root ball out of the ground, you can usually tease apart the plant into smaller sections. Look for natural breaks where roots and shoots are present on each section. You can use your hands, or if it’s a bit stubborn, a clean trowel or even a garden fork can help.
- Replant immediately: Plant the divided sections into their new homes the same day, whether that’s back in the original spot or a new location. Water them in well.
The “Secret Sauce” (Pro Tips)
Here are a couple of things I’ve learned over the years that really make a difference:
- Keep those leaves dry! When you set up your cuttings in their pots, absolutely don’t let the lower leaves touch the soil or the water in the tray. This is a surefire recipe for rot. Prune them off if necessary, or prop the cutting up slightly so it’s all clear.
- Warmth helps a lot. Centaurea caliacrae just loves a bit of warmth to encourage root development. If your ambient room temperature is on the cooler side, consider placing your pots on a heat mat designed for seedlings. It makes a noticeable difference in how quickly roots form.
Aftercare & Troubleshooting
Once your cuttings have developed some nice root growth (give them a gentle tug after a few weeks – if there’s resistance, you’ve got roots!), it’s time for a little extra attention.
- Acclimatize gradually: If you used a plastic bag or dome, start by taking it off for a few hours each day, then increase the time. This helps the new plant adjust to drier air.
- Move to their own pots: Once they have a good root system, carefully transplant them into their own individual pots with fresh potting mix.
- Water consistently: Keep the soil evenly moist, but not waterlogged. This is crucial.
- Watch for rot: The biggest culprit for new propagations going wrong is rot, often caused by too much moisture or poor drainage. You’ll see stems turning mushy and black. If you notice this, try to salvage any healthy parts, but it’s often a lost cause. Lesson learned for next time! Also, keep an eye out for wilting – this can happen if the cutting is too dry or if it hasn’t rooted yet and is struggling to take up water.
A Encouraging Closing
Remember, gardening is a journey, and propagation is a beautiful part of that adventure. Don’t be discouraged if your first few attempts aren’t perfect. Each plant you create is a testament to your patience and care. Enjoy the process, celebrate your successes, and most importantly, keep that green thumb busy! Happy propagating!
Resource:
https://identify.plantnet.org/k-world-flora/species/Centaurea%20caliacrae%20Prodan/data