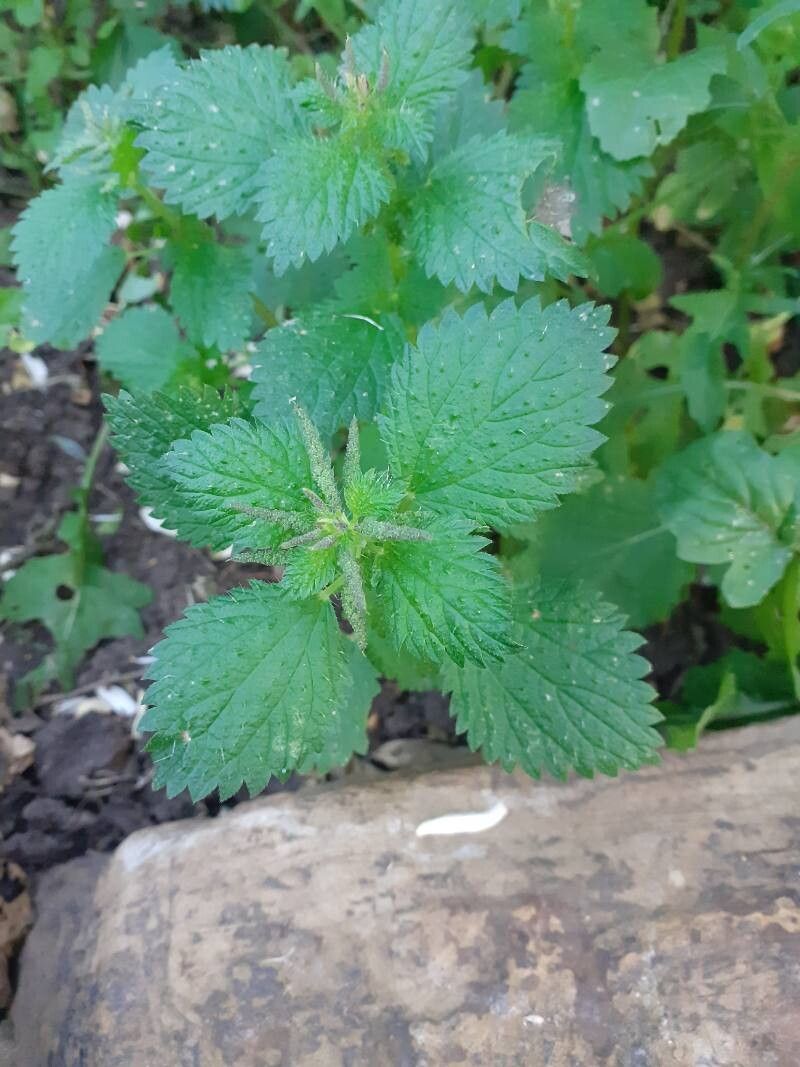
Oh, hello there, fellow plant enthusiast! Pull up a chair, let’s chat about getting more of those lovely Urtica membranacea plants. You know, the ones with the beautiful, almost heart-shaped leaves? They have this wonderful, delicate texture, and they really add a touch of unique character to any shady corner. Propagating them is such a rewarding experience. Watching a tiny cutting burst into a whole new plant is just… well, it’s pure magic, isn’t it? For Urtica membranacea, I’d say it’s a moderately easy plant to propagate. If you can handle a few basic gardening steps, you’ll likely have great success.
The Best Time to Start
Honestly, the sweetest spot for propagating Urtica membranacea is in the late spring to early summer. This is when the plant is in its active growth phase. You want to select young, vigorous stems that are not yet flowering. Think of it as catching the plant at its energetic peak.
Supplies You’ll Need
Here’s what you’ll want to have on hand before you get started:
- Sharp pruning shears or a clean, sharp knife: For making clean cuts.
- Rooting hormone (optional but recommended): This can give your cuttings a little boost.
- A well-draining potting mix: I like to use a mix of equal parts peat moss or coco coir, perlite, and a little bit of compost.
- Small pots or seed trays: Clean ones are key to preventing disease.
- A clear plastic bag or a propagation dome: To create a humid environment.
- Watering can or spray bottle: For gentle watering.
Propagation Methods
I find the easiest and most reliable method for Urtica membranacea is through stem cuttings. Let’s walk through it:
- Select your cuttings: Look for healthy, non-flowering stems about 4-6 inches long.
- Make the cut: Using your sharp shears or knife, make a clean cut just below a leaf node (where a leaf attaches to the stem). This is where the magic of new roots happens.
- Prepare the cutting: Gently remove the lower leaves from the cutting, leaving just 2-3 leaves at the very top. If the top leaves are very large, you can even cut them in half horizontally. This reduces water loss.
- Apply rooting hormone (if using): Dip the bottom inch of the cutting into your rooting hormone powder or gel. Tap off any excess.
- Plant the cutting: Fill your small pot or tray with your prepared potting mix. Make a small hole with your finger or a pencil. Insert the cutting so that the leaf nodes are buried in the soil. Gently firm the soil around the base of the cutting.
- Water gently: Water the soil lightly after planting. You want it moist, but not waterlogged.
- Create humidity: Cover the pot with a clear plastic bag or place it under a propagation dome. Make sure the plastic doesn’t touch the leaves too much. This creates a mini-greenhouse effect.
- Find a good spot: Place the pot in a bright location that receives indirect sunlight. Avoid direct sun, which can scorch your delicate cuttings.
The “Secret Sauce”
Here are a few little tricks I’ve picked up over the years that can really make a difference:
- Don’t overcrowd: Give your cuttings some space. Overcrowding can lead to fungal issues. If you’re using a tray, give them at least a couple of inches between each one.
- Bottom warmth is your friend: If you have a propagation mat or can place them on top of a warm appliance (like a refrigerator in winter, though we’re propagating in spring/summer!), a little gentle bottom heat can encourage root development significantly.
- Keep it consistently moist, not soggy: This is crucial. I like to check mine daily. If the soil feels dry to the touch, give it a light misting or a gentle watering. If it’s still damp, leave it be.
Aftercare & Troubleshooting
Once you start seeing new leaf growth or feel a gentle tug when you lightly pull on the cutting, that’s a good sign roots are forming! You can then gradually acclimate your new plants to normal room humidity by opening the plastic bag or dome a little more each day over a week. Once they’re fully out, continue to water as needed.
The most common issue you might encounter is rot. This usually happens when the soil stays too wet for too long, or if the cuttings are in a spot that’s too cold and damp. If you see wilting, mushy stems, or mold on the soil, it’s a sign things aren’t going well. Remove any affected cuttings immediately to prevent it from spreading.
A Encouraging Closing
Propagating plants is a journey, and sometimes it takes a little patience. Don’t get discouraged if not every cutting takes. Just keep on trying! Enjoy the process of nurturing these little green shoots into fully formed plants. Happy gardening!
Resource:
https://identify.plantnet.org/k-world-flora/species/Urtica%20membranacea%20Poir.%20ex%20Savigny/data