Hello fellow garden enthusiasts! It’s so lovely to have you join me today. We’re going to dive into the wonderful world of propagating Gymnema tricholepis, a plant that has truly captured my heart with its unique charm. You know, there’s something incredibly special about nurturing a new life from a tiny piece of its parent. It’s like being a quiet participant in nature’s grand unfolding.
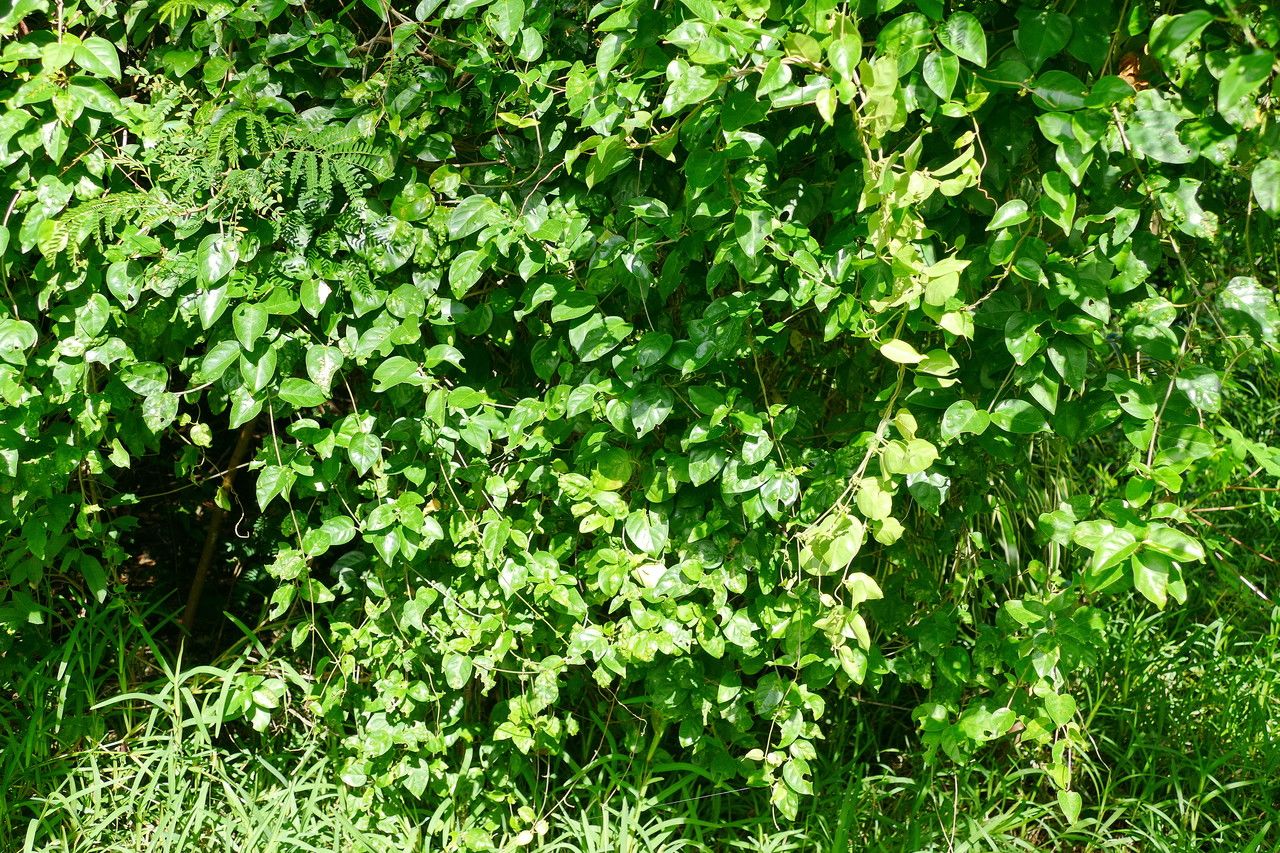
Gymnema tricholepis is a real stunner. Its intricate foliage and delicate blooms make it a standout in any collection. The satisfaction of watching your own little army of these beauties sprout and thrive is just… well, it’s pure gardening joy! For those of you just starting out, don’t be intimidated. While it requires a little attention to detail, propagating Gymnema tricholepis is absolutely doable and quite rewarding for beginners willing to give it a go.
The Best Time to Start
Honestly, the sweet spot for propagating Gymnema tricholepis is when the plant is actively growing, usually in late spring to early summer. Think about it – the plant is bursting with energy then, and those cuttings are more likely to have the vigor needed to root. You want to catch it after the initial flush of spring growth, but before the intense heat of mid-summer really takes hold.
Supplies You’ll Need
Before we get our hands dirty, let’s gather our tools. Having everything ready makes the process so much smoother:
- Sharp pruning shears or a clean, sharp knife: For making clean cuts. We don’t want to damage those precious stems.
- Rooting hormone powder or gel: This is your secret weapon for encouraging root development.
- Well-draining potting mix: A good blend is key. I like a mix of perlite, peat moss, and a little bit of coco coir. You want it to hold moisture but not stay soggy.
- Small pots or propagation trays: Clean pots are a must to prevent any nasty diseases from taking hold.
- Plastic bags or a propagation dome: To create a humid environment for your cuttings.
- Watering can with a fine rose: For gentle watering.
- Labels and a permanent marker: To keep track of your cuttings and when you took them.
Propagation Methods
We’ll focus on stem cuttings, which is usually the most successful method for Gymnema tricholepis.
- Take Your Cuttings: On a healthy, mature plant, select stems that are not flowering. Look for stems that are firm but not woody, often referred to as “semi-hardwood.” Using your sharp pruning shears, take cuttings that are about 4-6 inches long. Make your cut just below a leaf node – this is where the magic of rooting often happens.
- Prepare the Cuttings: Gently remove the lower leaves from the cutting. You want to leave a few leaves at the top to help with photosynthesis. If the top leaves are very large, you can even cut them in half to reduce water loss.
- Apply Rooting Hormone: Dip the cut end of the stem into your rooting hormone powder or gel. Gently tap off any excess.
- Plant Your Cuttings: Fill your small pots or propagation tray with your well-draining potting mix. Make a little hole with your finger or a pencil, and carefully insert the cut end of the stem into the hole. Gently firm the soil around the base of the cutting to ensure good contact.
- Water Gently: Give your newly planted cuttings a light watering to settle the soil.
The “Secret Sauce” (Pro Tips)
Now, for a few insider tricks that can really boost your success rate:
- Bottom Heat is Your Friend: If you have a heat mat, placing your propagation tray on it can make a world of difference. This warmth encourages root formation from below, giving your cuttings that extra push.
- Mist, Mist, Mist: While you want that humid environment, avoid overwatering. I like to lightly mist the leaves of my cuttings once or twice a day with plain water, especially if they’re covered with a plastic bag. This keeps them hydrated without waterlogging the soil.
- Location, Location, Location: Place your cuttings in bright, indirect light. Direct sun will scorch those delicate new leaves. A bright windowsill that doesn’t get harsh afternoon sun is often perfect.
Aftercare & Troubleshooting
Once your cuttings are planted, keep the soil consistently moist but not soggy. You should see signs of new growth within a few weeks to a couple of months. A good sign that roots are forming is when you gently tug on the cutting and feel resistance.
Now, for the troubleshooting part. The most common enemy is rot. If you see stems turning mushy and black, it’s usually a sign of too much moisture and not enough air circulation. If this happens, you might have to discard those affected cuttings and adjust your watering and humidity levels for any remaining ones. Drooping leaves can mean they’re too dry, or perhaps they haven’t established roots yet and are just stressed. Don’t despair! Sometimes they just need a little time.
A Encouraging Closing
Propagating plants is a journey, and it’s important to remember that not every cutting will be a success story. Be patient, celebrate the wins, and learn from any setbacks. The joy of watching new plants emerge from your efforts is truly a gift. So, go on, give it a try! I have a feeling you’ll find immense satisfaction in growing your own beautiful Gymnema tricholepis. Happy gardening!
Resource:
https://identify.plantnet.org/k-world-flora/species/Gymnema%20tricholepis%20Schltr./data