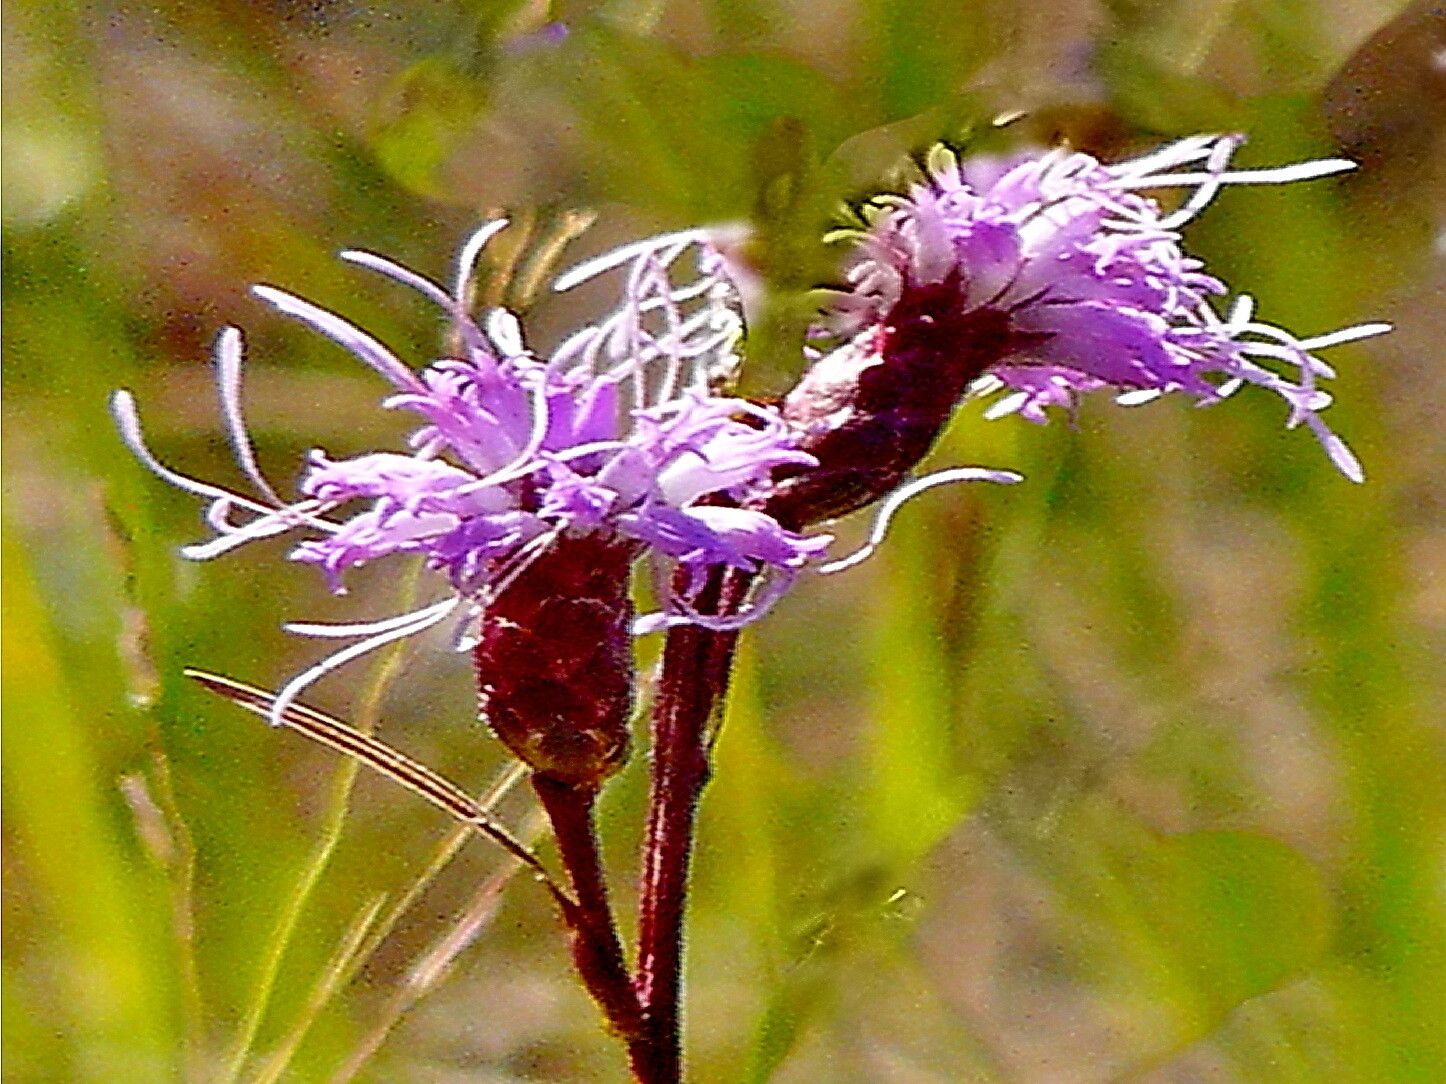
Hello there, fellow garden enthusiasts! It’s so good to have you drop by my little corner of the internet. Today, we’re diving into the wonderful world of propagating a plant that truly lights up the late summer garden: Liatris cylindracea, or Cylindrical Blazing Star.
There’s something magical about those fuzzy, upright flower spikes, isn’t there? They add such beautiful texture and a pop of purple to our borders. And the best part? This native beauty isn’t usually a fussy plant to grow. Propagating it yourself is incredibly rewarding. You’ll soon have more of these pollinator-attracting wonders to share or fill every sunny spot you have! If you’re new to plant propagation, Liatris cylindracea is a fantastic starting point. It’s quite forgiving and offers a good sense of accomplishment for beginners.
The Best Time to Start
For Liatris cylindracea, late autumn or early spring are your prime windows for propagation. This is when the plant is either winding down its growing season or just beginning to wake up. Waiting until after the foliage has died back in fall, or before new growth really takes off in spring, means you’re working with dormant or semi-dormant material, which generally leads to higher success rates. It gives the plant less stress to deal with, and your new divisions or cuttings can focus on establishing roots without the demands of active top growth.
Supplies You’ll Need
Gathering your tools before you begin makes the whole process go smoothly. Here’s what I usually have on hand:
- Sharp, clean pruning shears or a small trowel: For making clean cuts or dividing clumps.
- Well-draining potting mix: I like a blend of compost, perlite, and a bit of sand. Regular potting soil can hold too much moisture, and Liatris really dislikes “wet feet.”
- Small pots or trays: Clean ones are a must to prevent disease.
- Rooting hormone (optional but recommended for cuttings): A powdered or liquid hormone can give your cuttings an extra boost.
- Patience! This is the most important tool of all.
Propagation Methods
Liatris cylindracea is wonderfully amenable to a couple of straightforward propagation methods, with division being the most common and easiest for home gardeners.
Division
This is like giving your Liatris plant a healthy haircut and getting bonus plants from the pruned pieces!
- Excavate with Care: In late autumn or early spring, choose a mature Liatris plant. Gently dig it up from the soil, taking care not to damage the roots. You can do this by digging a wide circle around the plant and then carefully loosening the soil.
- Assess the Clump: Gently shake off excess soil so you can see the root structure. You’re looking for natural divisions – places where the plant has grown into multiple smaller crowns, each with its own healthy roots.
- Make the Cut (or Break): Using your hands or a sharp trowel, carefully separate the clump into smaller sections. Each section should have at least one healthy bud (usually visible as a small nub on top of the roots) and a good portion of roots. If the clump is really tough, you might need to use your pruning shears, but try to pull them apart first if possible.
- Replant and Water: Immediately replant your divisions in their new homes. Whether you’re planting them directly into the garden or into pots, ensure they have good drainage. Bury the crown just at the soil surface. Water them in thoroughly, but avoid waterlogging.
Stem Cuttings (More Advanced)
While division is easier, you can also try stem cuttings. This requires a bit more finesse.
- Chop and Collect: In late spring or early summer, when the plant is actively growing but before flowering, select non-flowering stems. Using your clean pruning shears, cut sections about 4-6 inches long. Make the cut just below a leaf node. Remove the lower leaves, leaving only the top few at the very tip.
- Dip and Plant: If you’re using rooting hormone, dip the cut end of the stem into the powder or liquid. Then, insert the cuttings into pots filled with a very well-draining, moist potting mix. A good mix for this is equal parts perlite and peat moss, or a commercial propagation mix.
- Create a Humid Microclimate: Water the soil gently. You can cover the pots with a clear plastic bag or place them in a small greenhouse or propagator to maintain high humidity. A bit of bottom heat can also encourage faster root development, but it’s not strictly necessary.
- Be Patient: Keep the soil consistently moist but not soggy. Roots can take several weeks to develop. You’ll know they’ve rooted when you try to gently tug on a cutting and feel resistance, or when you see new leaf growth.
The “Secret Sauce” (Pro Tips)
Over the years, I’ve picked up a few tricks that seem to make all the difference.
- Don’t Drown Your Divisions: This is crucial! Liatris roots hate sitting in wet soil, especially when they’re trying to establish. If you’re potting up your divisions, make absolutely sure your soil mix is airy and drains freely. I often add extra perlite or coarse sand to my regular potting mix for these guys.
- Timing is Everything for Cuttings: If you’re trying stem cuttings, aim for softwood cuttings taken in early summer. This is when the stems are flexible but have enough energy to root. Hardwood cuttings are much less likely to succeed with Liatris.
- Mulch for Moderation: After replanting divisions, a light layer of mulch can help retain a bit of moisture while also keeping the soil temperature more consistent. Just make sure the mulch doesn’t touch the base of the plant; keep it an inch or two away to prevent rot.
Aftercare & Troubleshooting
Once your propagated Liatris has taken root, it’s time to give it a little TLC.
- Gradual Acclimation: If you grew cuttings in a humid environment (like under a plastic bag), gradually introduce them to drier air over a week or so. Open the bag for increasingly longer periods before removing it entirely.
- Water Wisely: Continue to water them as you would a mature plant, ensuring the soil dries out a bit between waterings. Overwatering is the most common cause of failure – it leads to root rot, which looks like the cutting or division turning mushy and eventually dying.
- Sunshine and Space: Once your new plants look strong and are actively growing, transplant them into their permanent positions in a sunny, well-draining spot. Give them enough space to grow to their mature size to avoid overcrowding which can encourage fungal issues.
A Little Encouragement
Propagating plants is a journey, and it’s not always 100% successful, especially when you’re trying new things. But with Liatris cylindracea, you’ve got a great chance of success. Be patient with your new little sprouts, observe them closely, and learn from each attempt. The joy of watching a tiny cutting or division grow into a beautiful flowering plant is truly unparalleled. Happy propagating, and may your gardens bloom with abundance!
Resource:
https://identify.plantnet.org/k-world-flora/species/Liatris%20cylindracea%20Michx./data