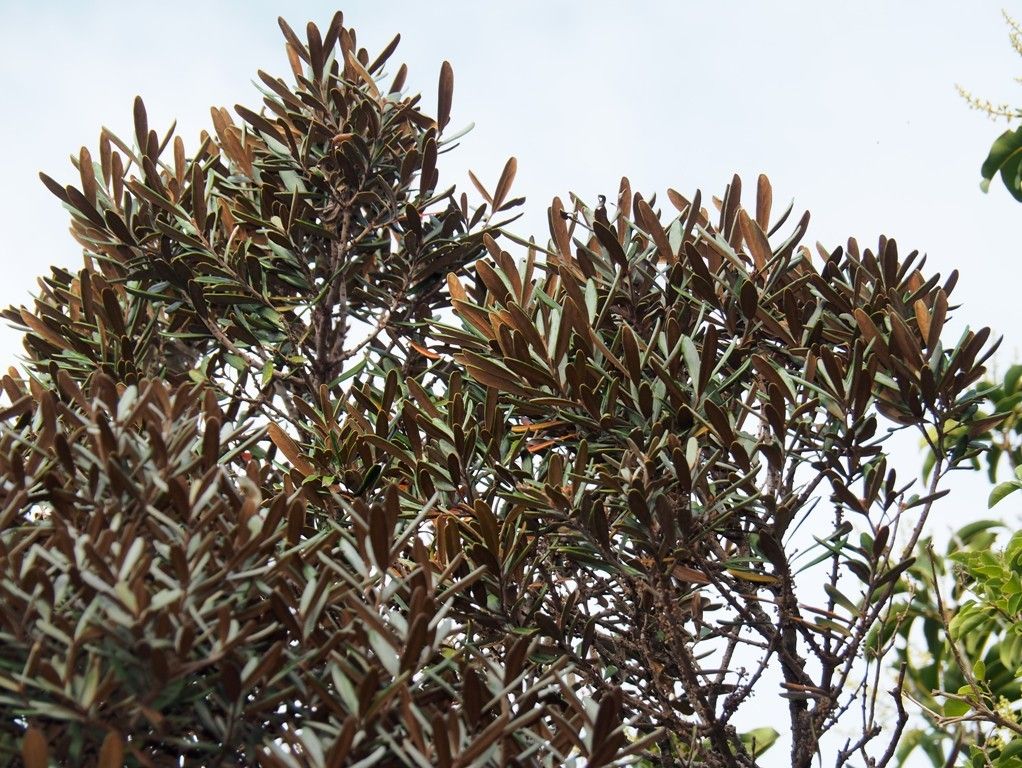
Hello, fellow plant lovers! Today, we’re diving into the wonderful world of Pycnandra sclerophylla, a plant that always brings a smile to my face. If you’re captivated by its unique foliage and charming flowers, you’re in for a treat with propagation. It’s a truly rewarding way to fill your home with more of these beauties, or to share them with friends. Now, is it a beginner-friendly plant? Honestly, I’d say it’s a solid intermediate. It’s not overly fussy, but a little know-how goes a long way.
The Best Time to Start
The absolute sweet spot for propagating Pycnandra sclerophylla is during its active growing season. Think late spring to early summer. This is when the plant has plenty of energy to put into developing roots. You’ll want to select stems that are semi-hardwood – not brand new, tender growth, but not old, woody stems either. They should feel firm but slightly pliable.
Supplies You’ll Need
Here’s what I like to have on hand before I get started:
- Sharp Pruning Shears or a Clean Knife: For making clean cuts.
- Rooting Hormone: A powder or gel formula works well.
- Well-Draining Potting Mix: A mix of peat moss, perlite, and vermiculite (about a 1:1:1 ratio) is perfect. You can also buy specific cacti and succulent mixes, which will do in a pinch.
- Small Pots or Seedling Trays: With drainage holes, of course!
- Plastic Bags or a Propagation Dome: To maintain humidity.
- Watering Can with a Fine Rose: For gentle watering.
- Labels and a Marker: To keep track of what you’ve propagated and when.
Propagation Methods
My favorite way to propagate Pycnandra sclerophylla is through stem cuttings. It’s reliable and gives you the best chance of success.
- Take Your Cuttings: Using your clean shears, select a healthy stem that fits the semi-hardwood description. Make a clean cut just below a leaf node (where a leaf attaches to the stem). Aim for cuttings that are about 4-6 inches long.
- Prepare the Cuttings: Gently remove the lower leaves from the cutting, leaving just a few at the top. This prevents them from rotting once planted. If the leaves are very large, you can cut them in half to reduce transpiration.
- Apply Rooting Hormone: Dip the cut end of the stem into your rooting hormone, ensuring it’s fully coated. Tap off any excess.
- Plant the Cuttings: Fill your small pots with your well-draining potting mix. Make a small hole in the center of the mix with your finger or a dibber. Insert the cutting into the hole, firming the soil gently around it.
- Water Gently: Water the soil thoroughly but gently, allowing excess water to drain away.
- Create a Humid Environment: Cover the pot with a clear plastic bag, using stakes to keep the bag from touching the leaves, or place it under a propagation dome. This creates a mini-greenhouse, which is crucial for cuttings to root.
The “Secret Sauce” (Pro Tips)
Now for a couple of my little tricks that I’ve learned over the years:
- Bottom Heat is Your Friend: If you have a heating mat designed for seedlings, place your pots on it. This gentle warmth from below really encourages root development, even when the room air temperature isn’t super warm. You can often find affordable ones online.
- Don’t Rush the Rooting Hormone: While you want to coat the cut end, be careful not to go overboard with the rooting hormone. Too much can actually hinder rooting. A light, even dusting is all you need.
Aftercare & Troubleshooting
Once your cuttings are planted, find a spot for them that gets bright, indirect light. Avoid direct sun, which can scorch those delicate cuttings. Keep the soil consistently moist but not waterlogged. And that humidity we created? Maintain it – mist the leaves occasionally if they look dry, especially if you’re not using a dome.
You’ll know your cuttings have rooted when you see new growth appearing, or when the cutting resists gently when tugged. This can take anywhere from 4 to 8 weeks, sometimes longer. Be patient!
The most common issue you’ll face is rot. If you see the cutting turning mushy and brown, it’s usually a sign of being too wet or a lack of airflow. If this happens, it’s best to discard the failed cutting and try again, ensuring your soil is drier and you have some ventilation.
A Encouraging Closing
Propagating Pycnandra sclerophylla is a journey, and like any good garden project, it requires a bit of patience and observation. Don’t be discouraged if a few don’t make it – that’s all part of the learning process! Celebrate your successes, learn from your challenges, and enjoy the satisfaction of growing more of these beautiful plants with your own two hands. Happy propagating!
Resource: